We are trying something new at our house this year! Our family tree is going into our basement family room. In every other year our gift opening has been upstairs in our main living room. But this year, I thought it might be nice to use the basement as well, and decorate it up nicely.
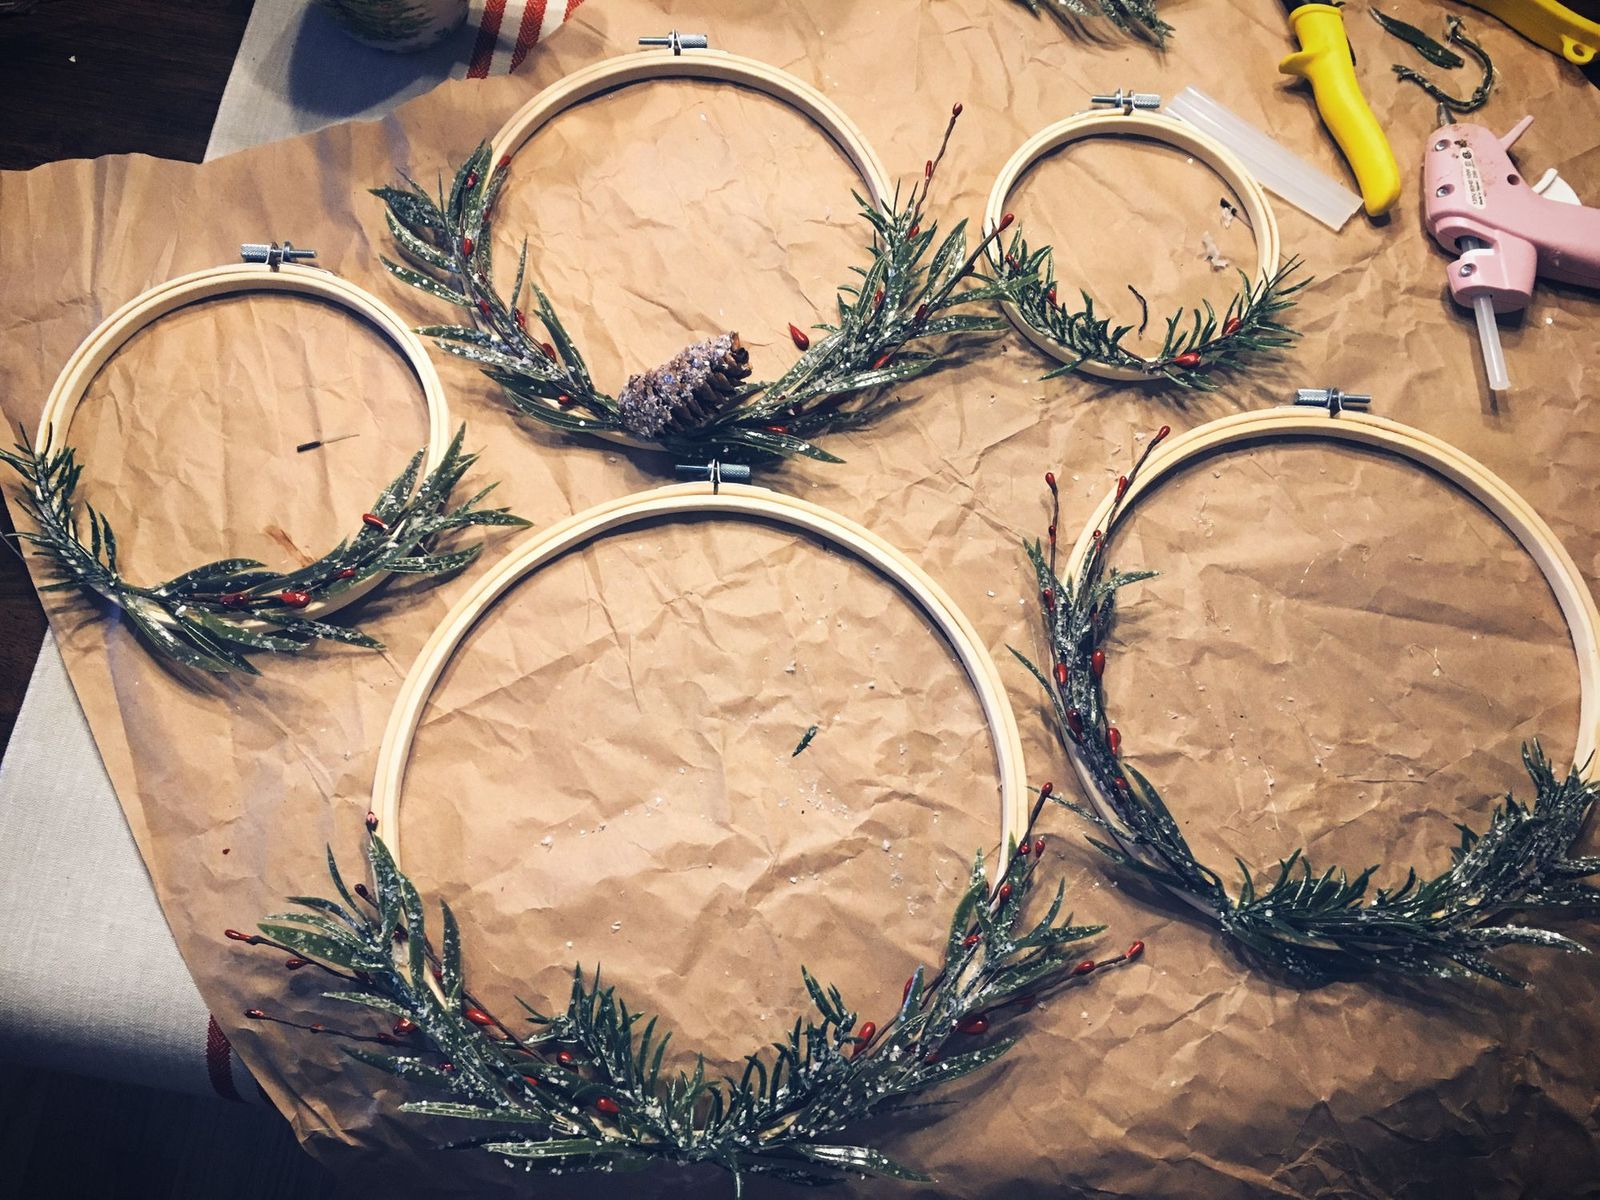
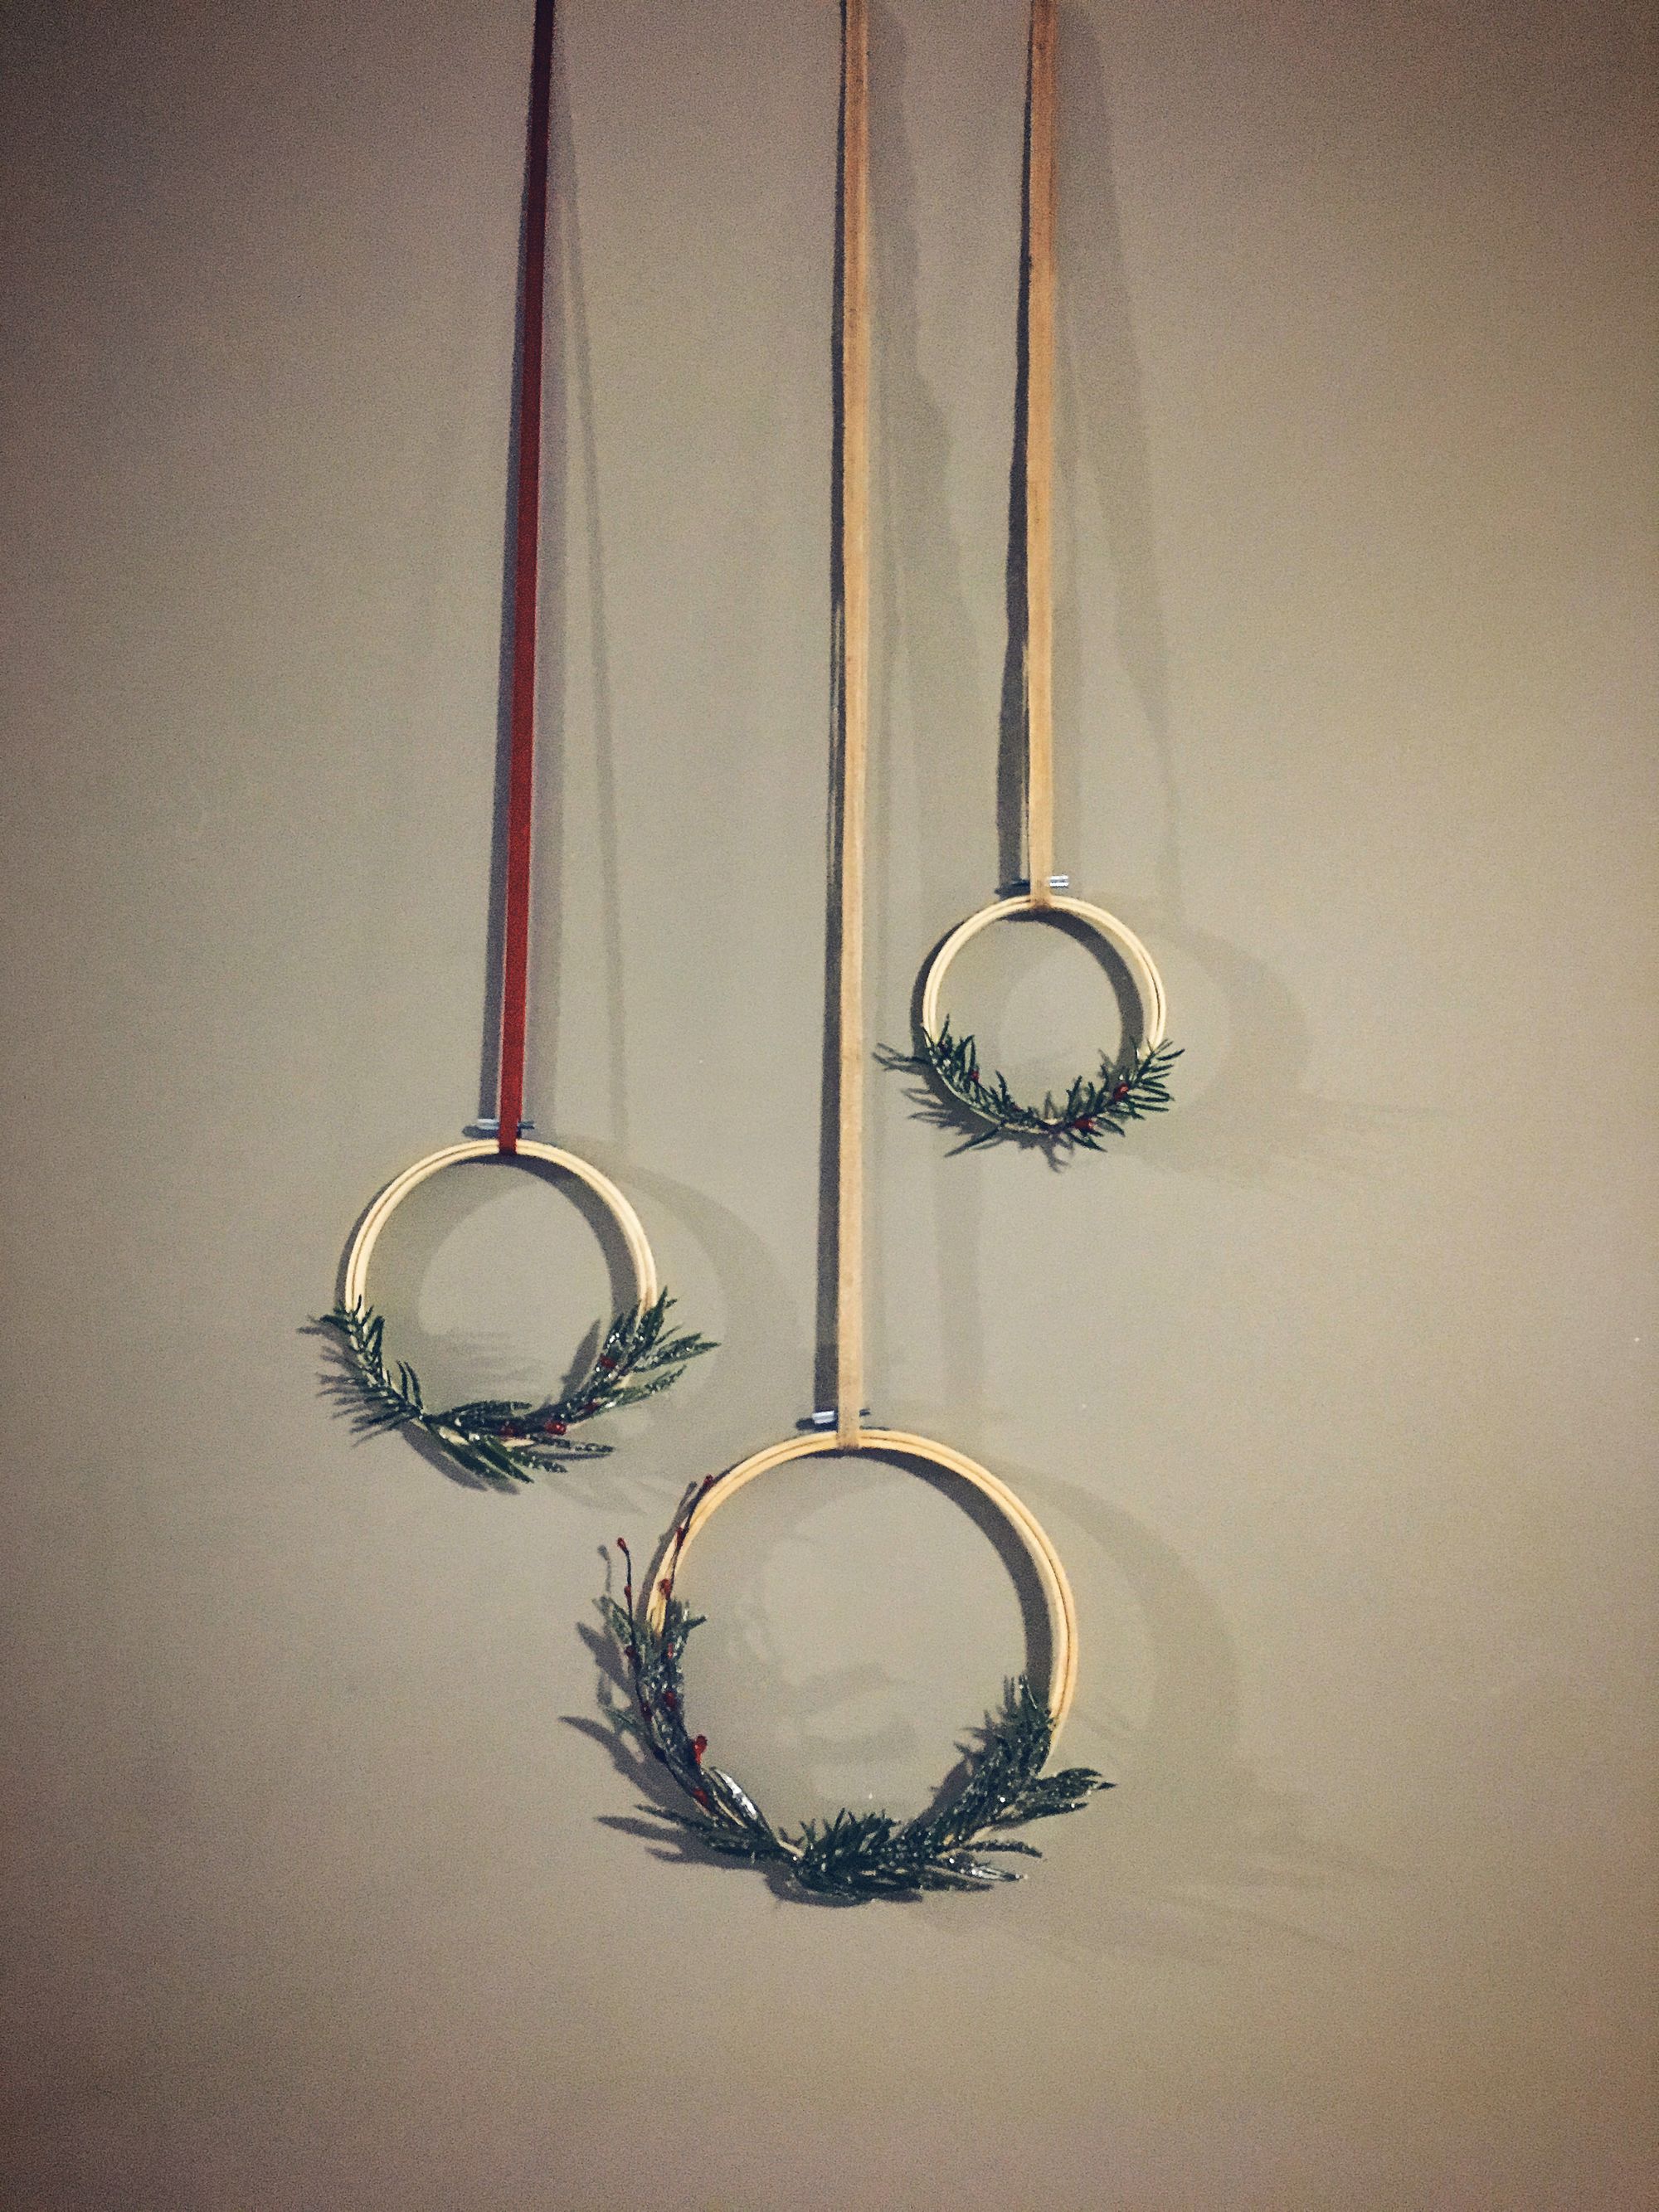
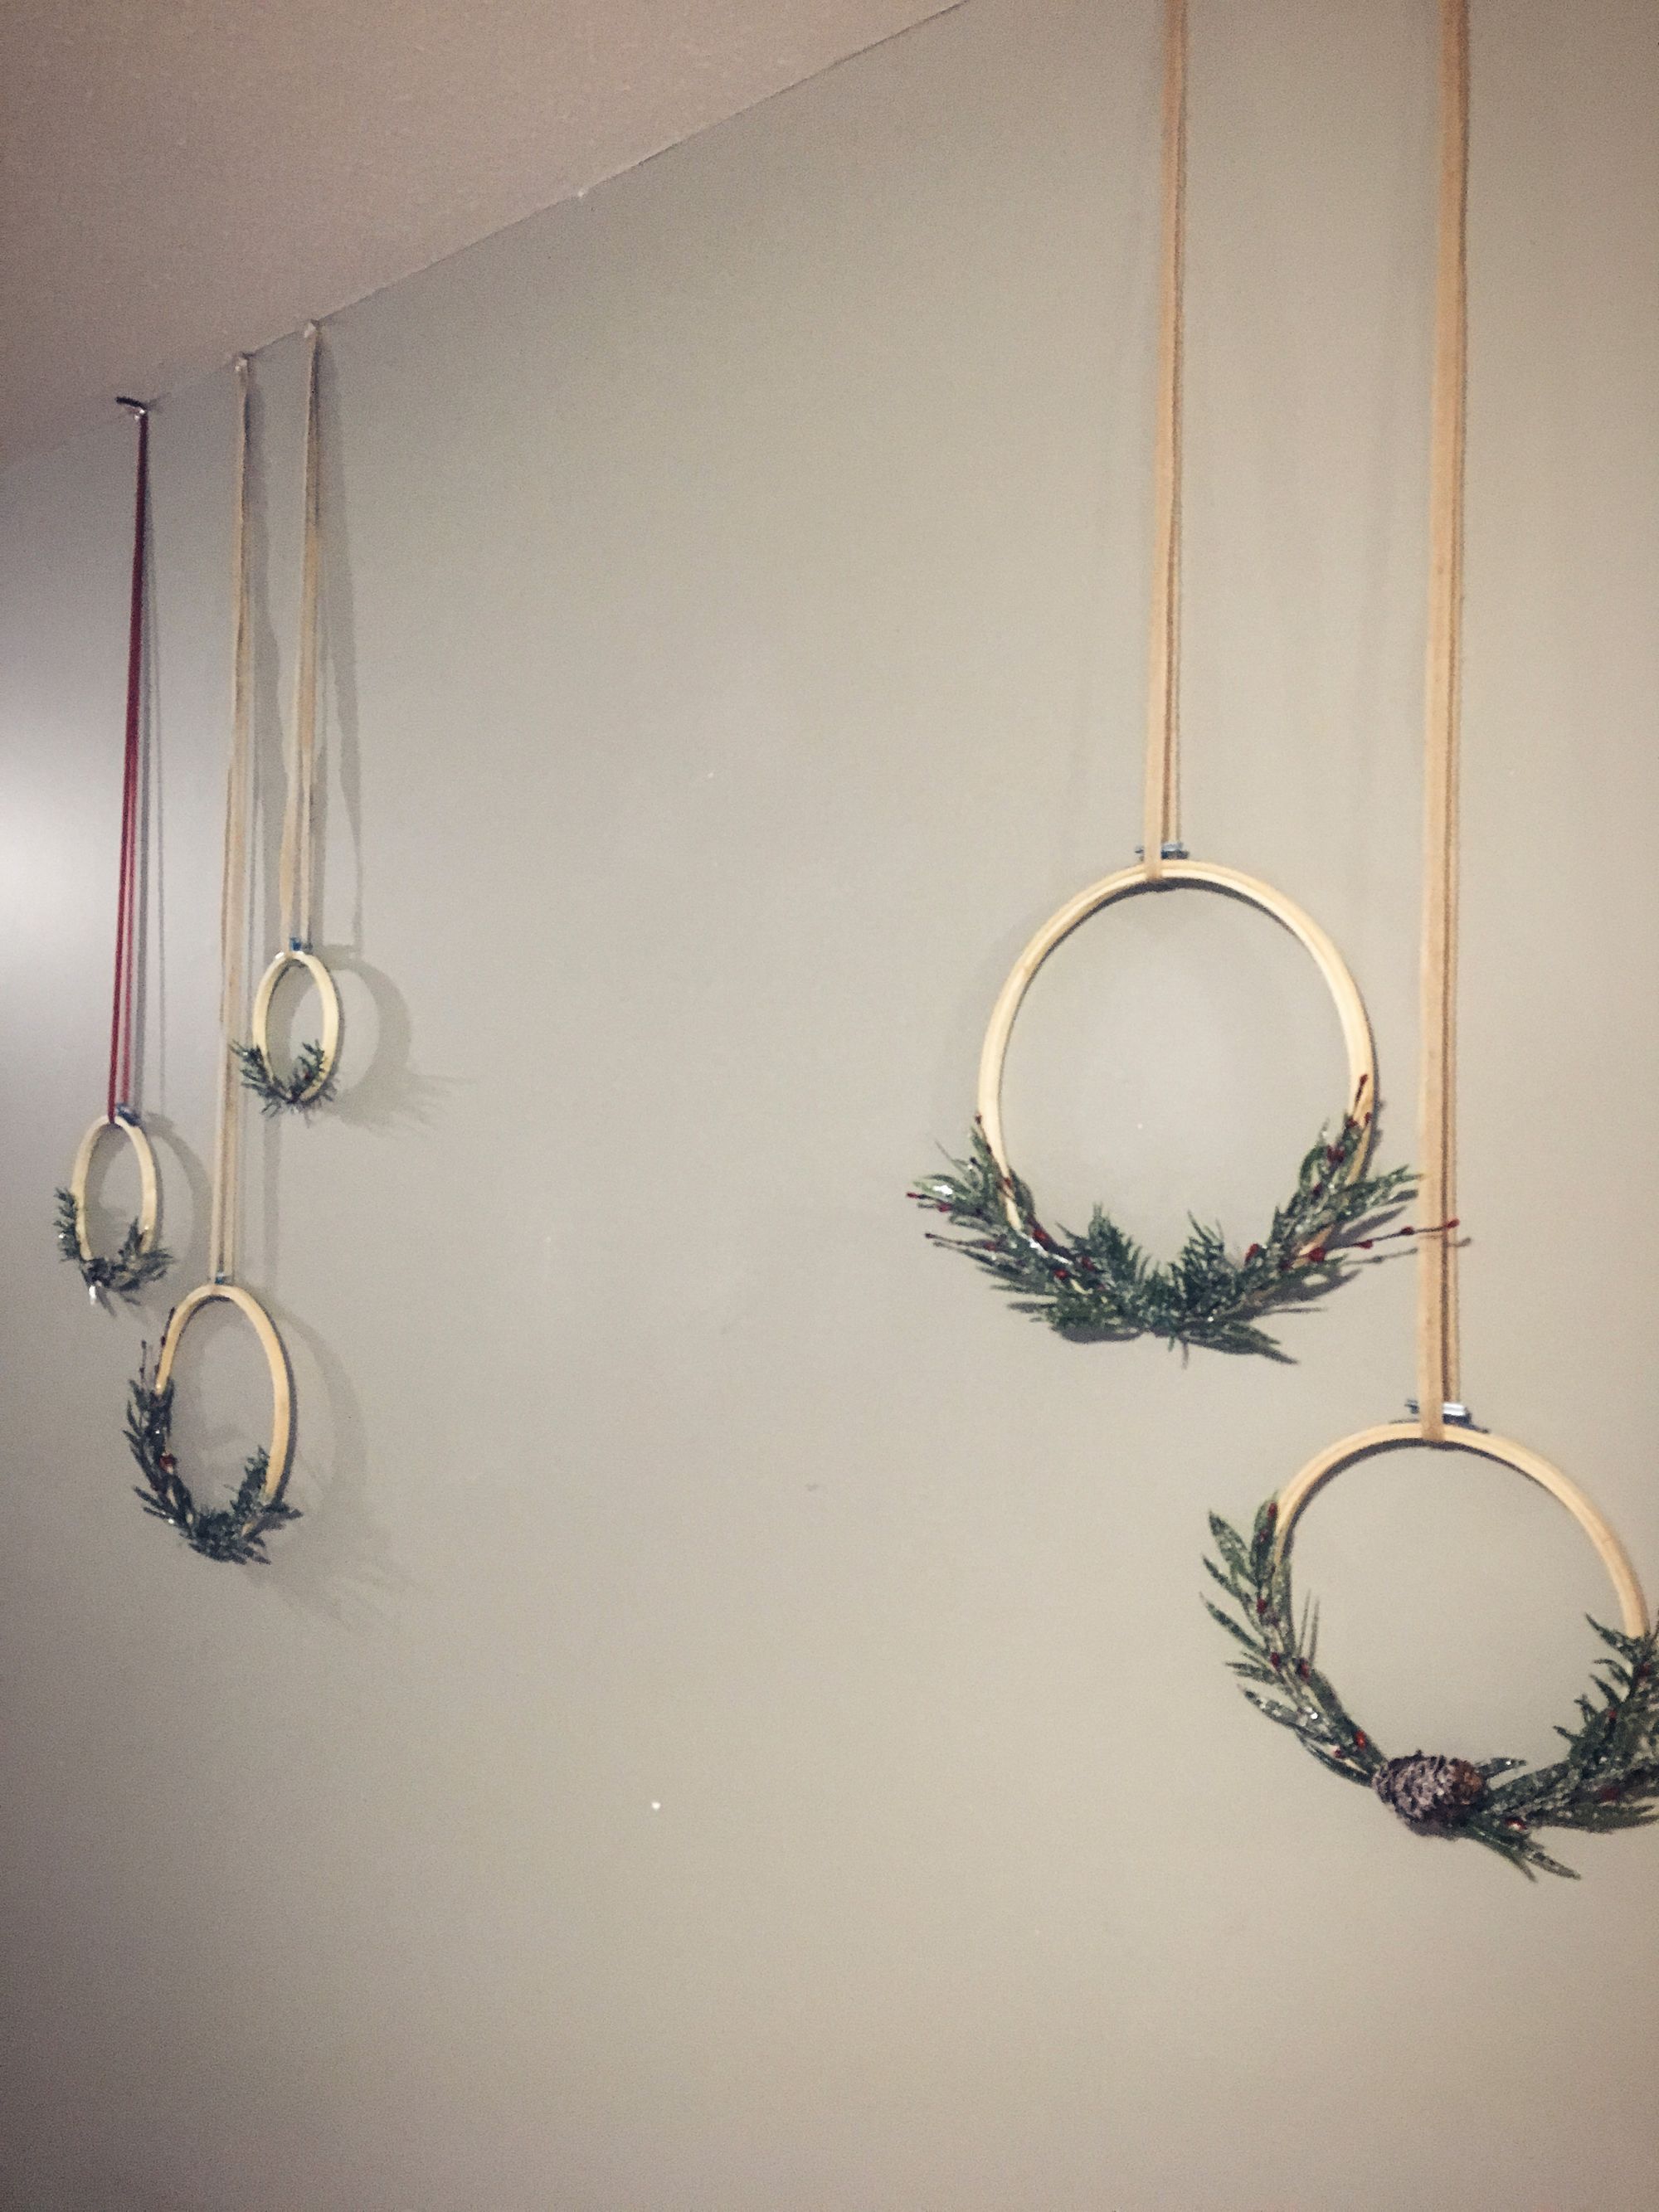
So, this is when I came up with a Christmas wreath idea using those embroidery hoops. I think my first time seeing this idea was over on the Cotton Stem blog. She had done a beautiful array of them in an everyday style over their bed. I figured that a group of them for behind our Christmas tree might be a nice idea. And so this craft was born. And Honestly I am loving how they have turned out! Please note that we haven't got our main tree yet because our son has asked if we can have a real one-this will be his first real tree! So we are waiting another week to get it. But I'll be sure to post a full picture with it as soon as I can!
What You'll Need:
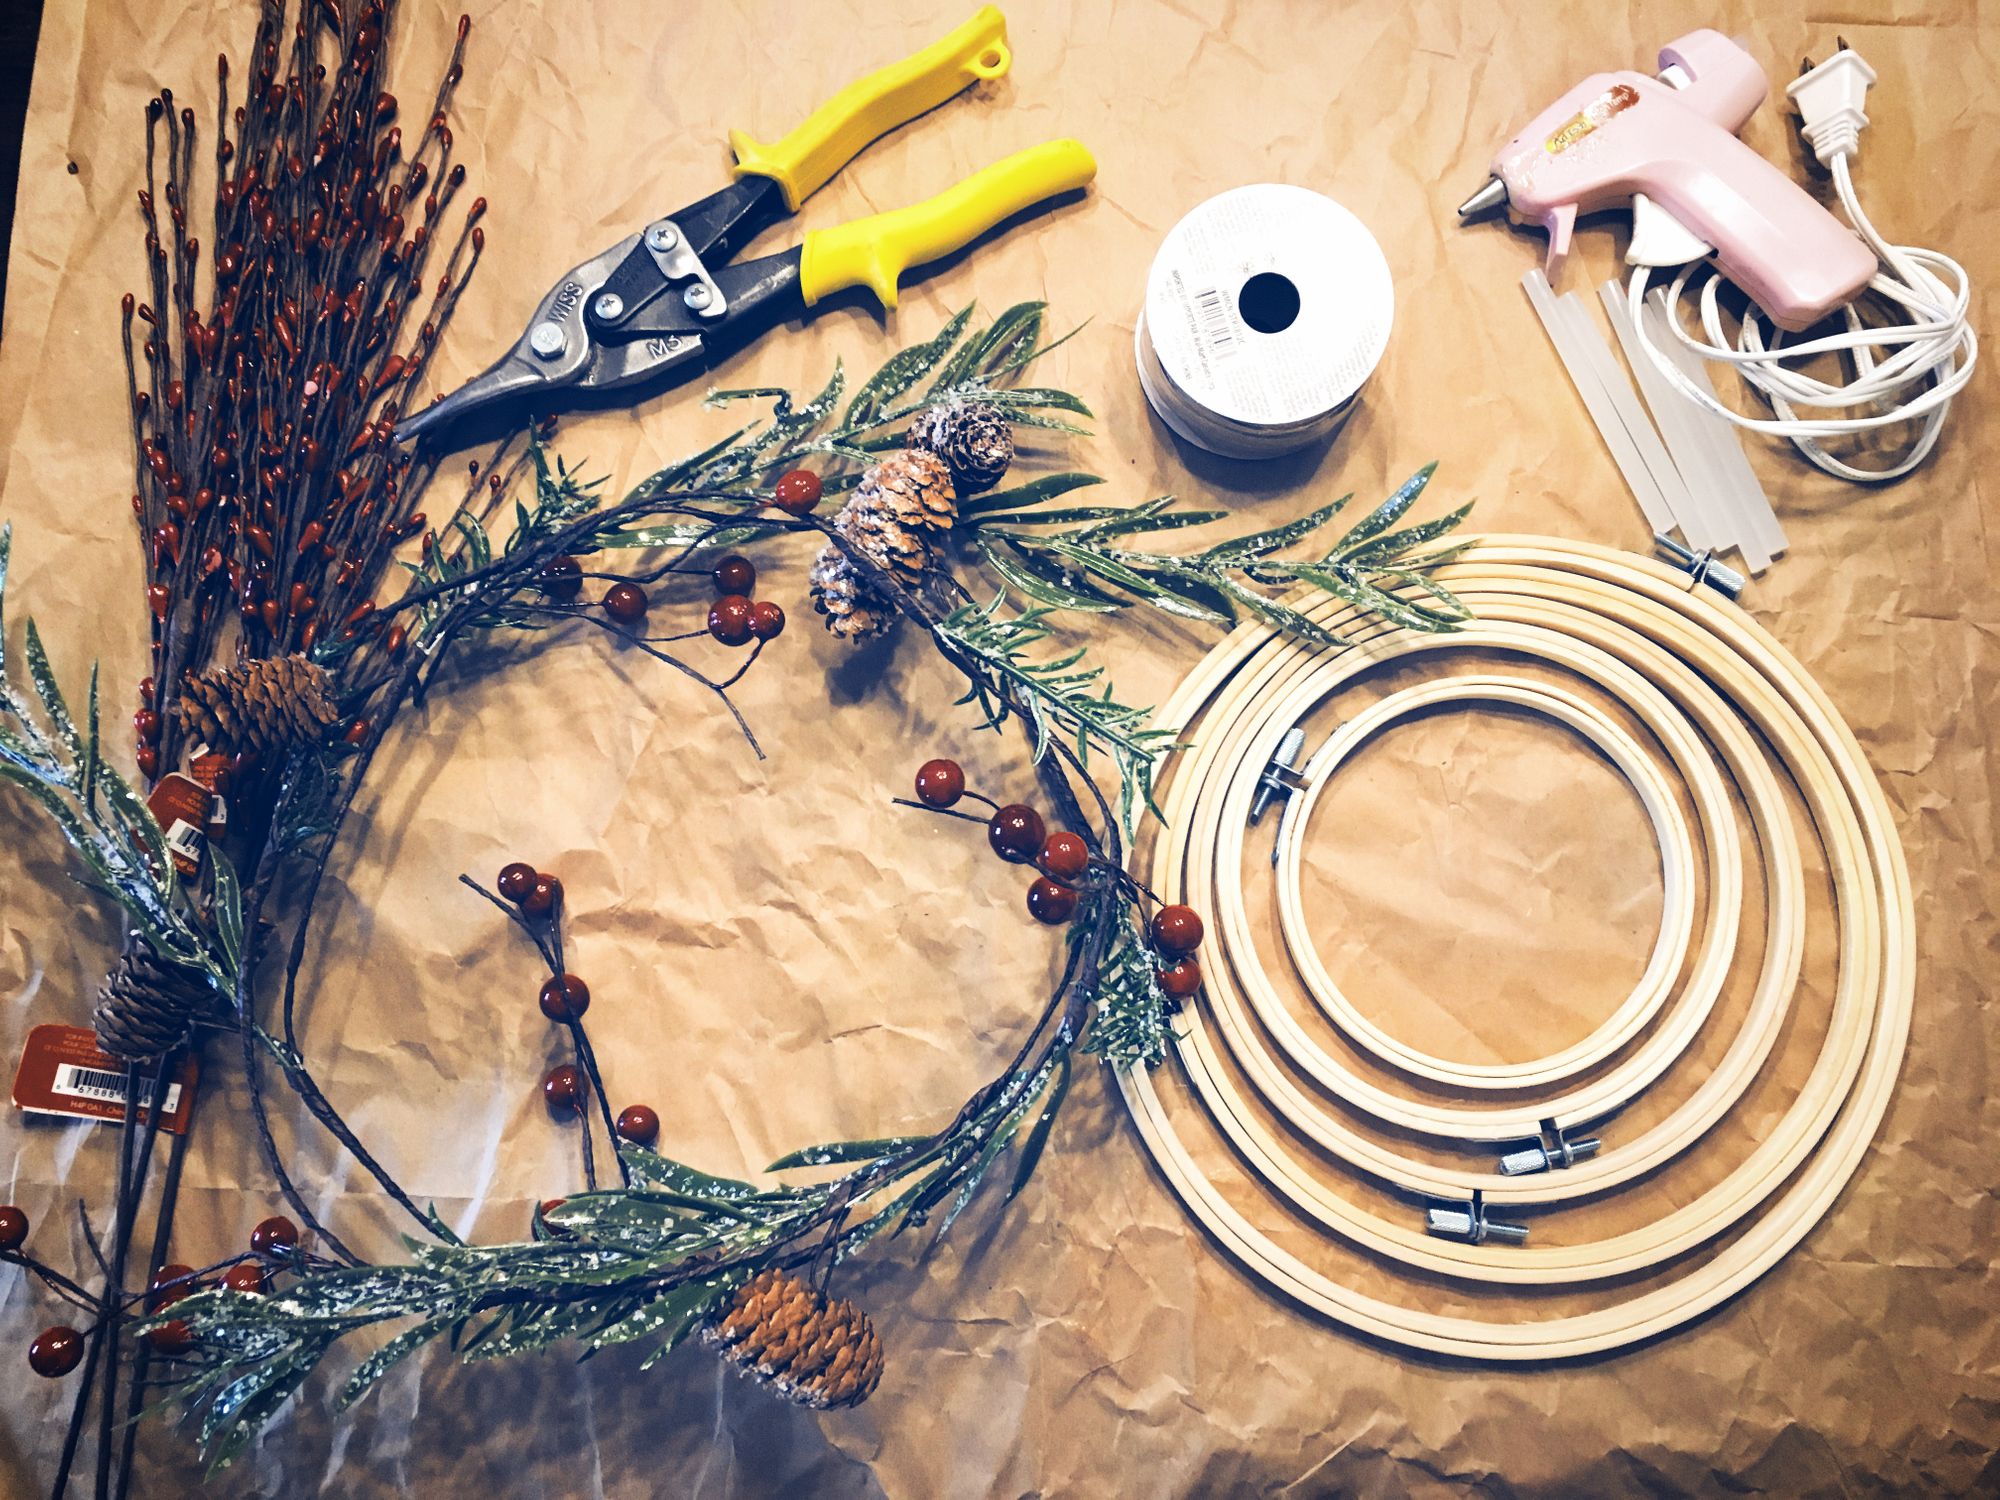
- Embroidery Hoops in your desired sizes. I got this set from here .
- Garland and berry picks of your choice. I bought mine at my local dollar store.
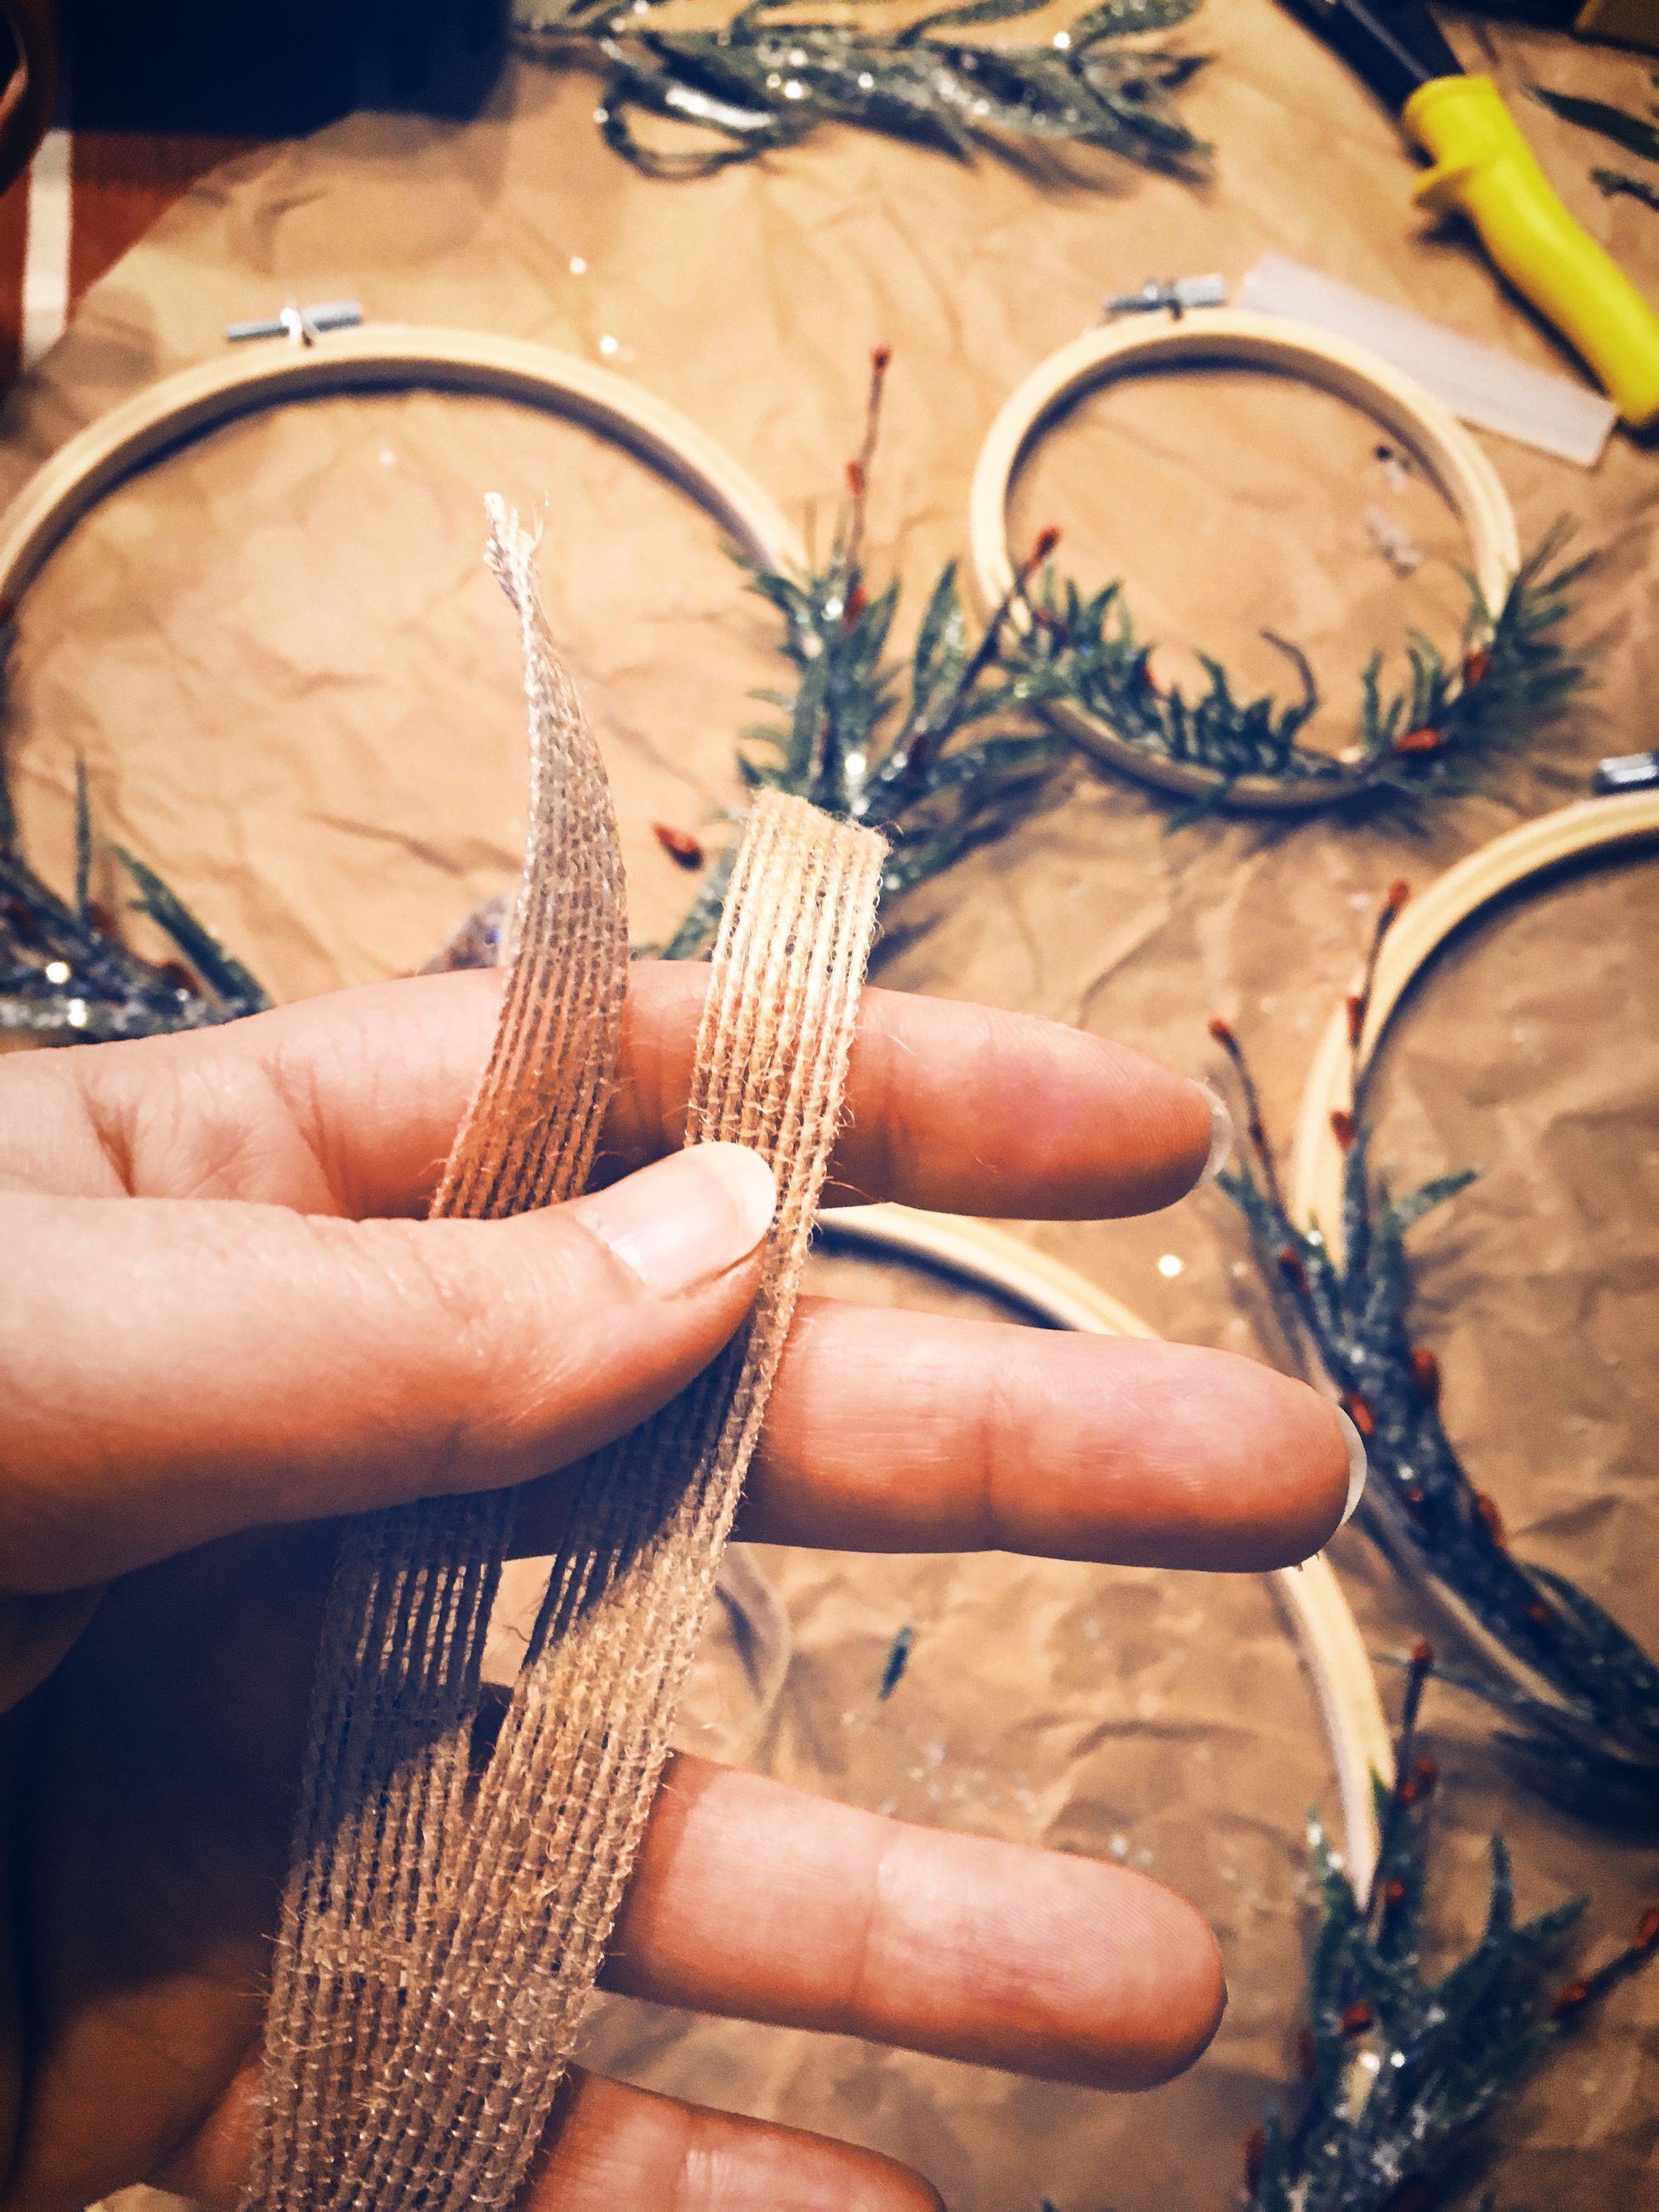
- Ribbon of your choice. I loved this burlap style for Walmart! (As you'll see I ran out and so used some red for the time being on the last one.)
- Hot Glue Gun and Sticks
- Wire Snippers
- Scissors (not shown)
- Thumbtacks (not shown, but need to hang)
Instructions:
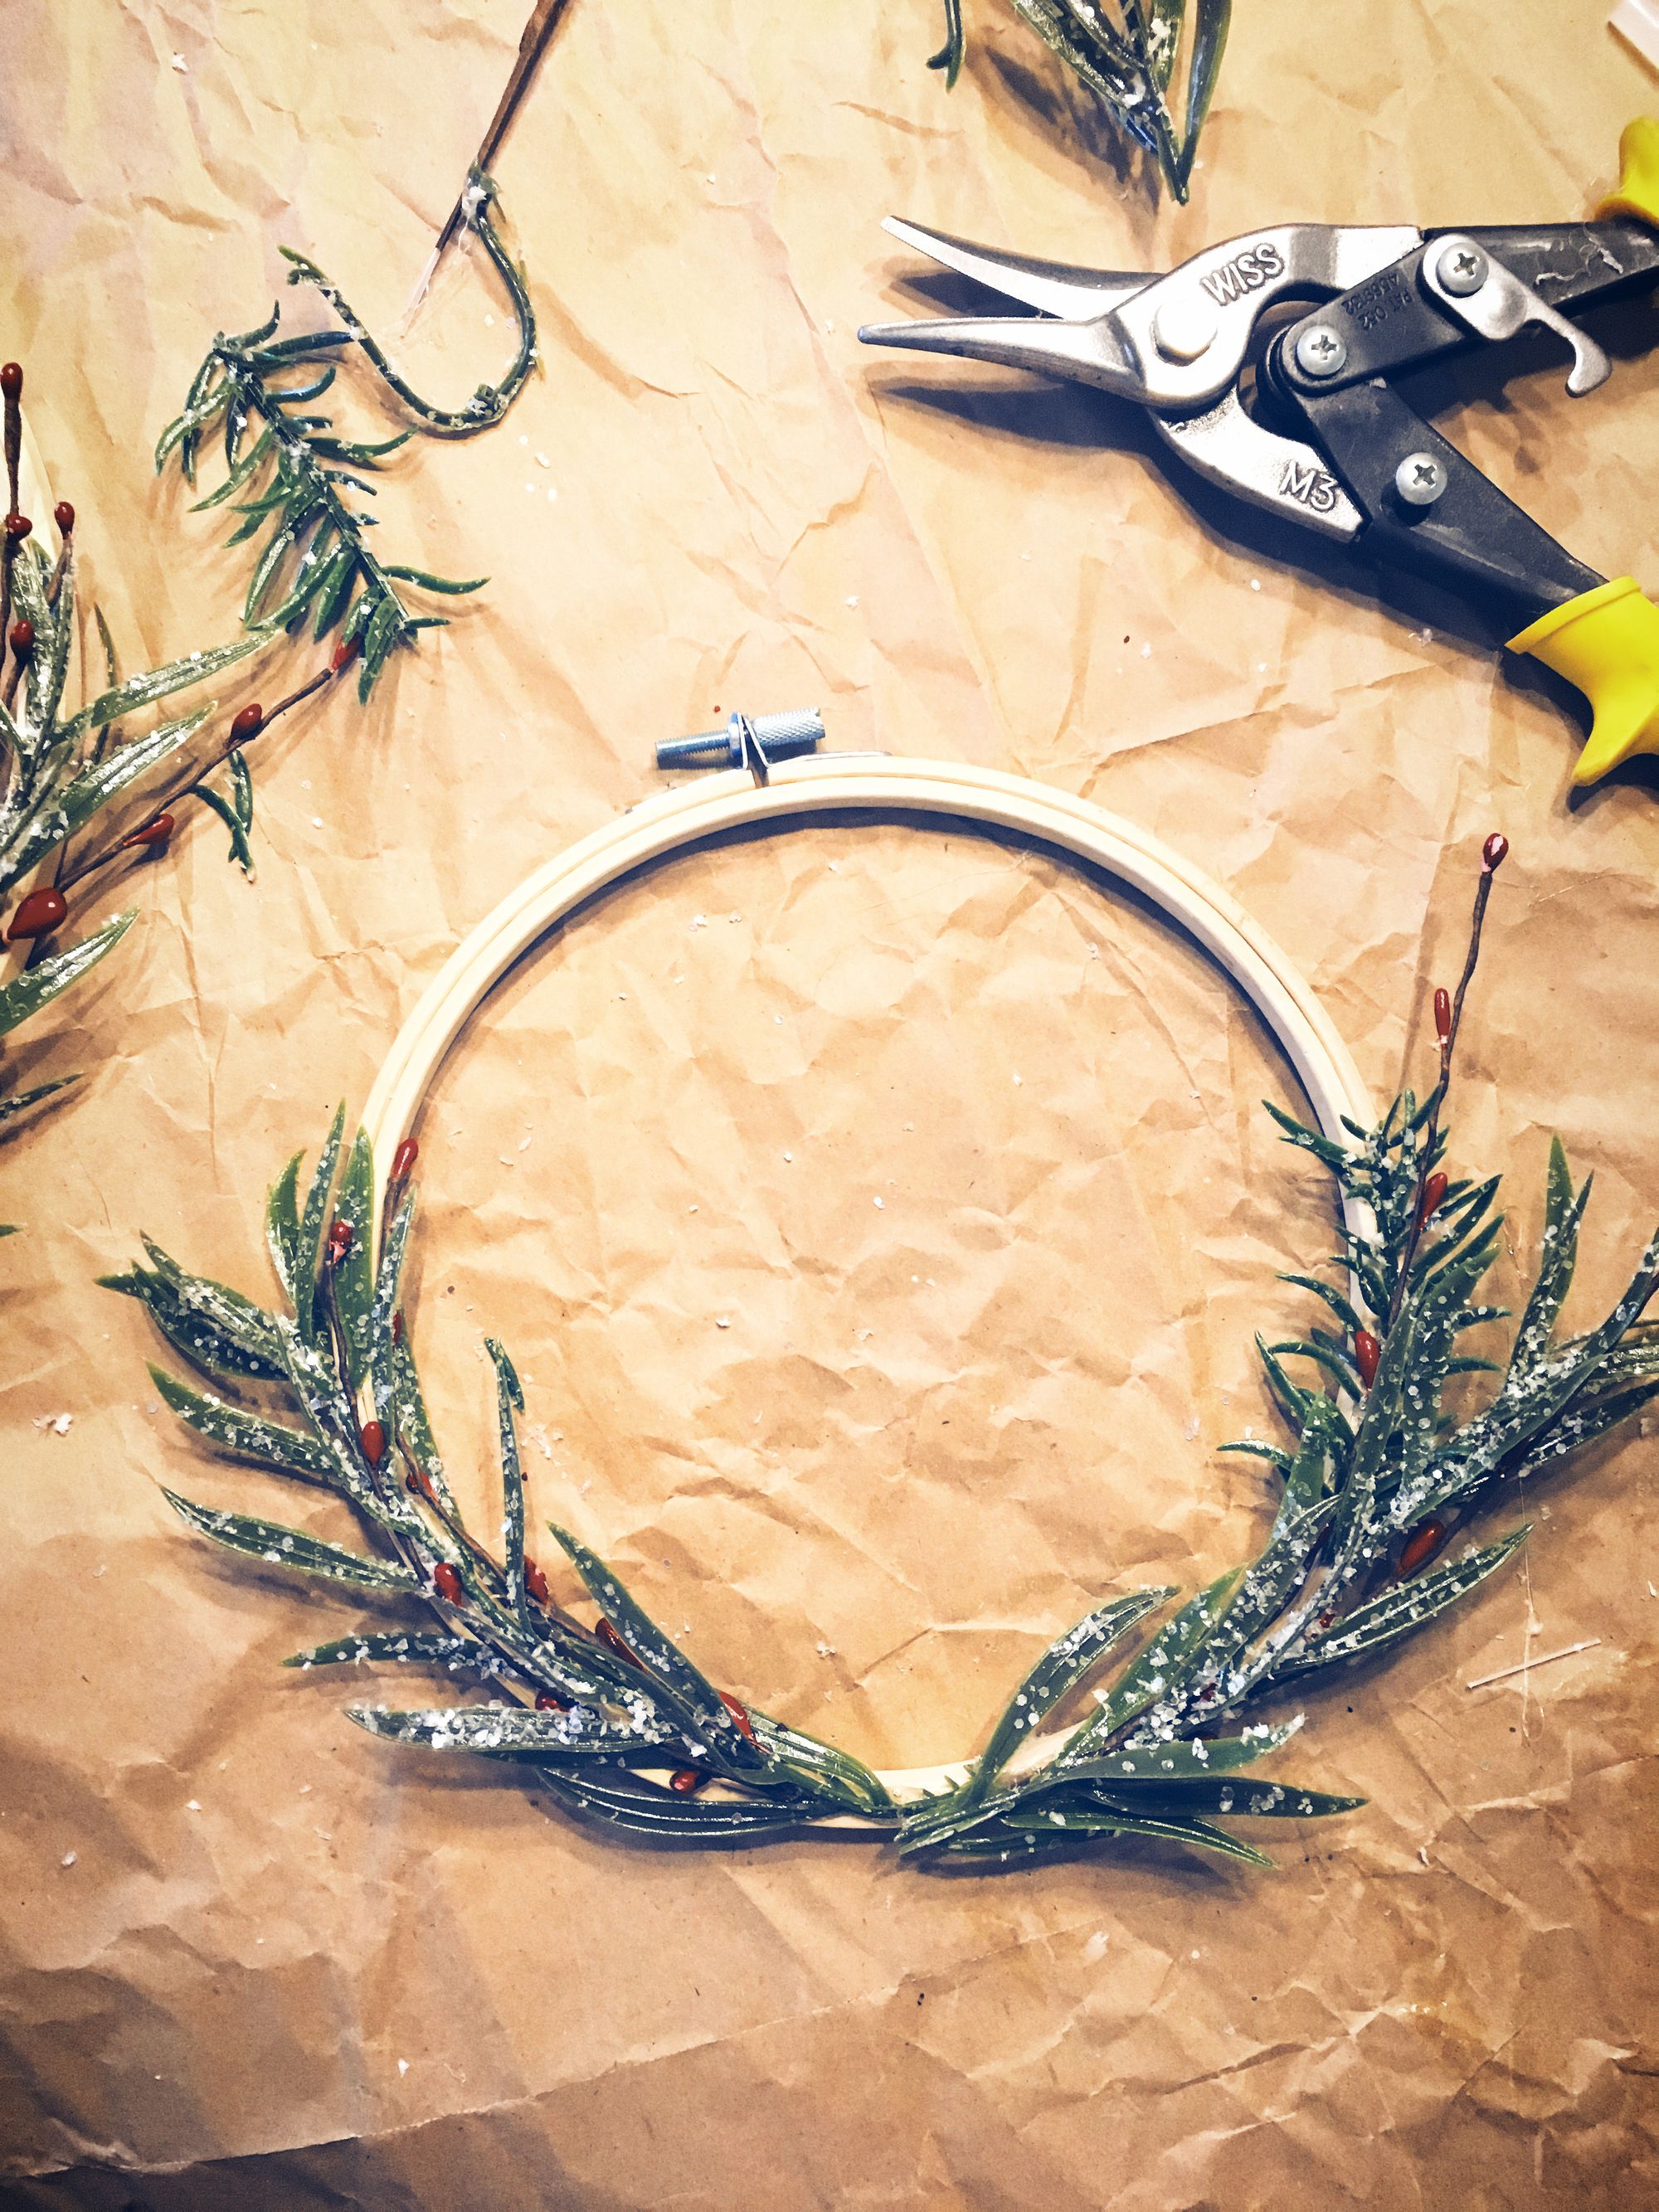
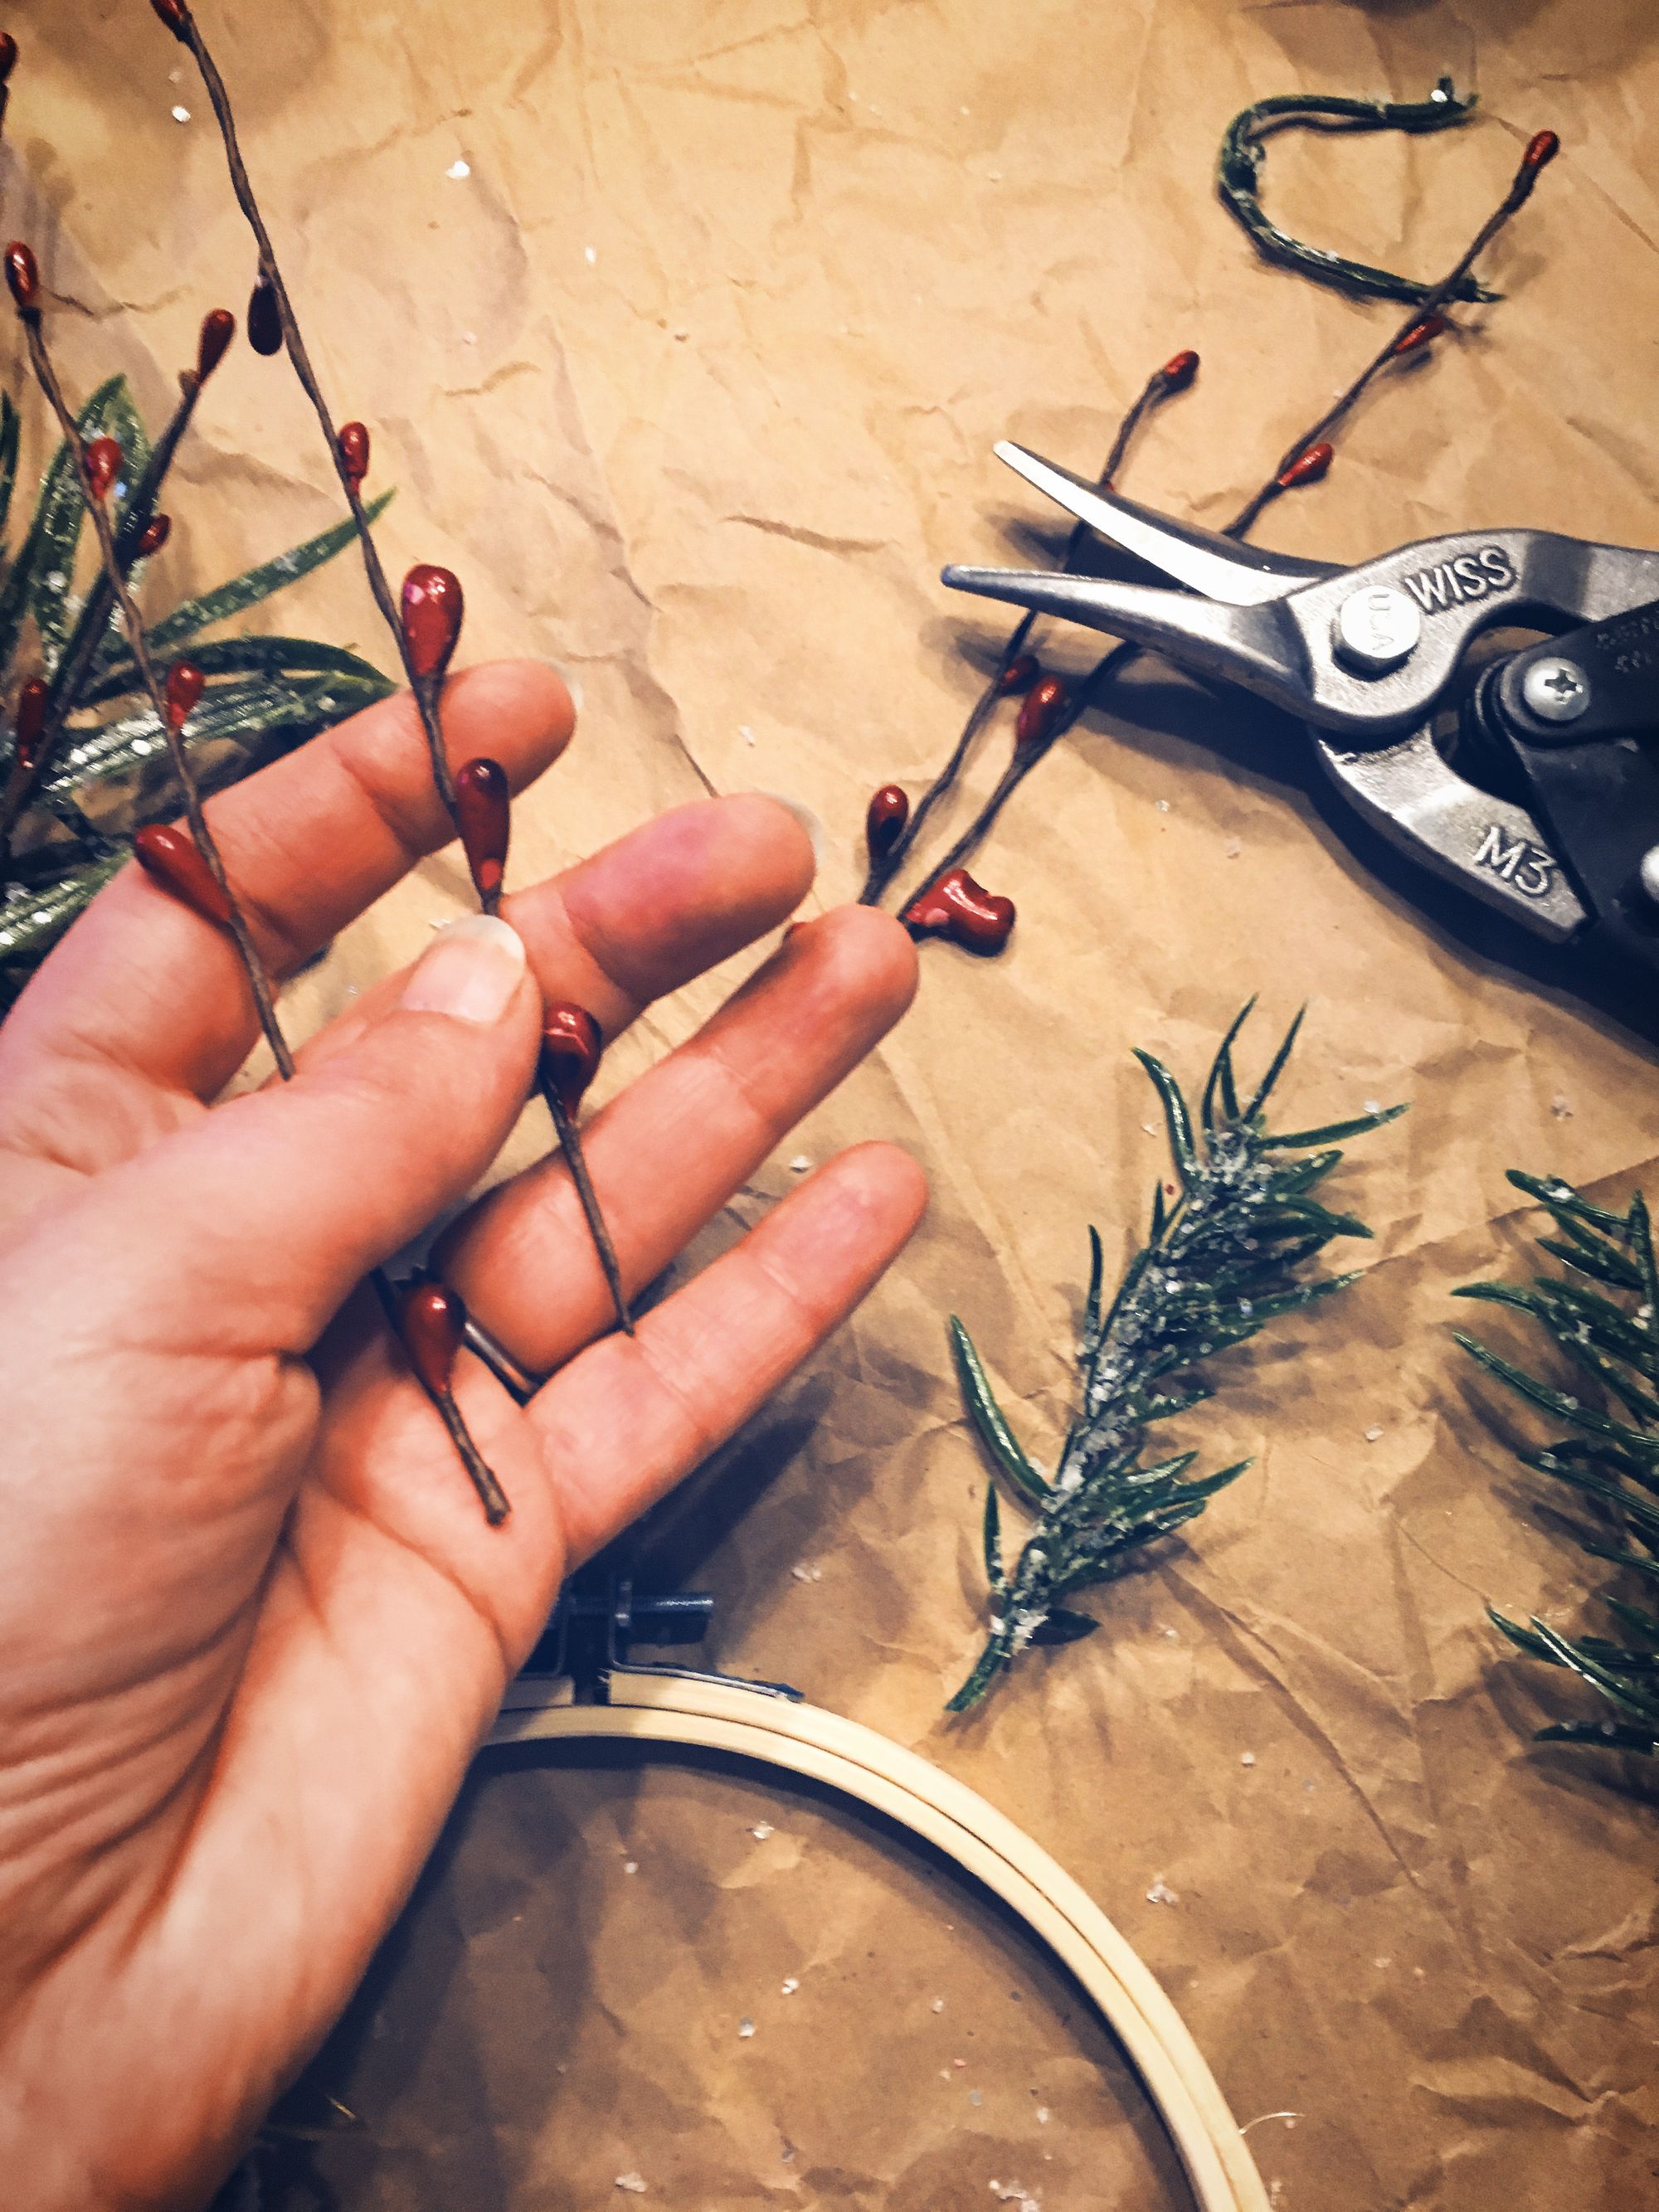
Step One:
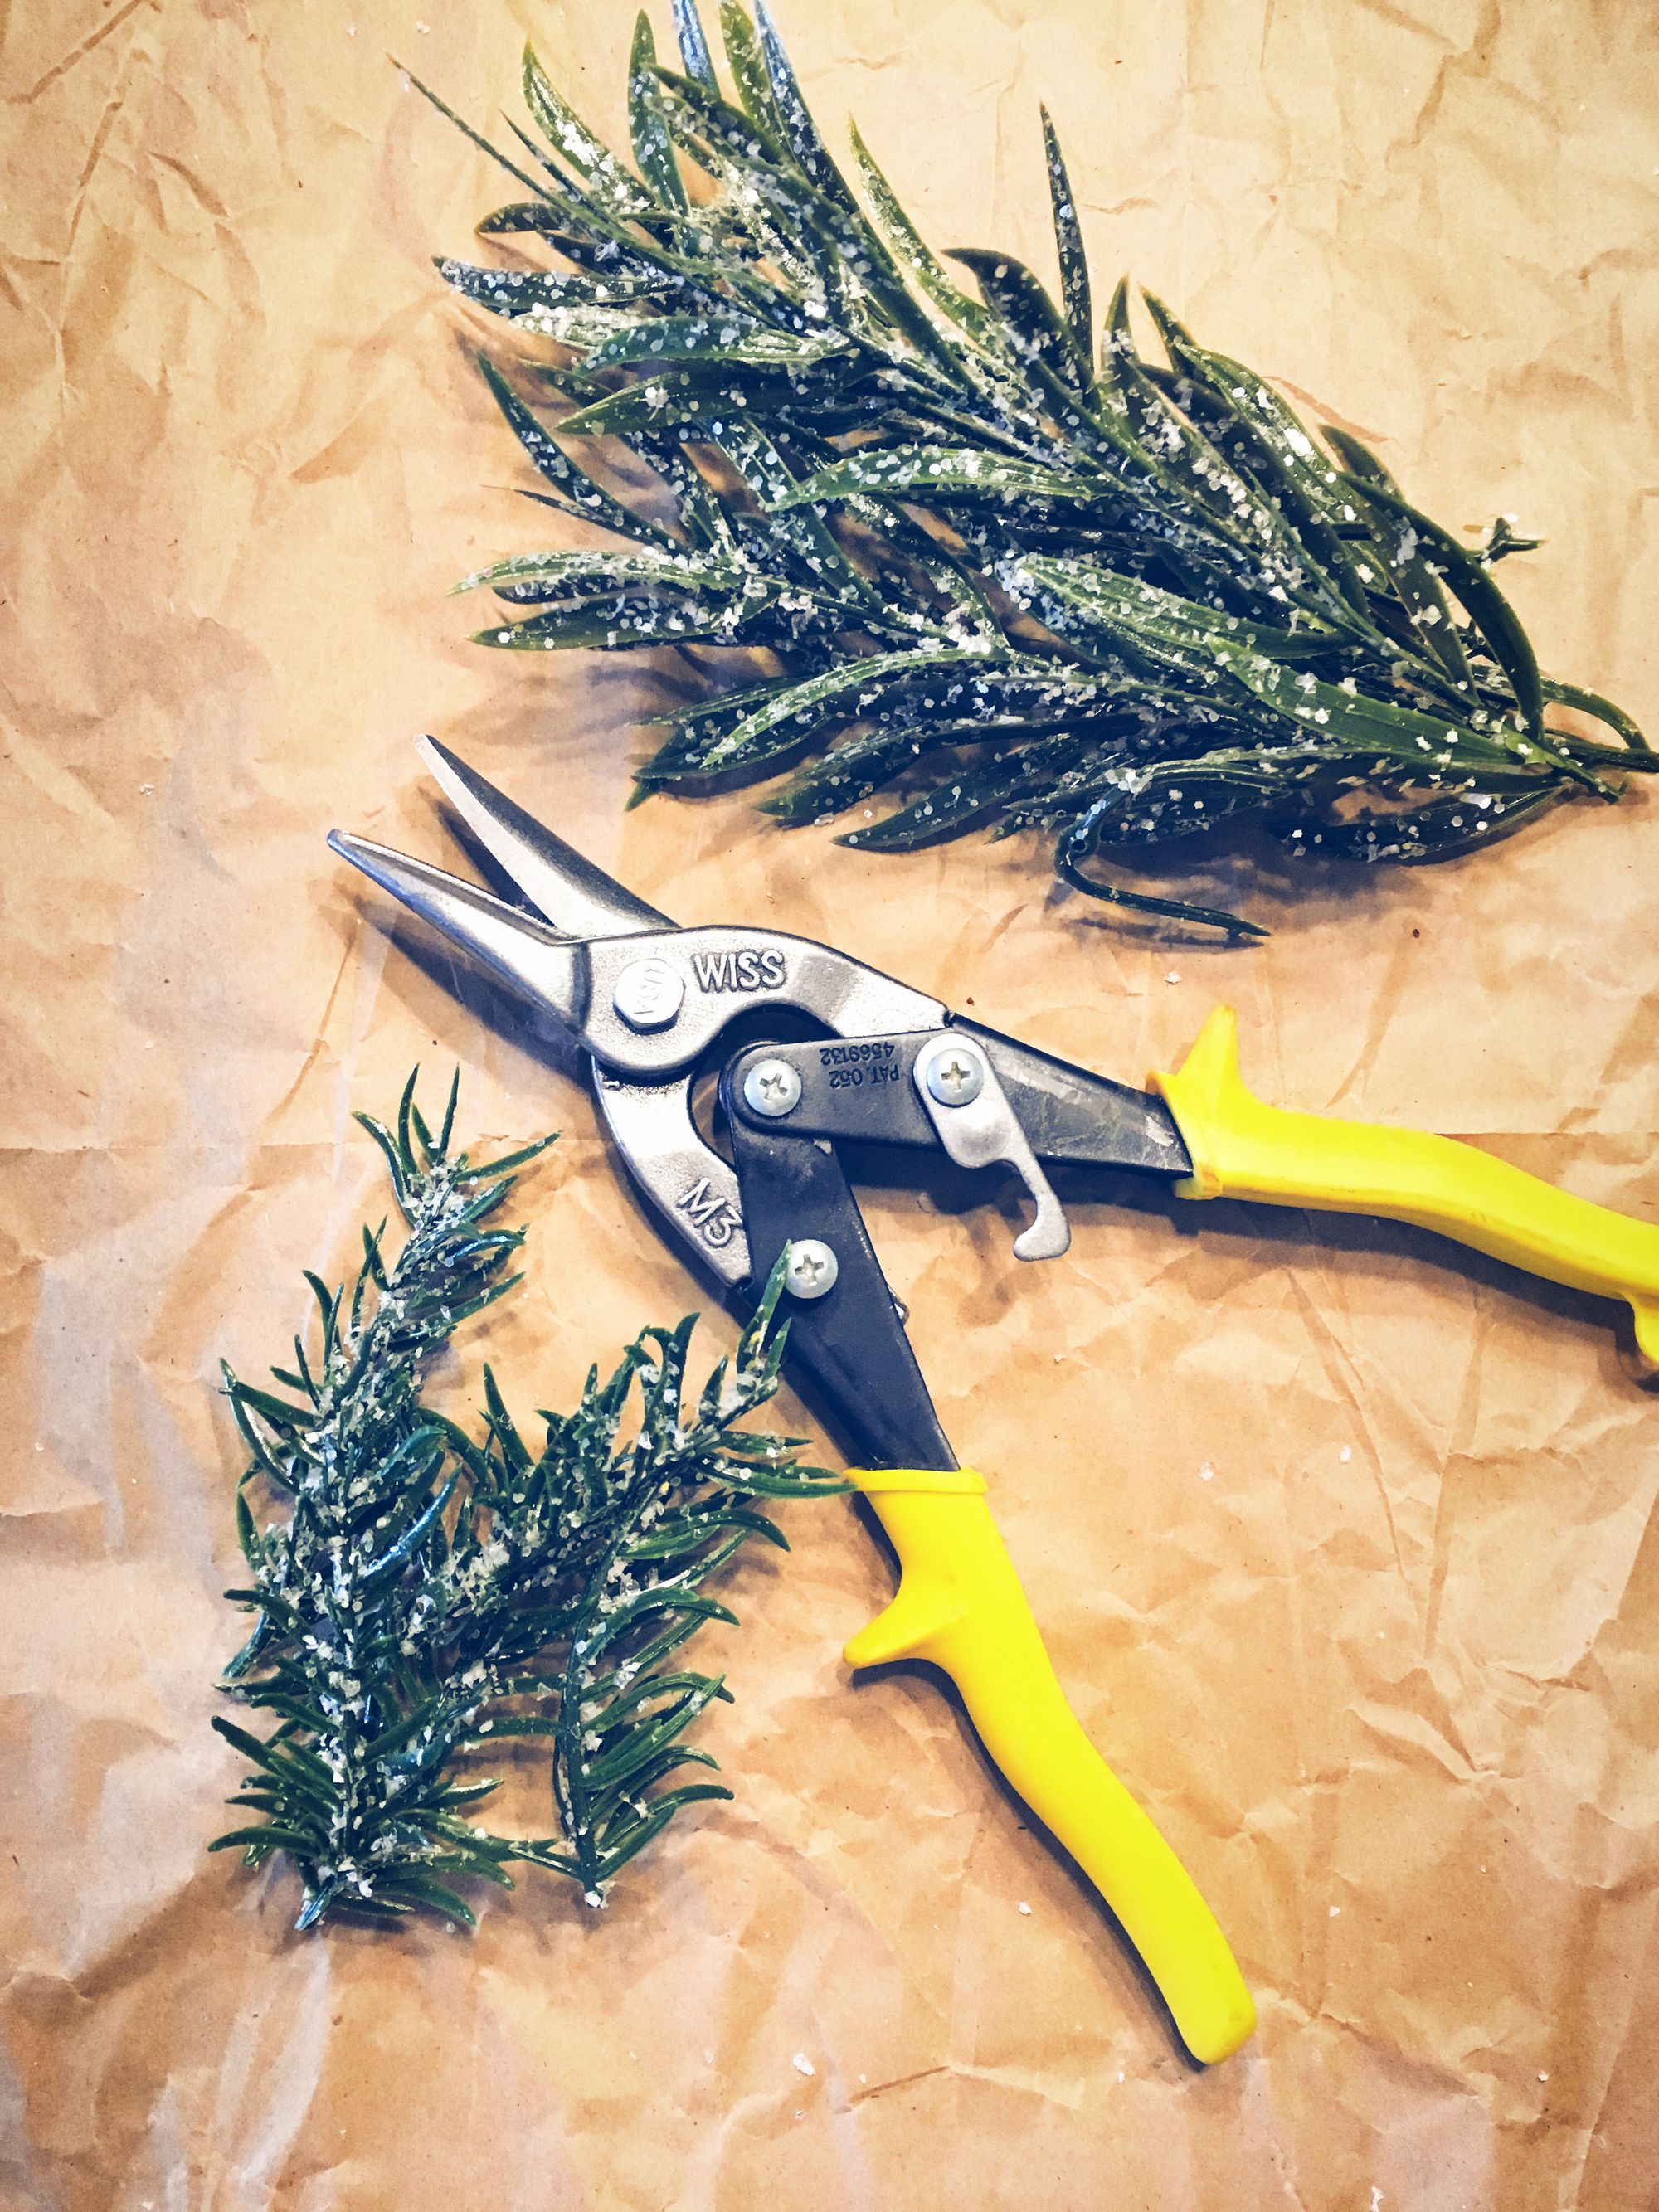
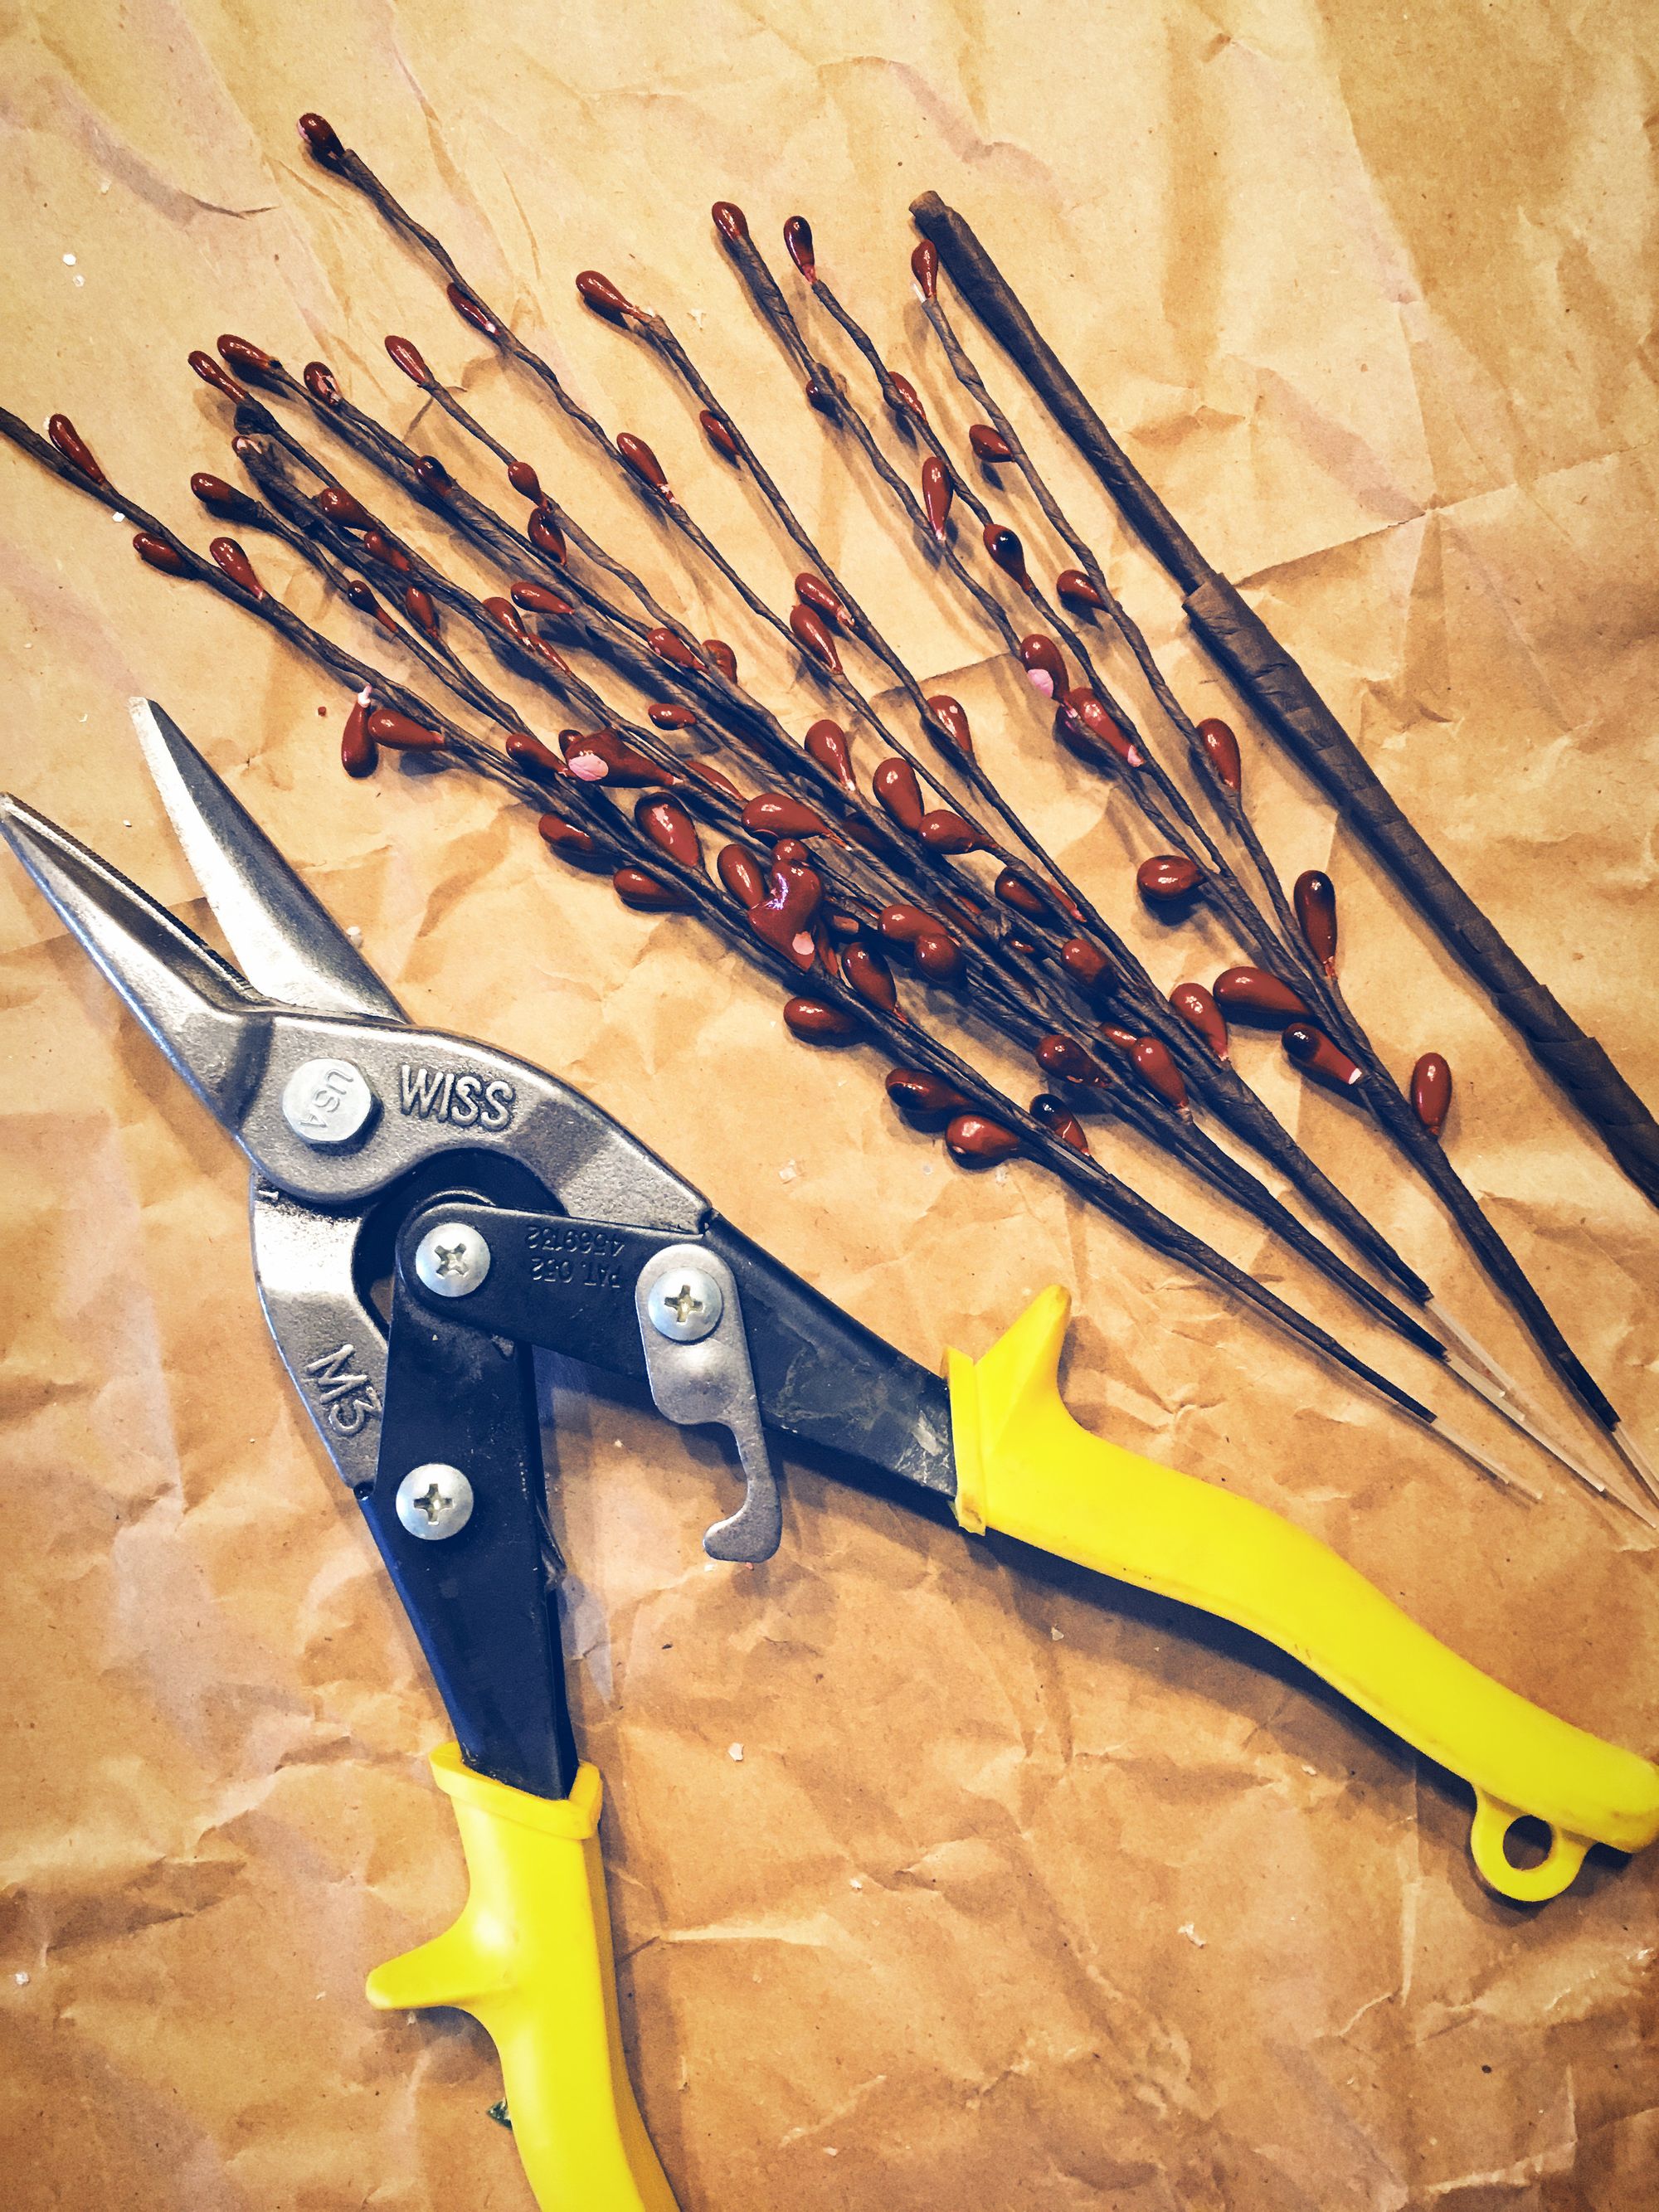
Begin by clipping the greenery and berries, etc from the main stems that you wont be using.
Step Two:
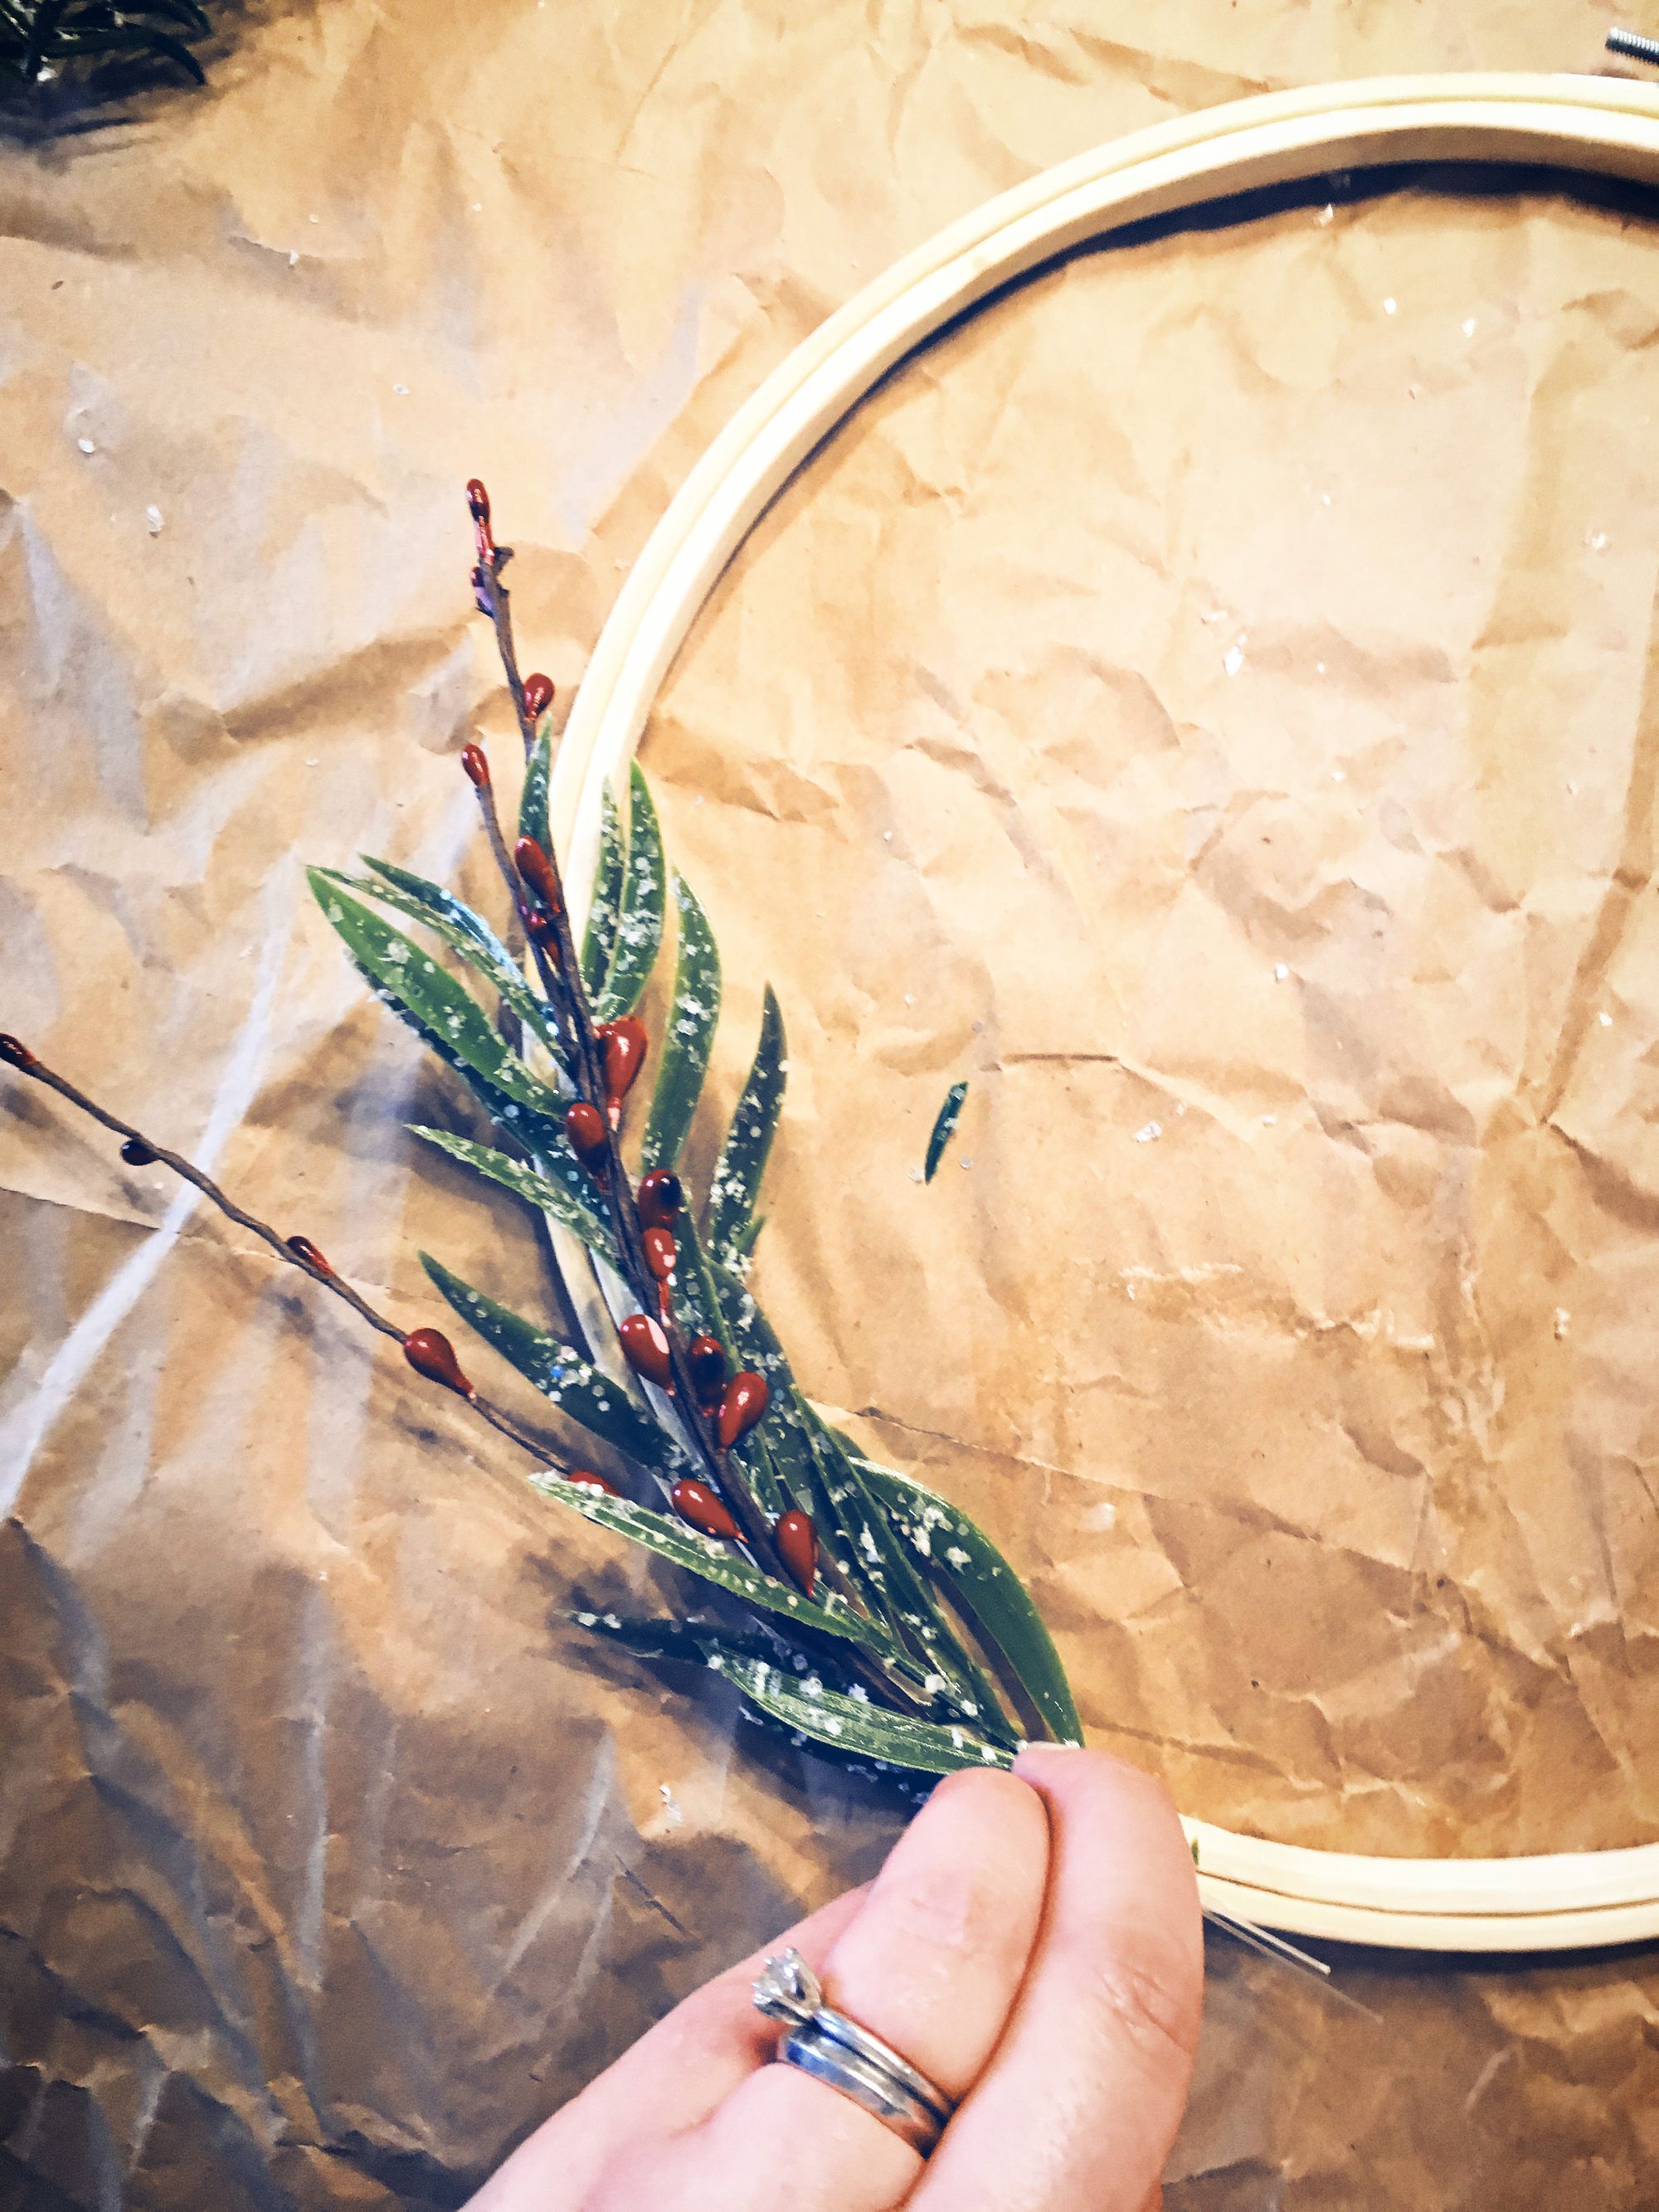
Before any gluing, arrange the pieces. Play around with them and don't be afraid to think outside the guidelines I am giving. I prefer a less is more, but you might like more!
Step Three:
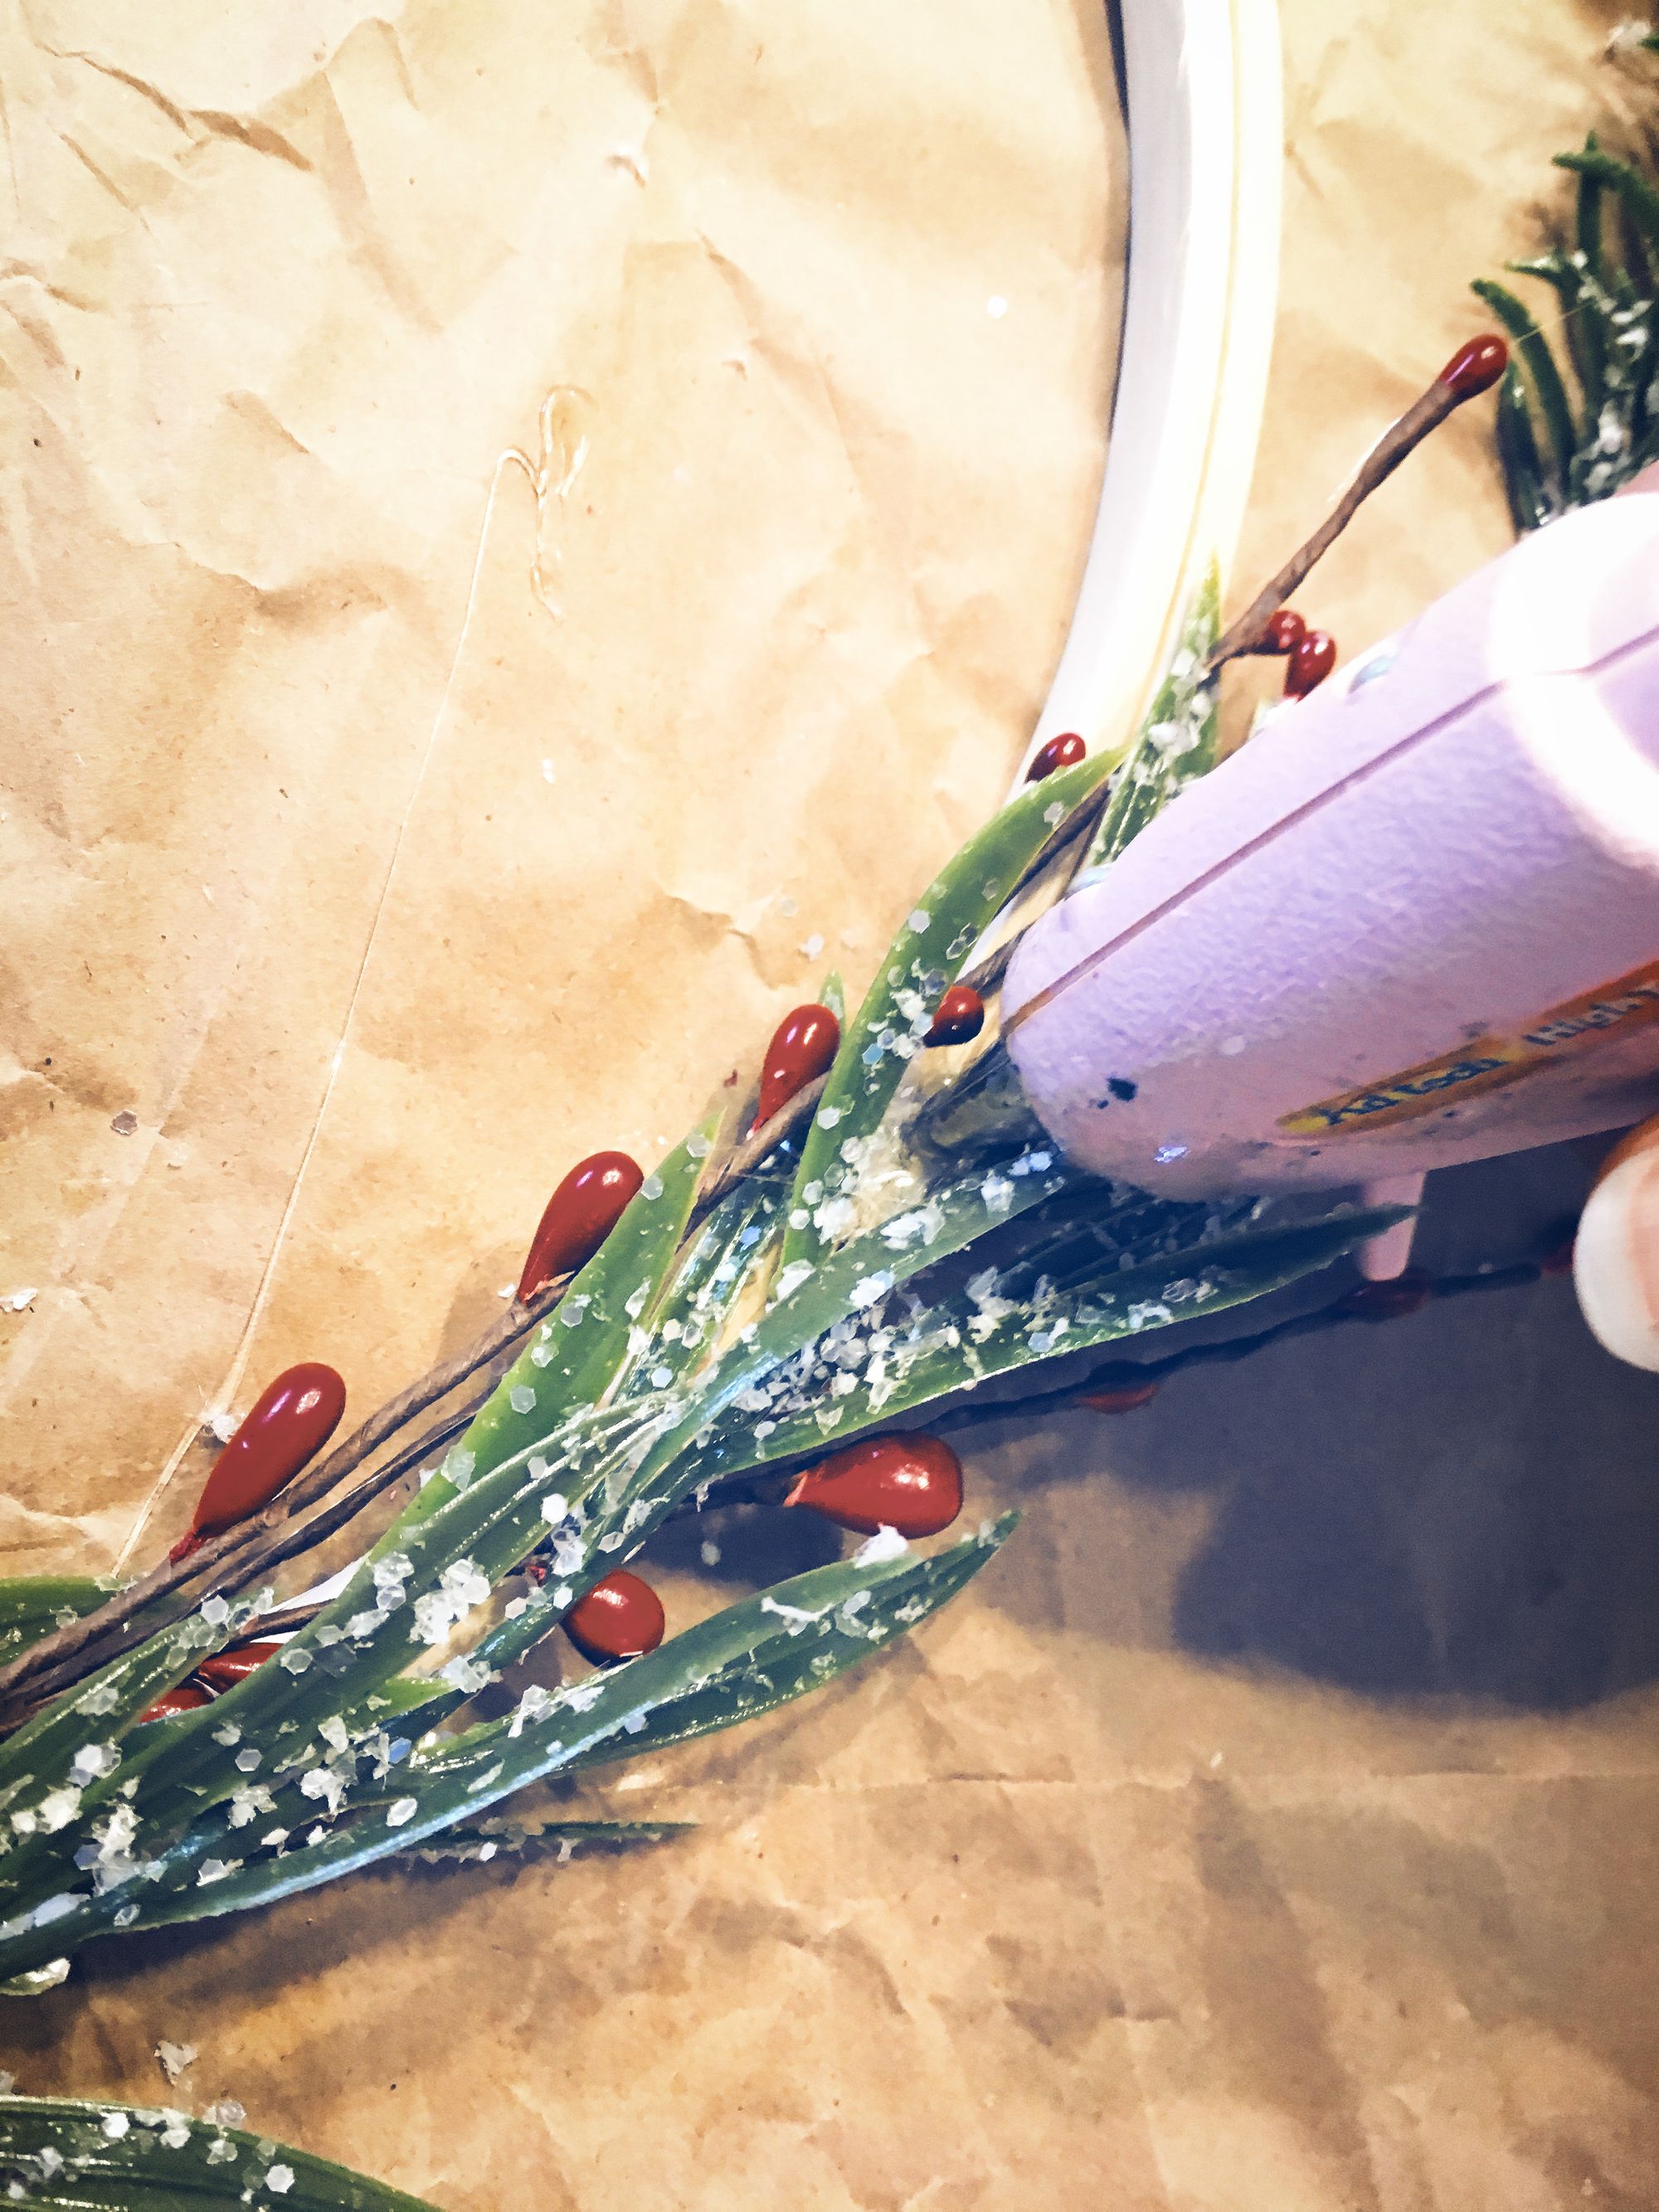
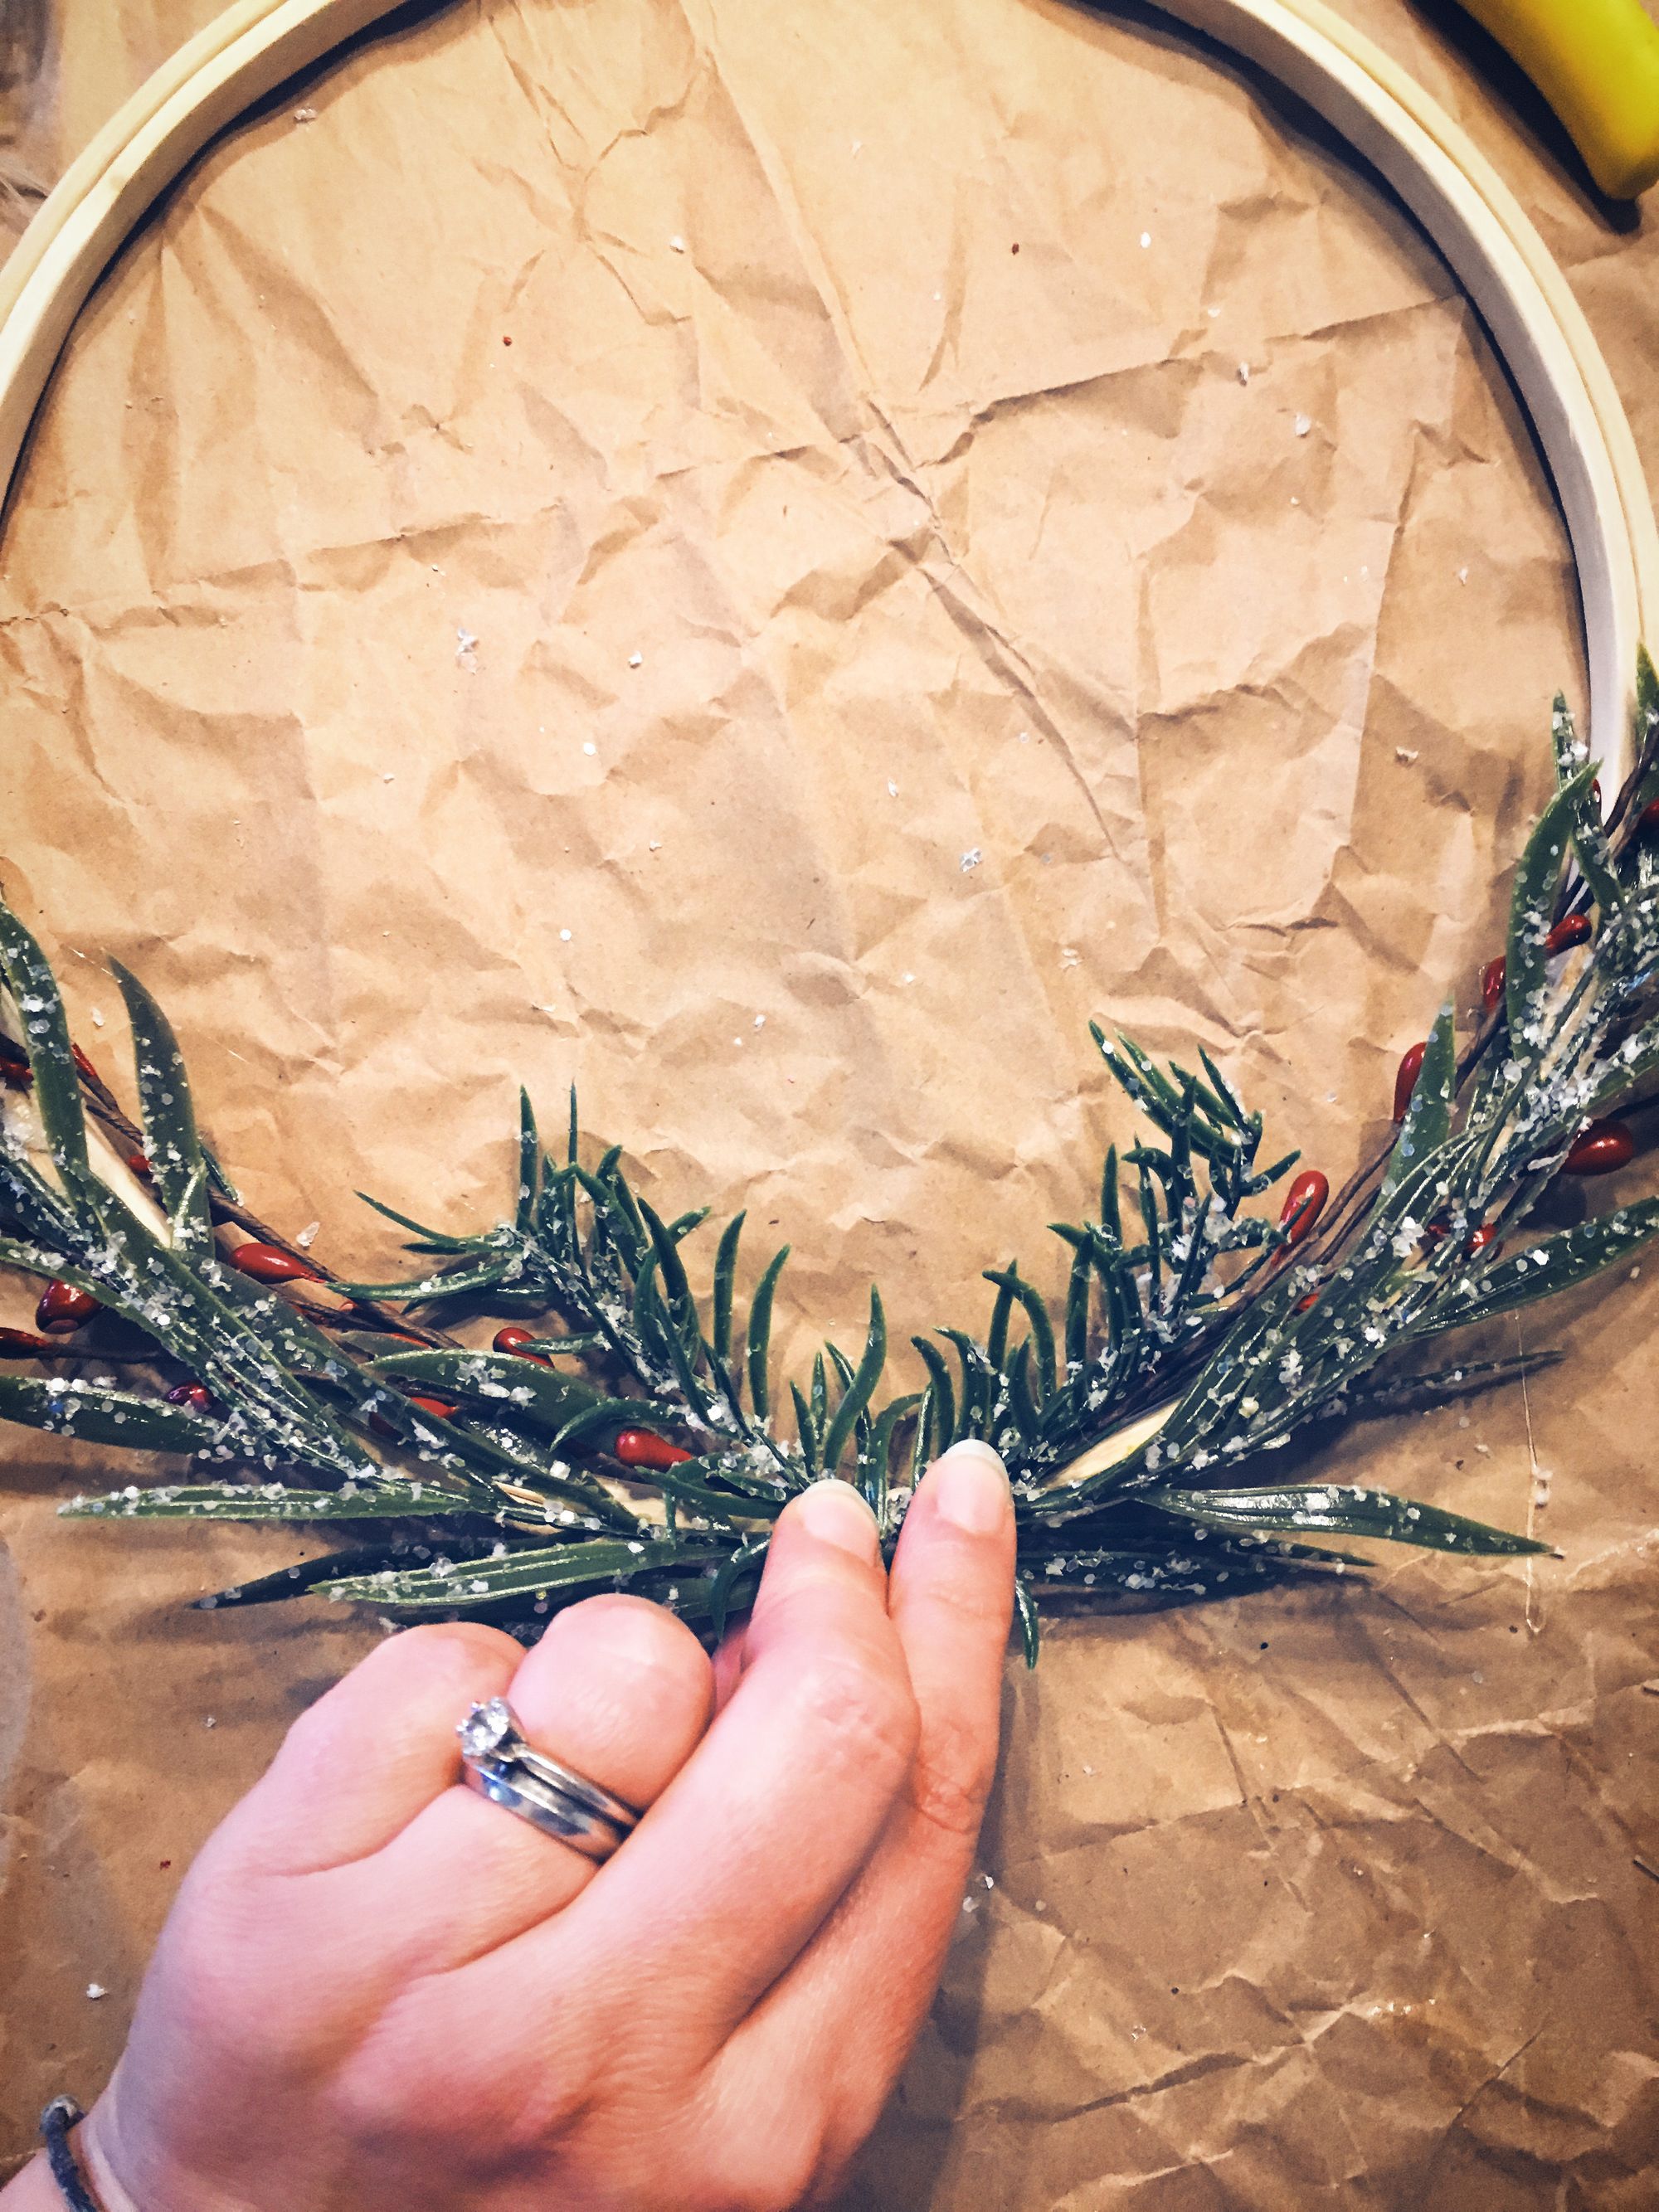
Once you have the arrangement you like begin adding the glue to make it stay put. You can either hold the gathered bunch and just keep adding more to glue around it to get it to stick to the hoop. Or you can add piece by piece with the glue, a bit at a time. Either way, be sure to hold the piece or pieces in place until the glue holds. Below are a couple other pictures from assembling the different wreaths, just incase you need more ideas/info.
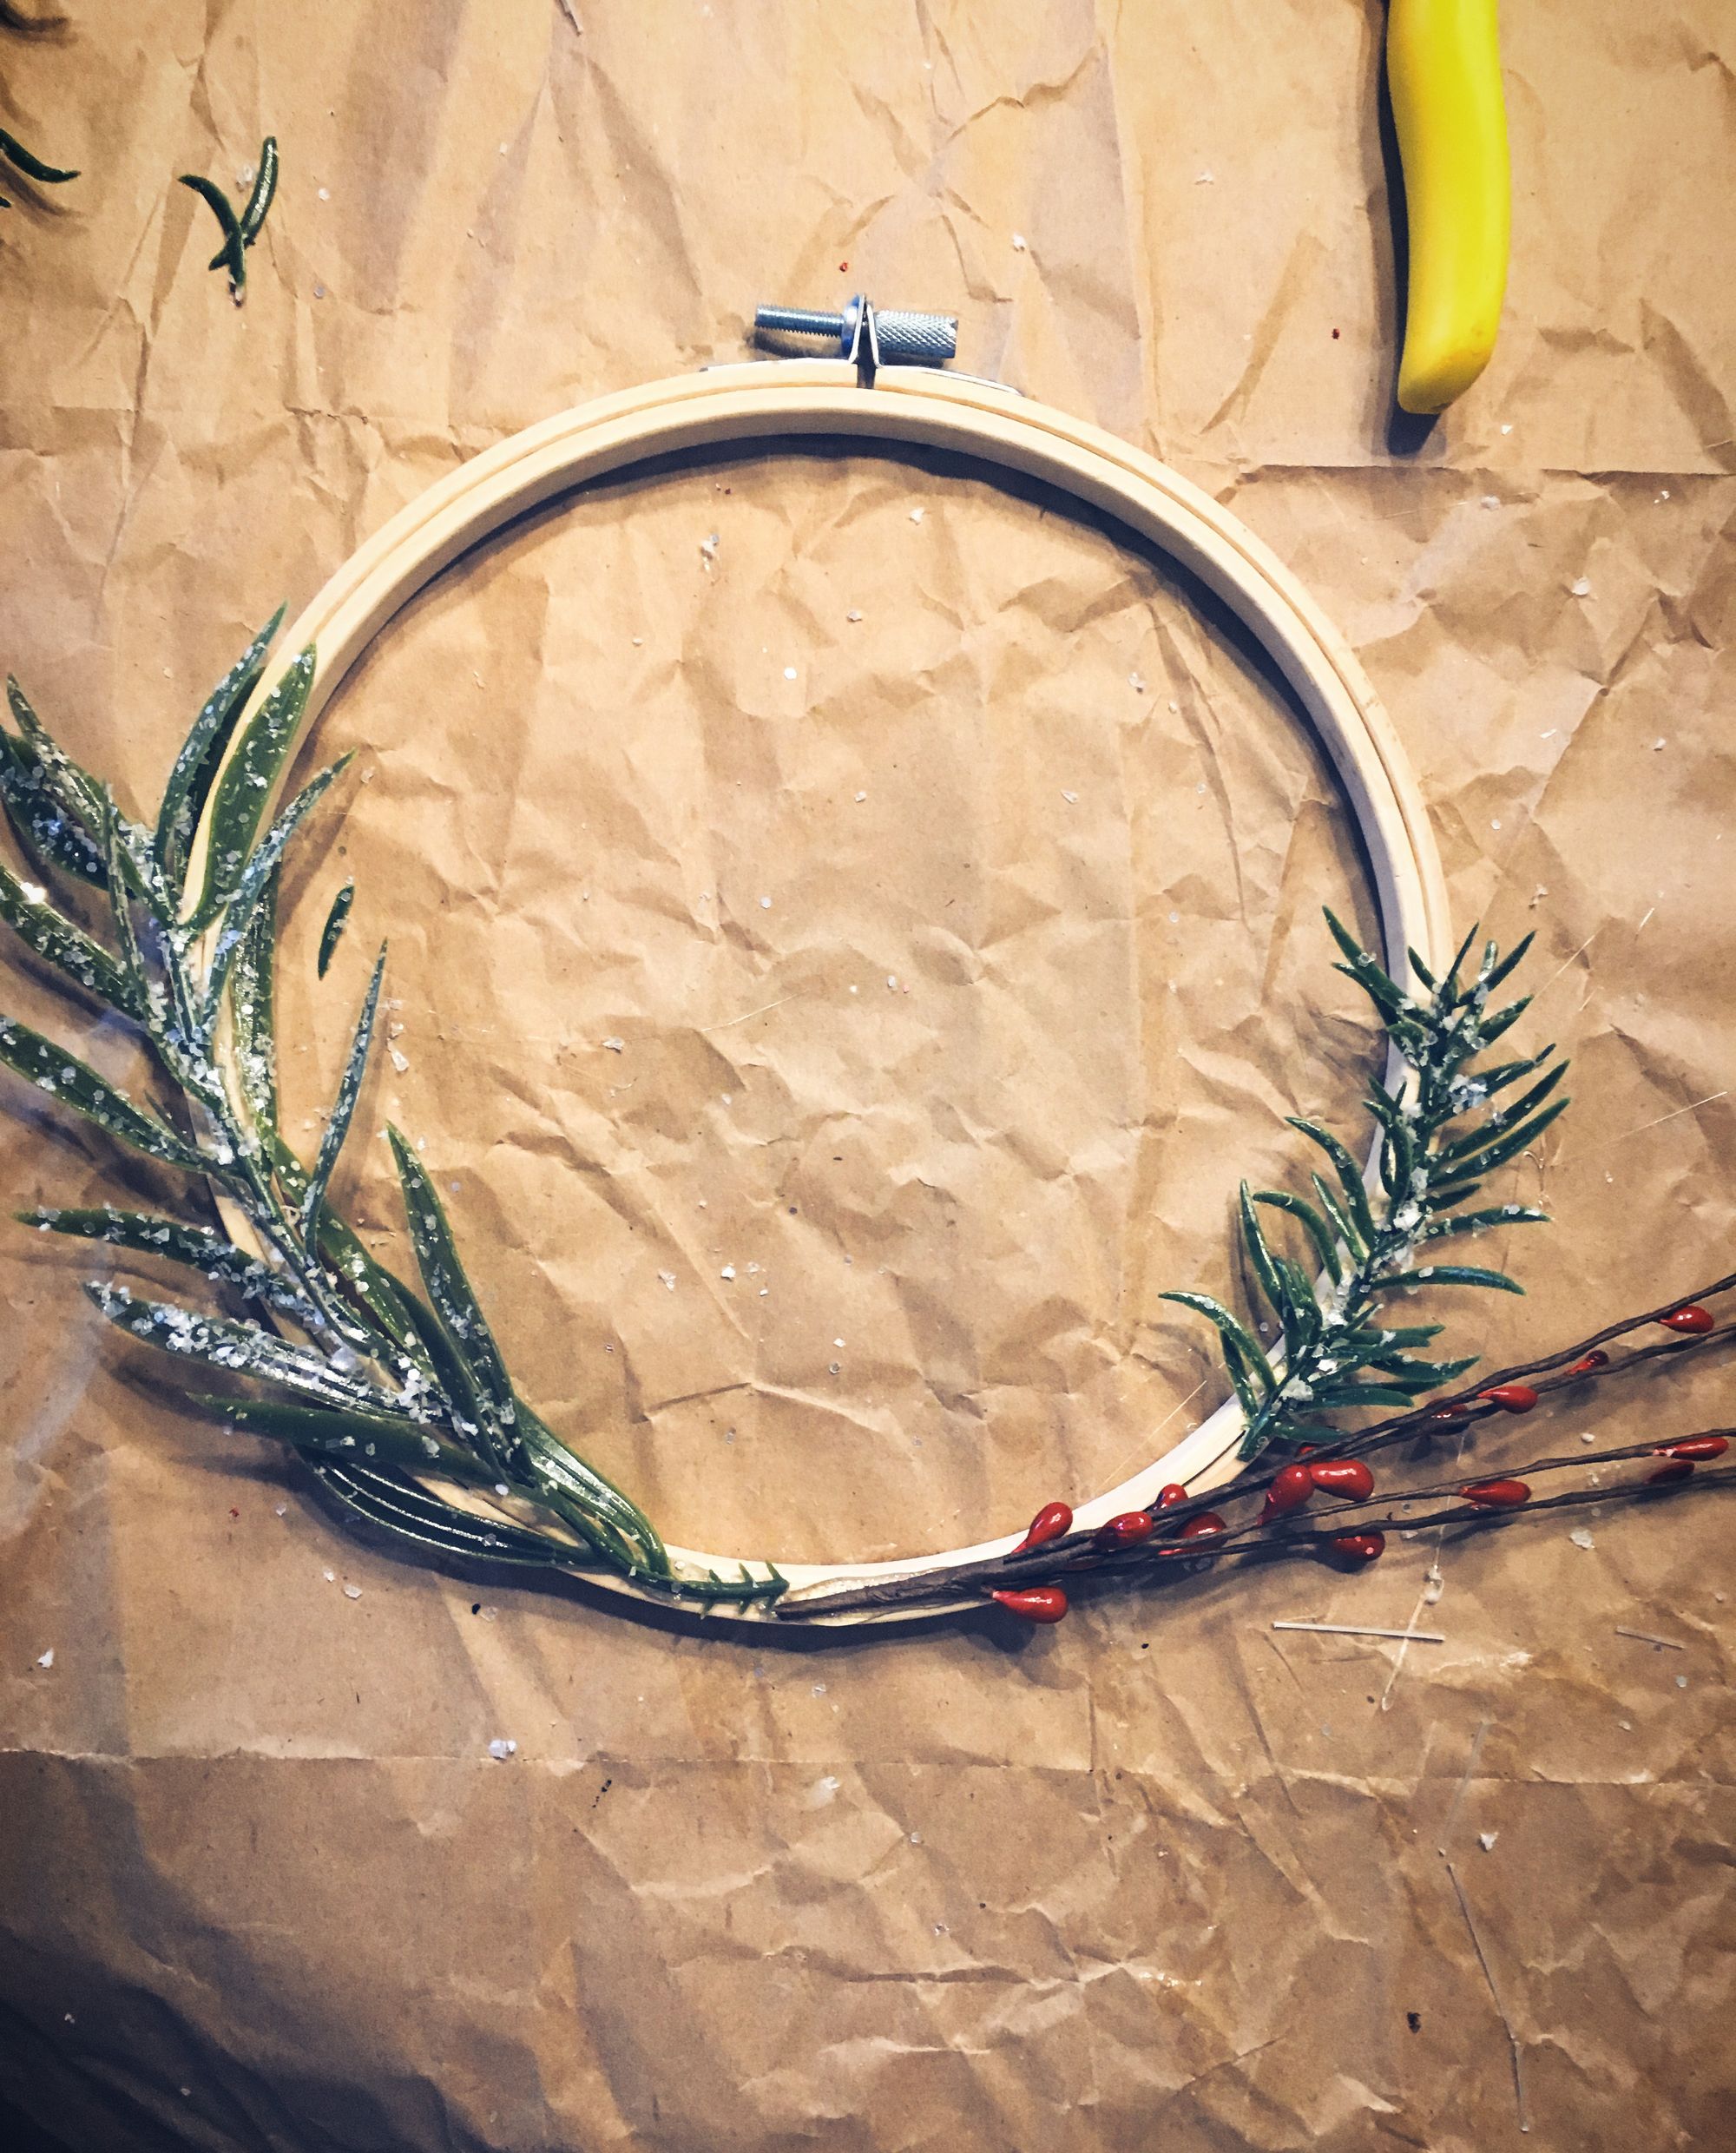
Step Four:

Not really a step but, your wreaths should all be assembled now. It's time to get them strung and hung up!!
Step Five:
I just put the ribbon through the hoop itself. But you may like to thread it through the metal hoop bit and tie it. Or perhaps you want to use a bigger ribbon, or a colour if you have gone a completely different way with your "greenery".
I would LOVE to see what you all do with yours! So please tag me over on Instagram when you show off your craftiness! Can't wait to see the different ideas and takes on this project!!!
Christmas is coming!!!