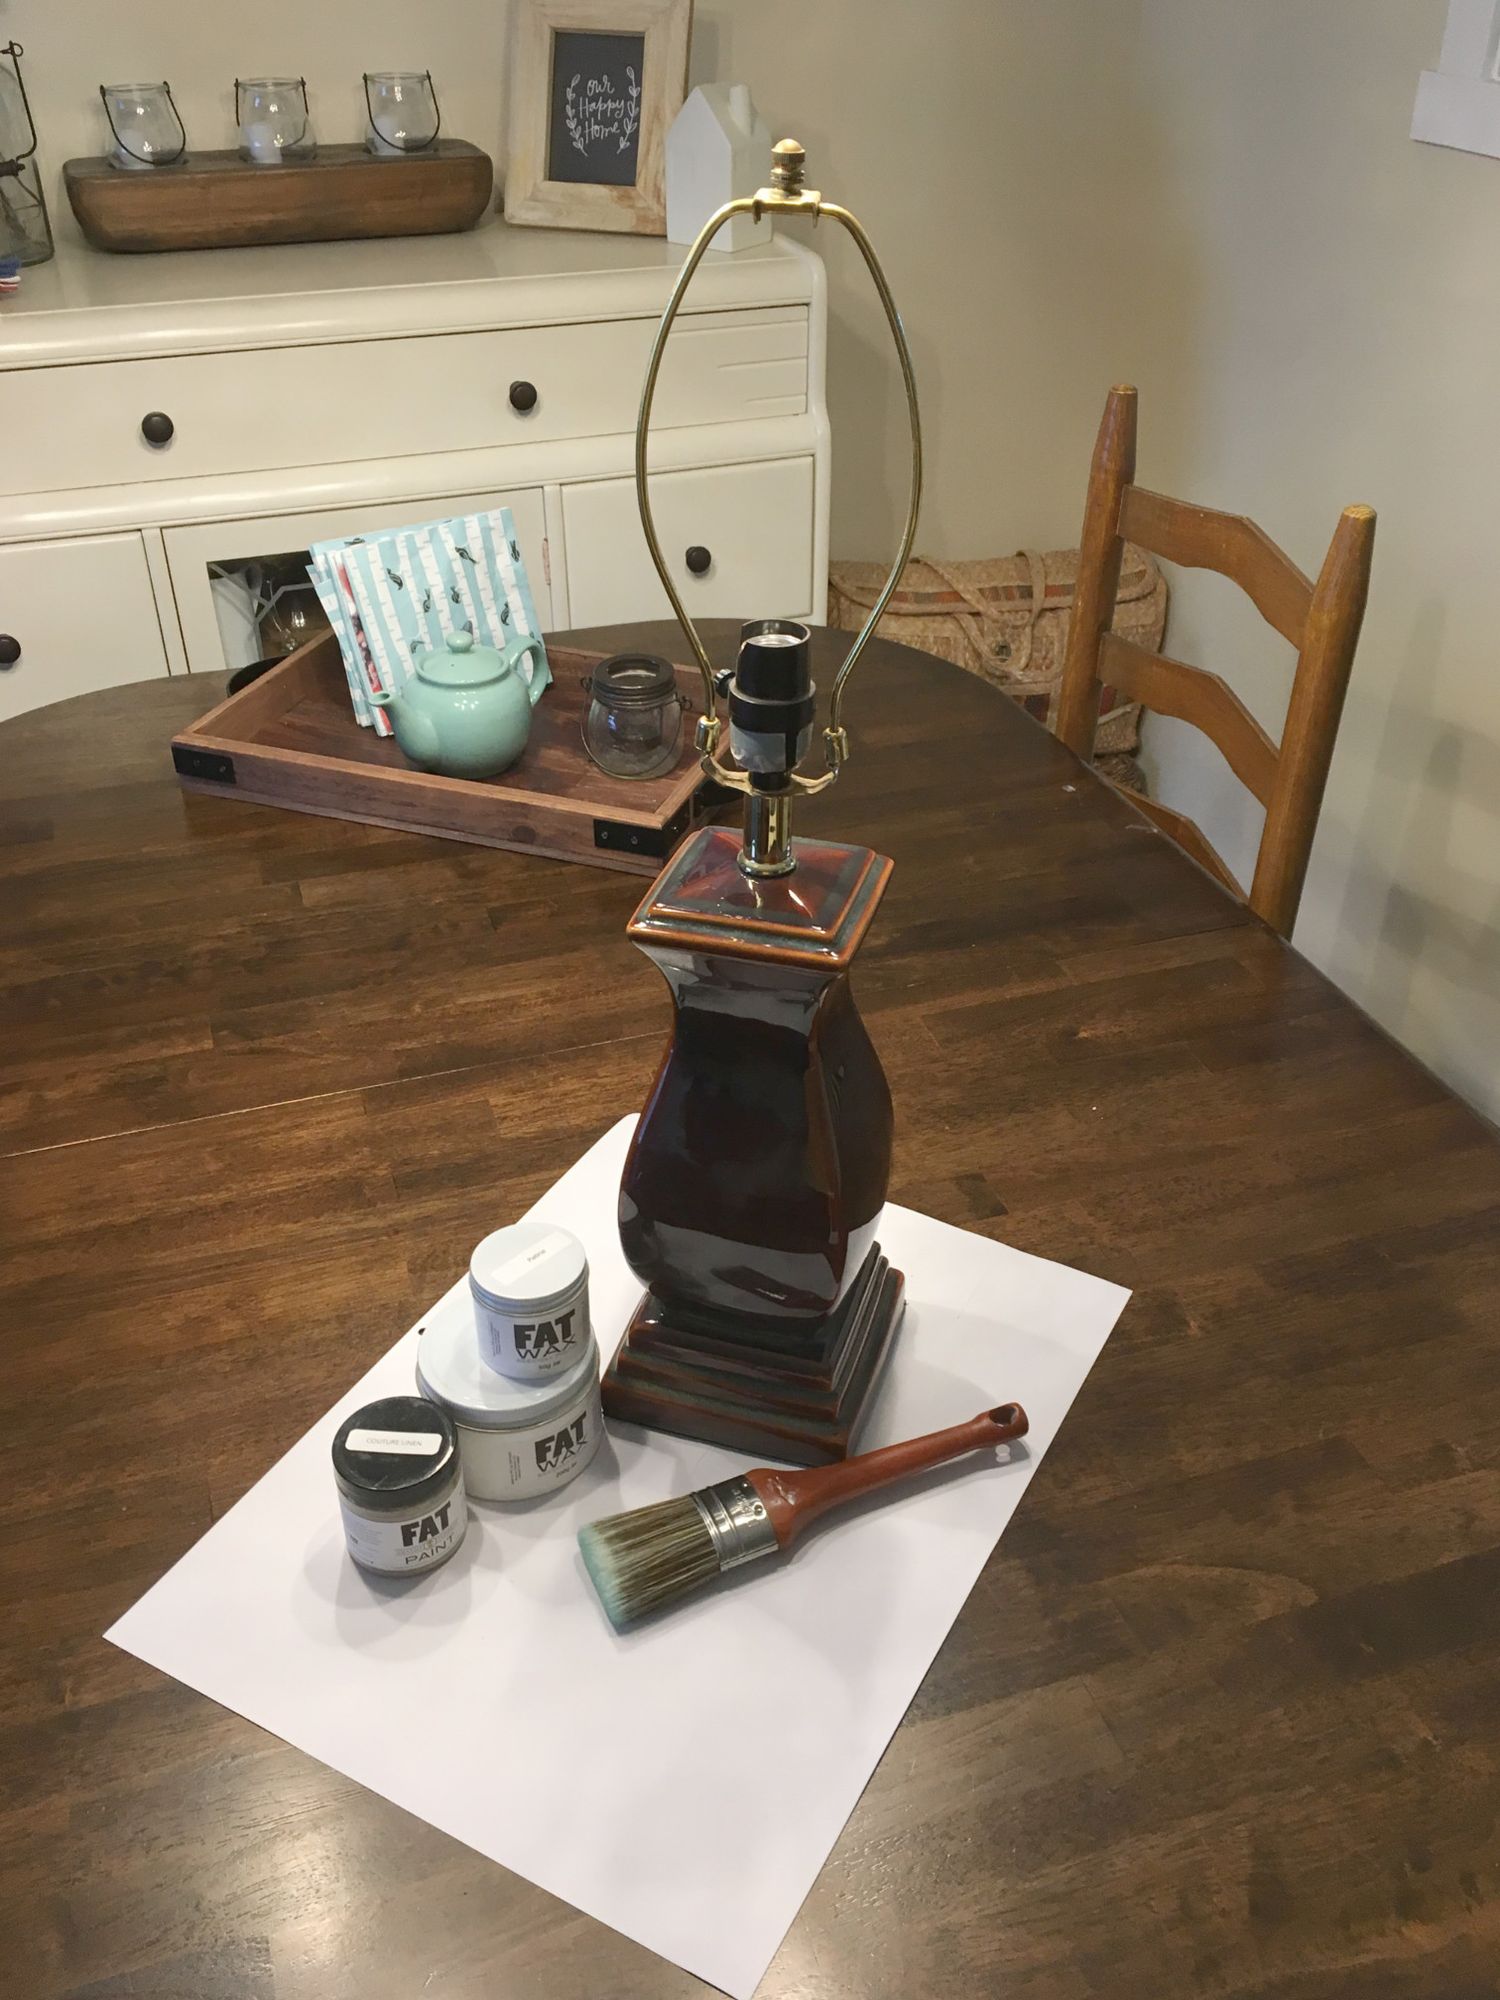
So I had found this lamp at a thrift store...um, well, ages ago! and it's been sitting around my "craft room" waiting for a it's makeover. I loved the shape- but the brown-red color wasn't my thing! So this is what I did!
First off you need:
-a lamp
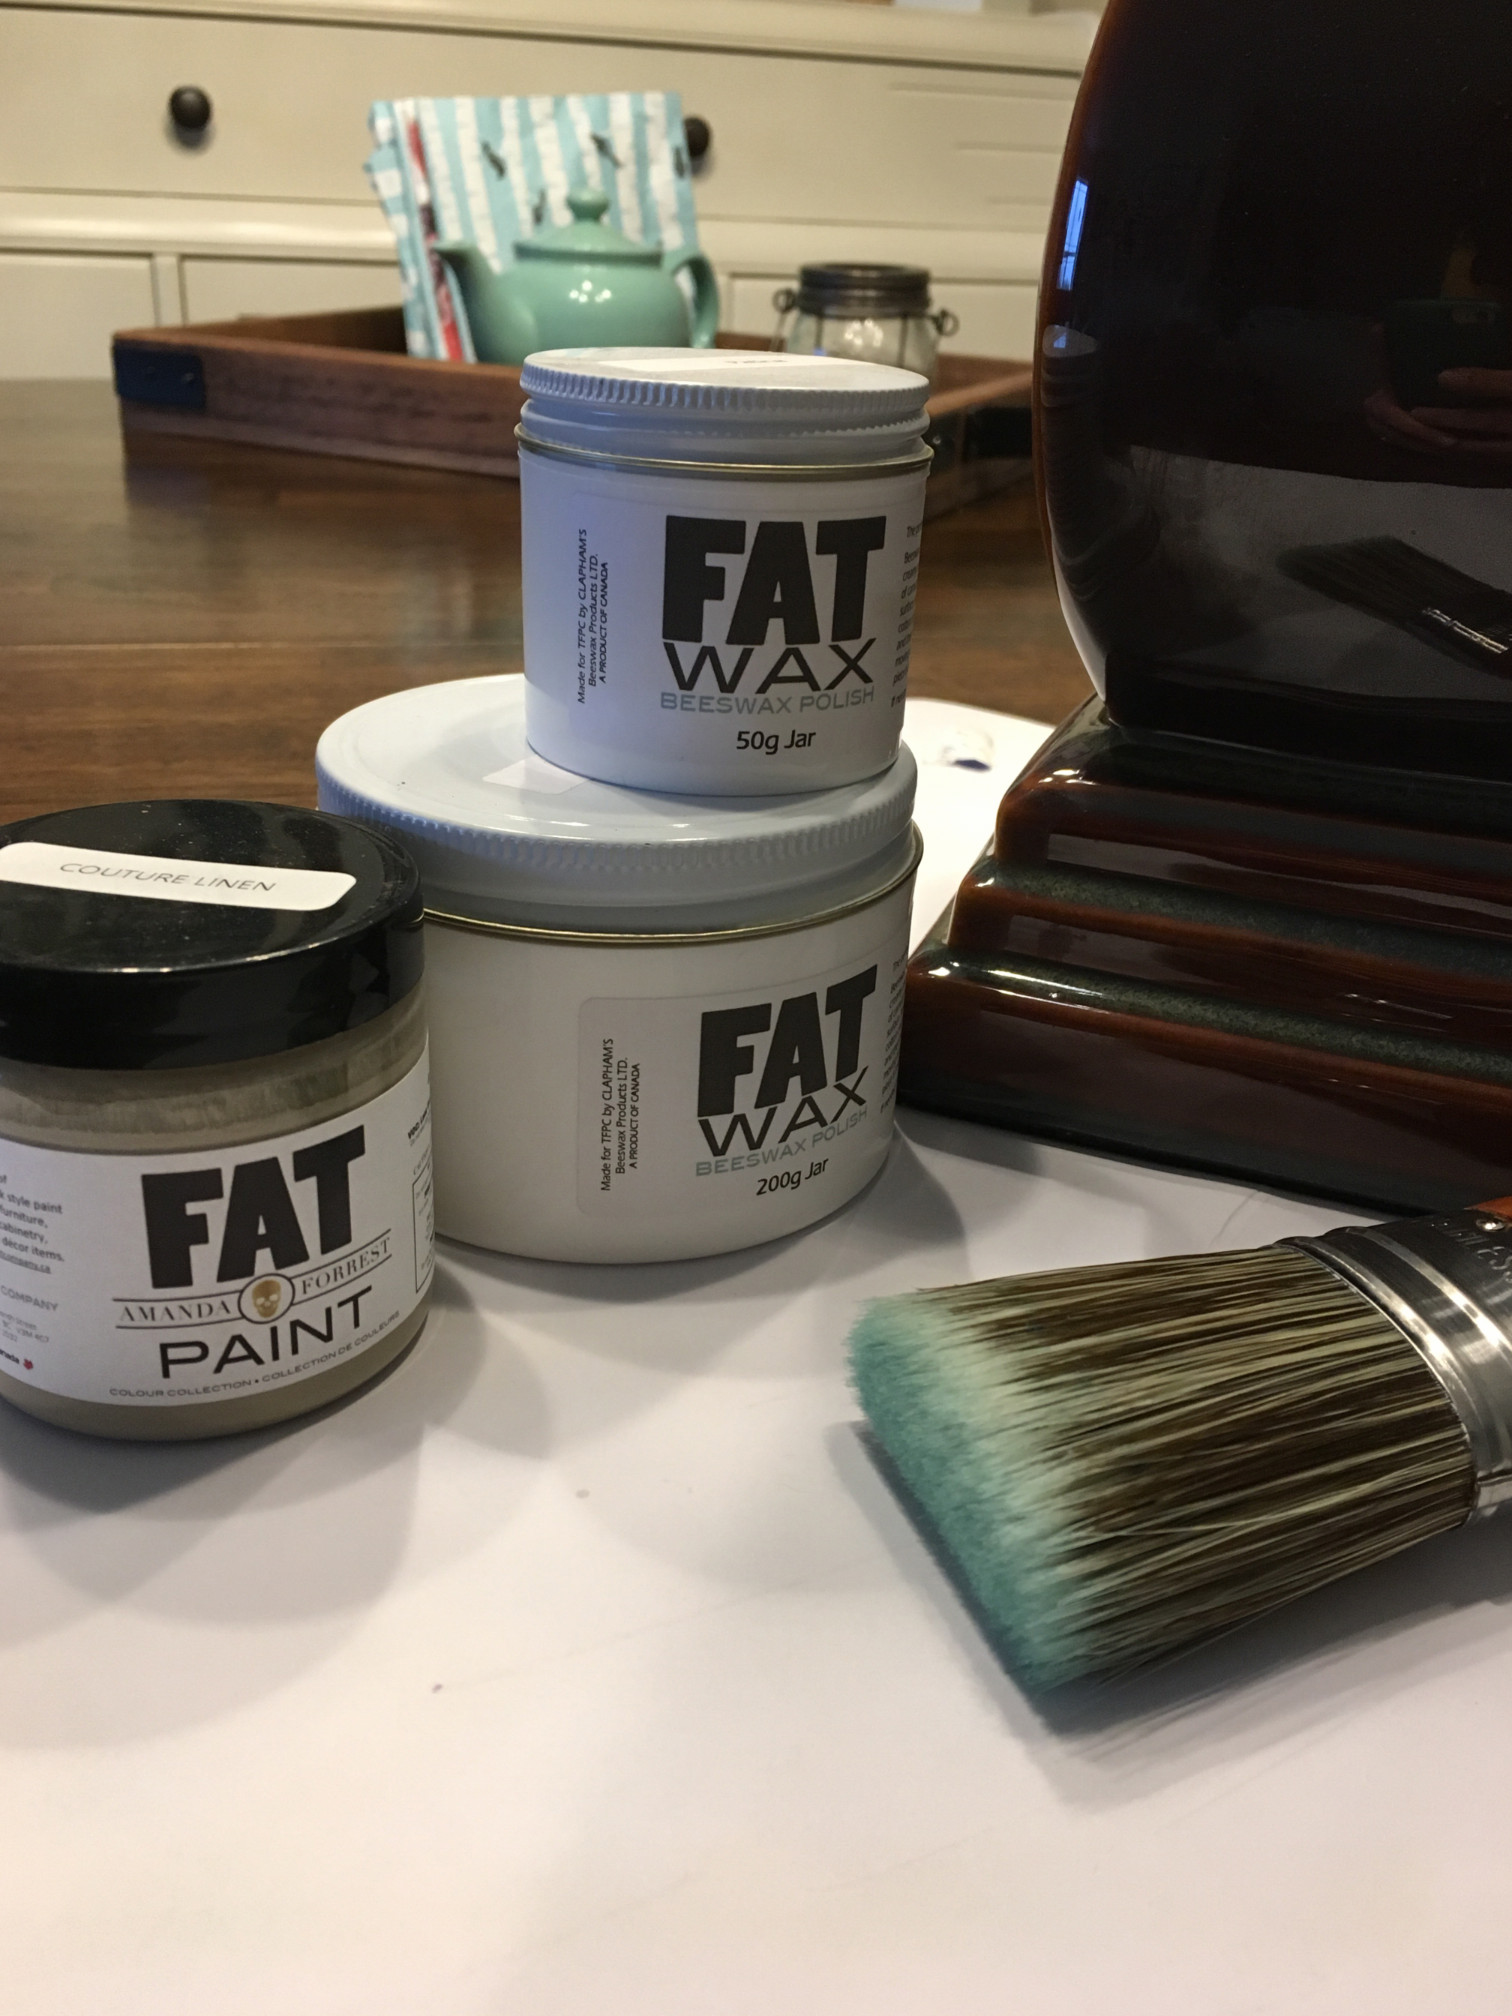
-chalk paint (mine was by FAT Paint, called Couture Linen)
-wax: clear and a brown (again mine are by FAT Paint. The Natural and the Patina)
-brush for painting
-cloths to apply waxes

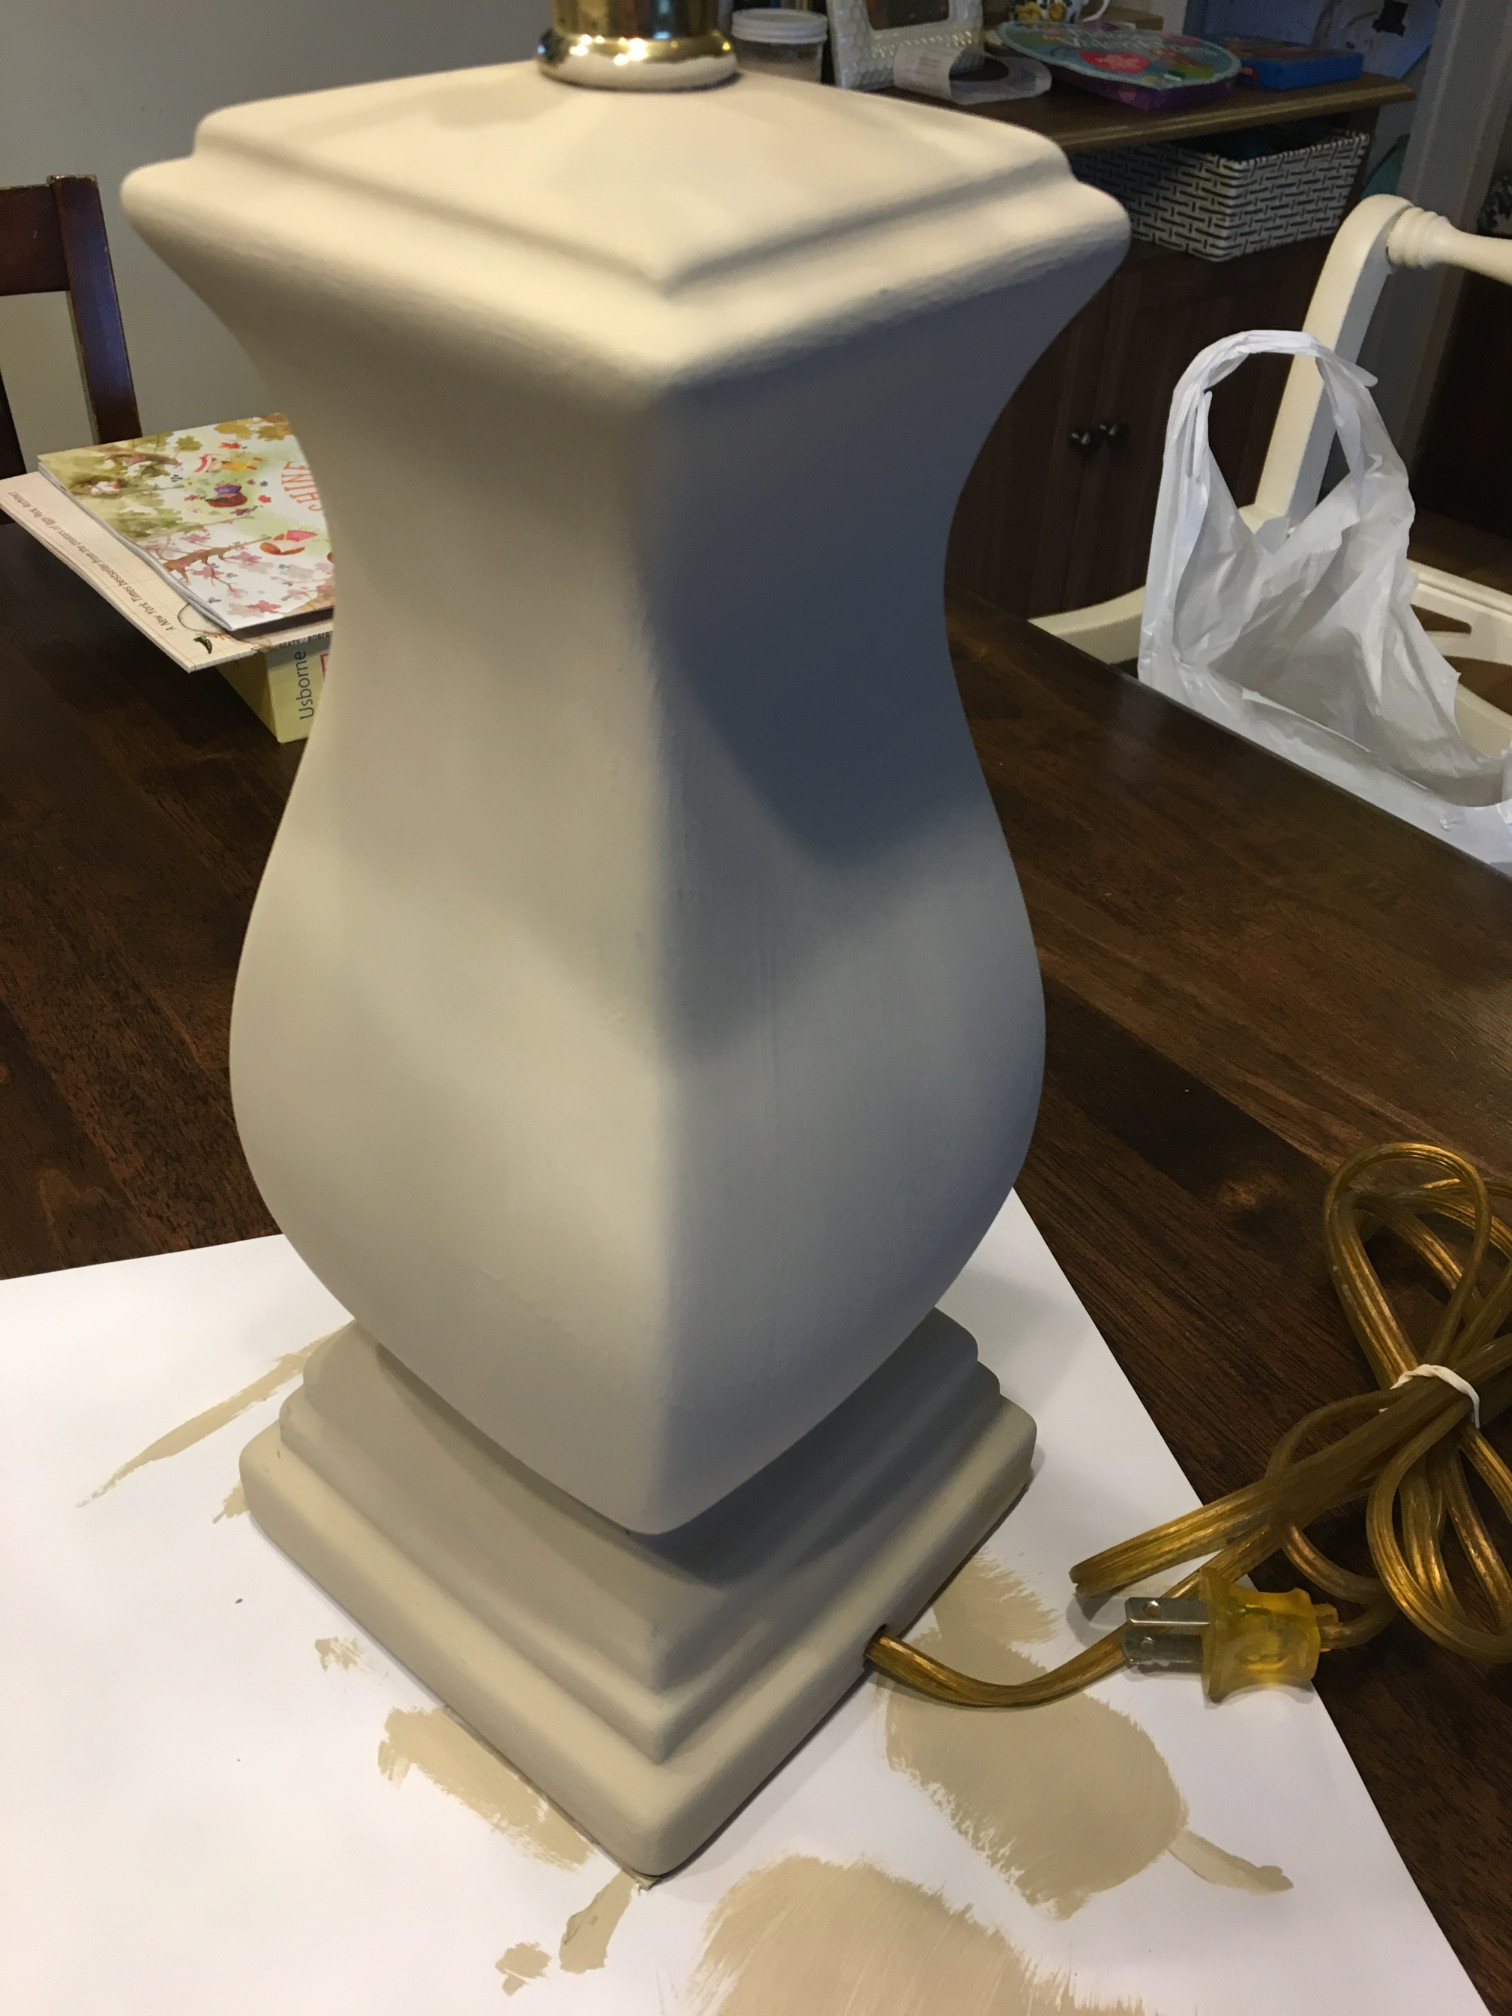
Step one was to apply a first coat.( I think if I did this again though, I would rough up the lamp's surface a bit. The smooth made it very easy to scratch the paint off after the layers were dry.)
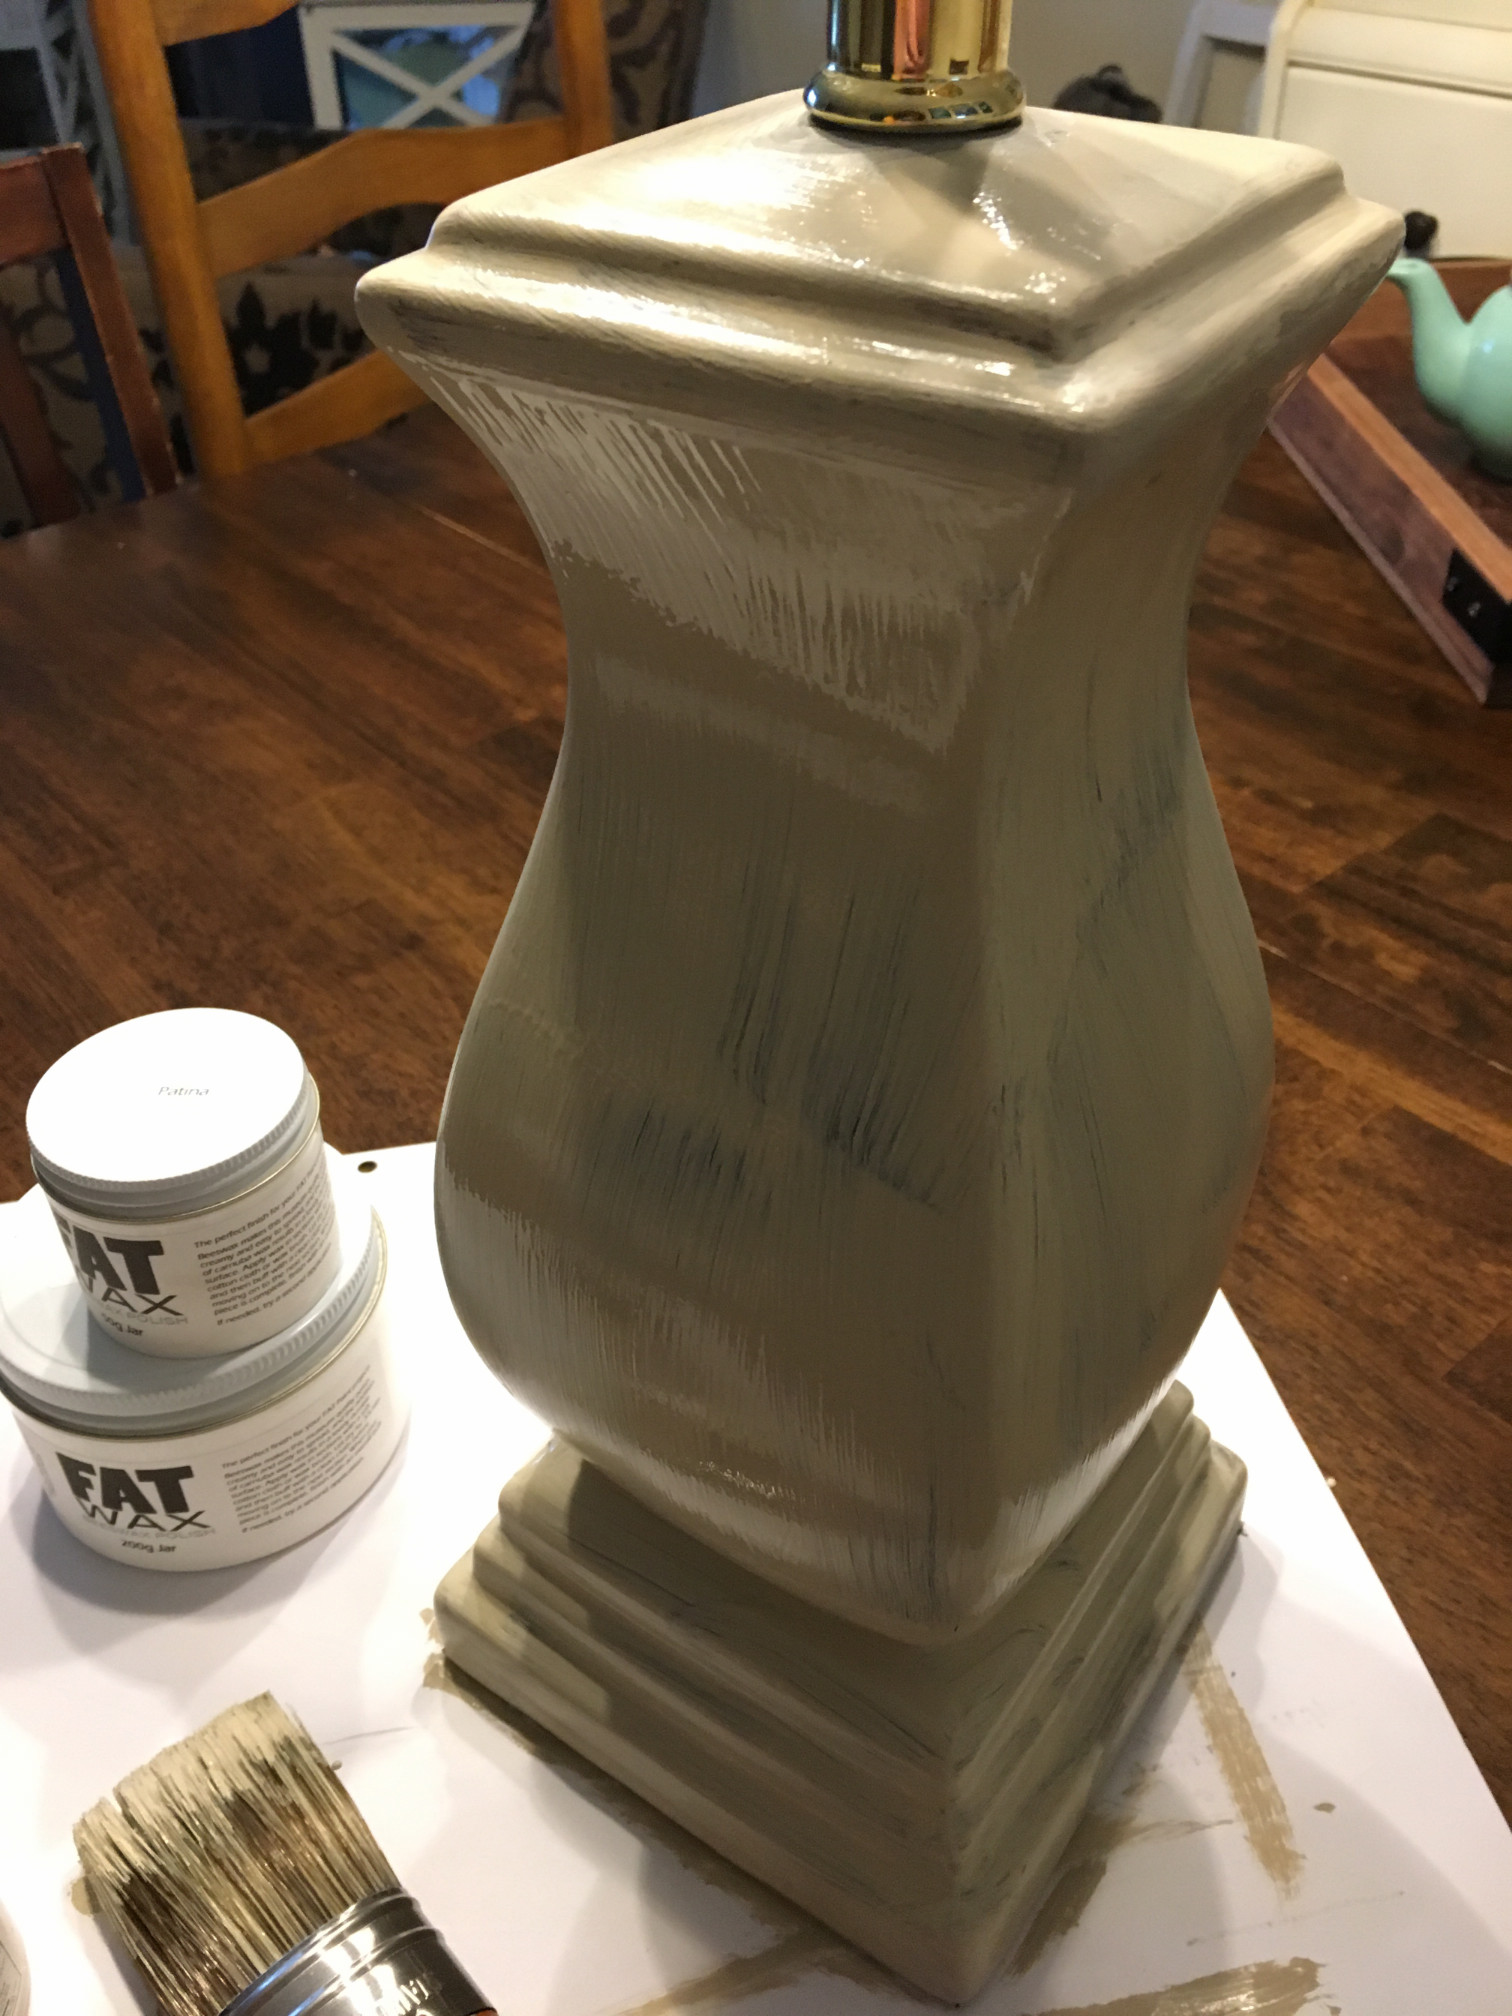
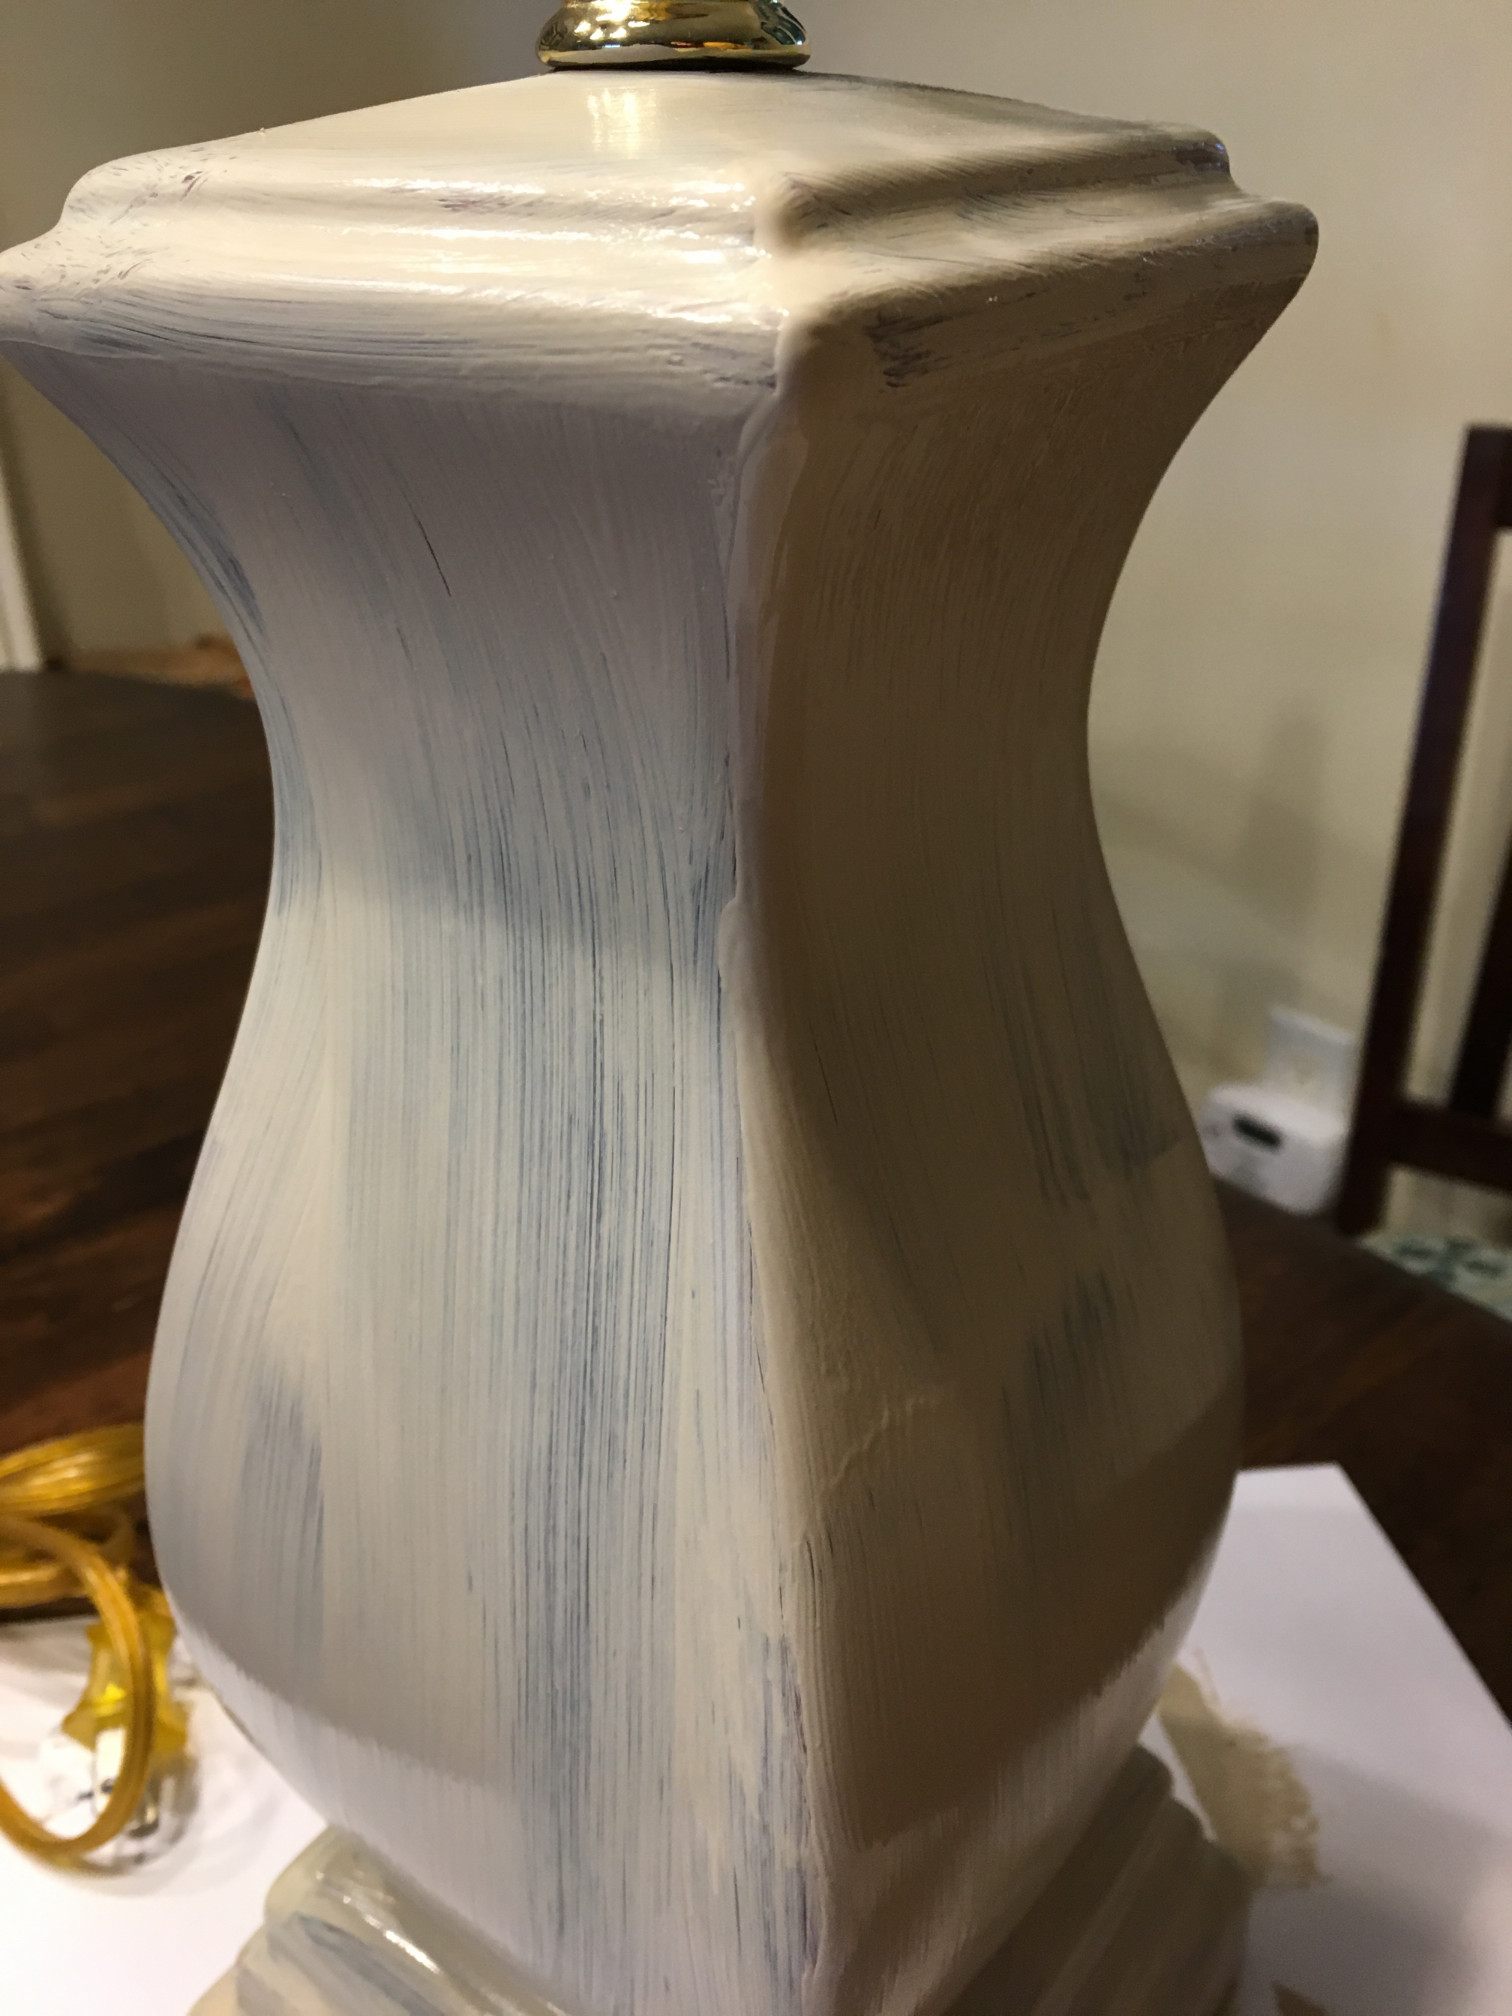
Then after allowing the first coats to dry, I added a second...
Then, add the clear coat of wax, once your paint it 100% dry!!! I can't stress this enough, you'll ruin all your work if you rush it! So I let mine sit overnight before going back to wax. The dark wax is a fun thing to play around with. Often I will look at items online that have similar finished to give me an idea on where and how I want to blend in the darker wax. So I'd recommend the same if you decide to tackle one of these project types.
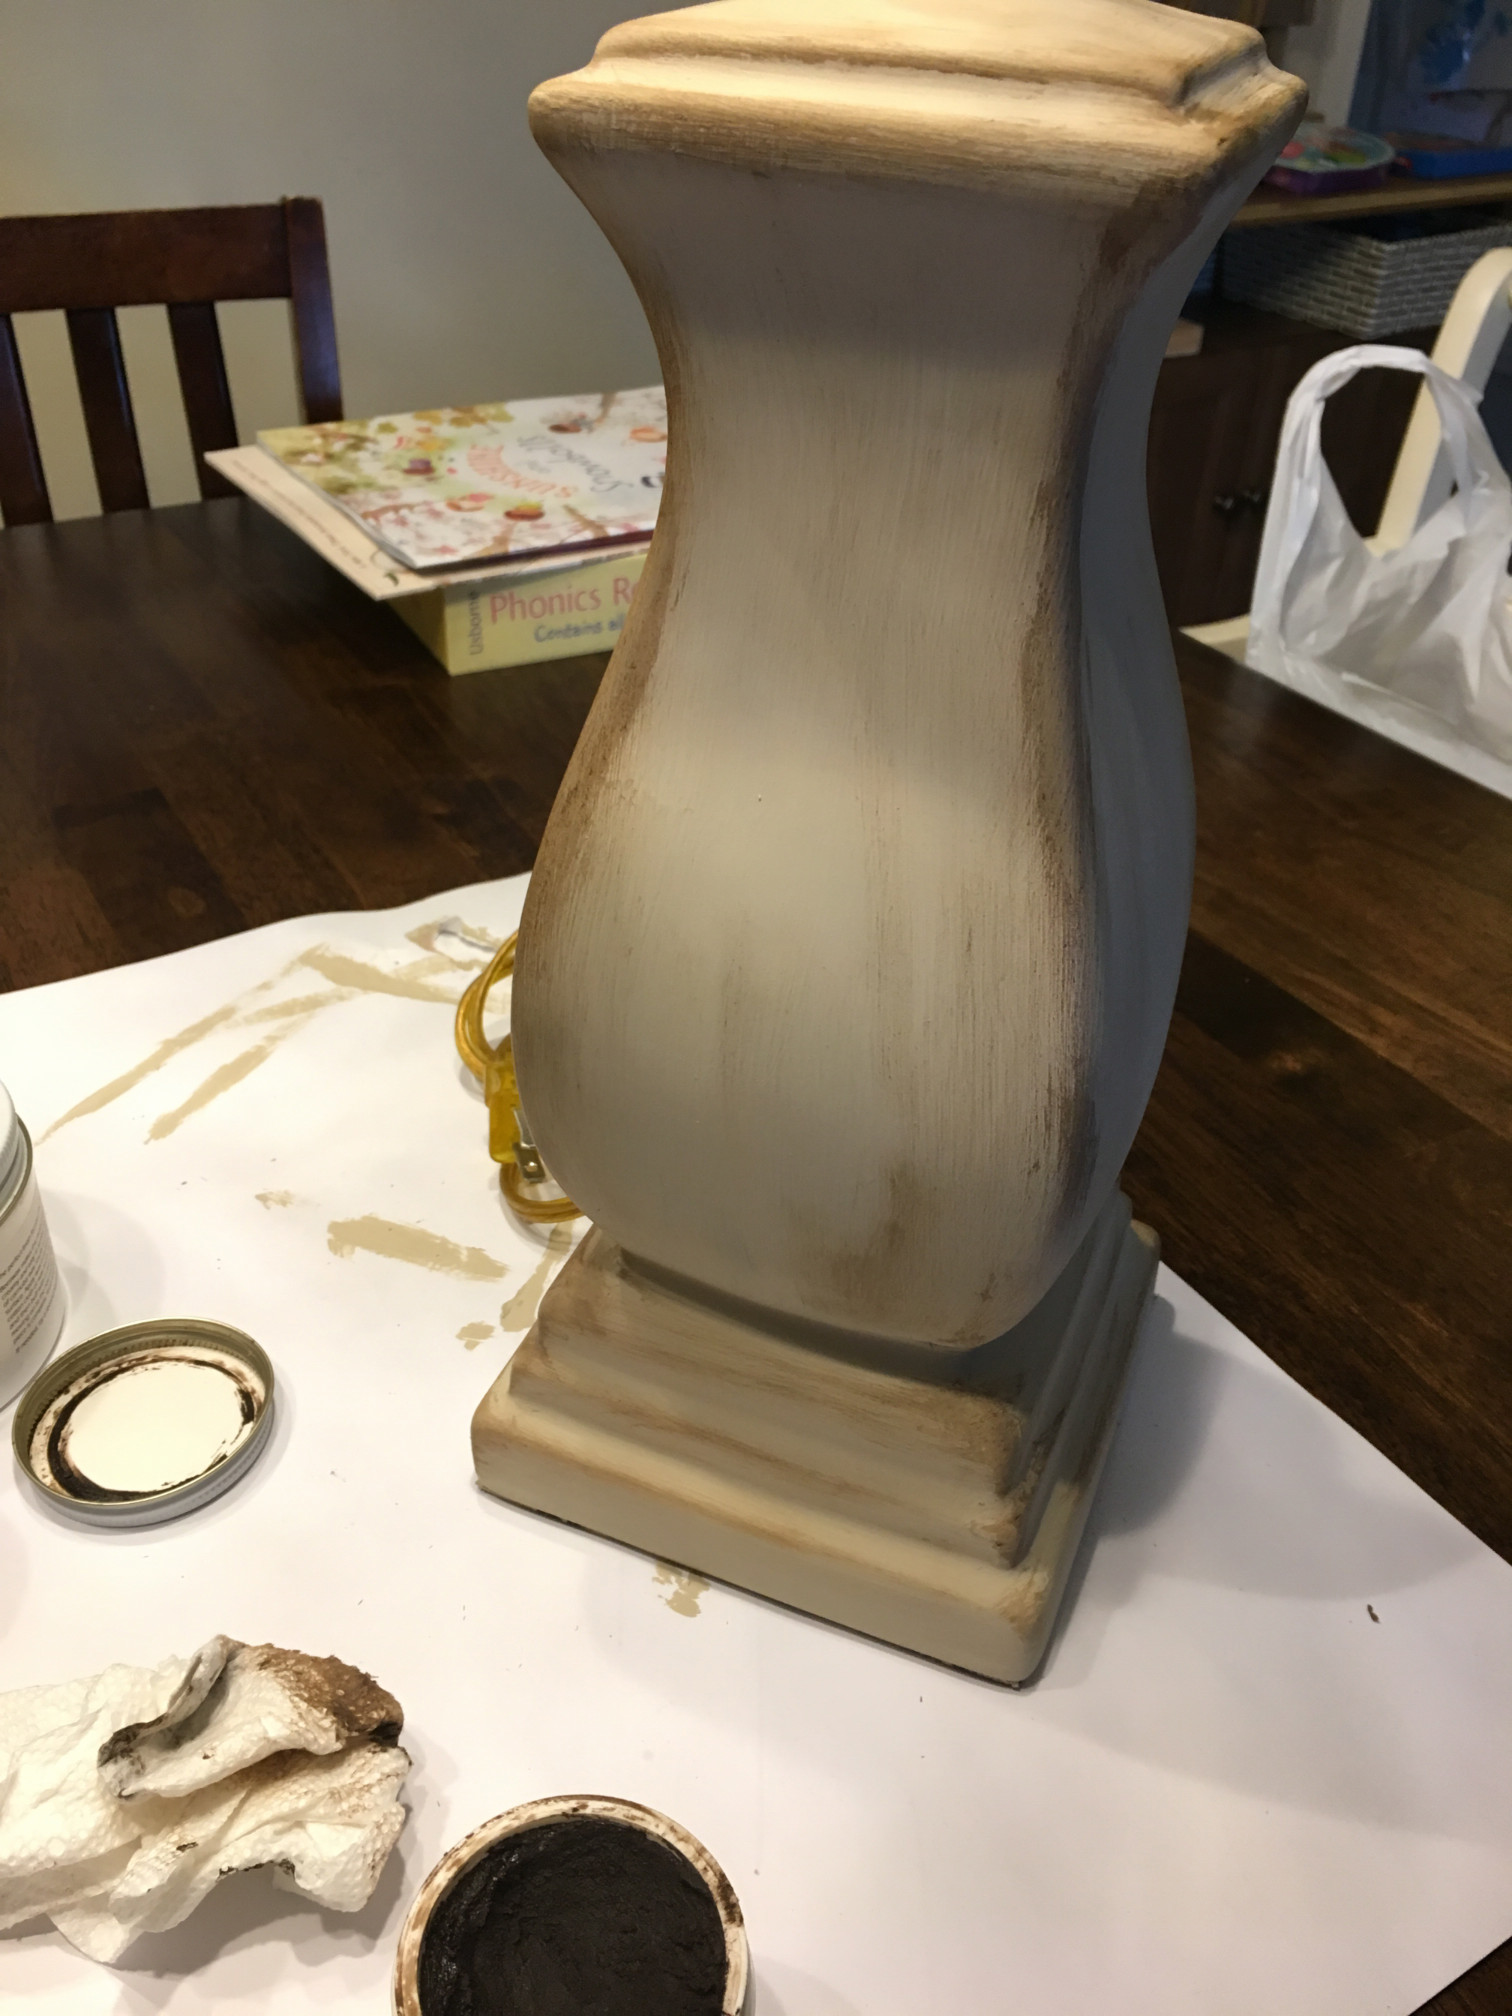
Honestly, I came back with the paint and wax a few times, due to my nail hitting the finish, more than once. Like I said at the beginning, I would rough up the surface a bit if I did it over.
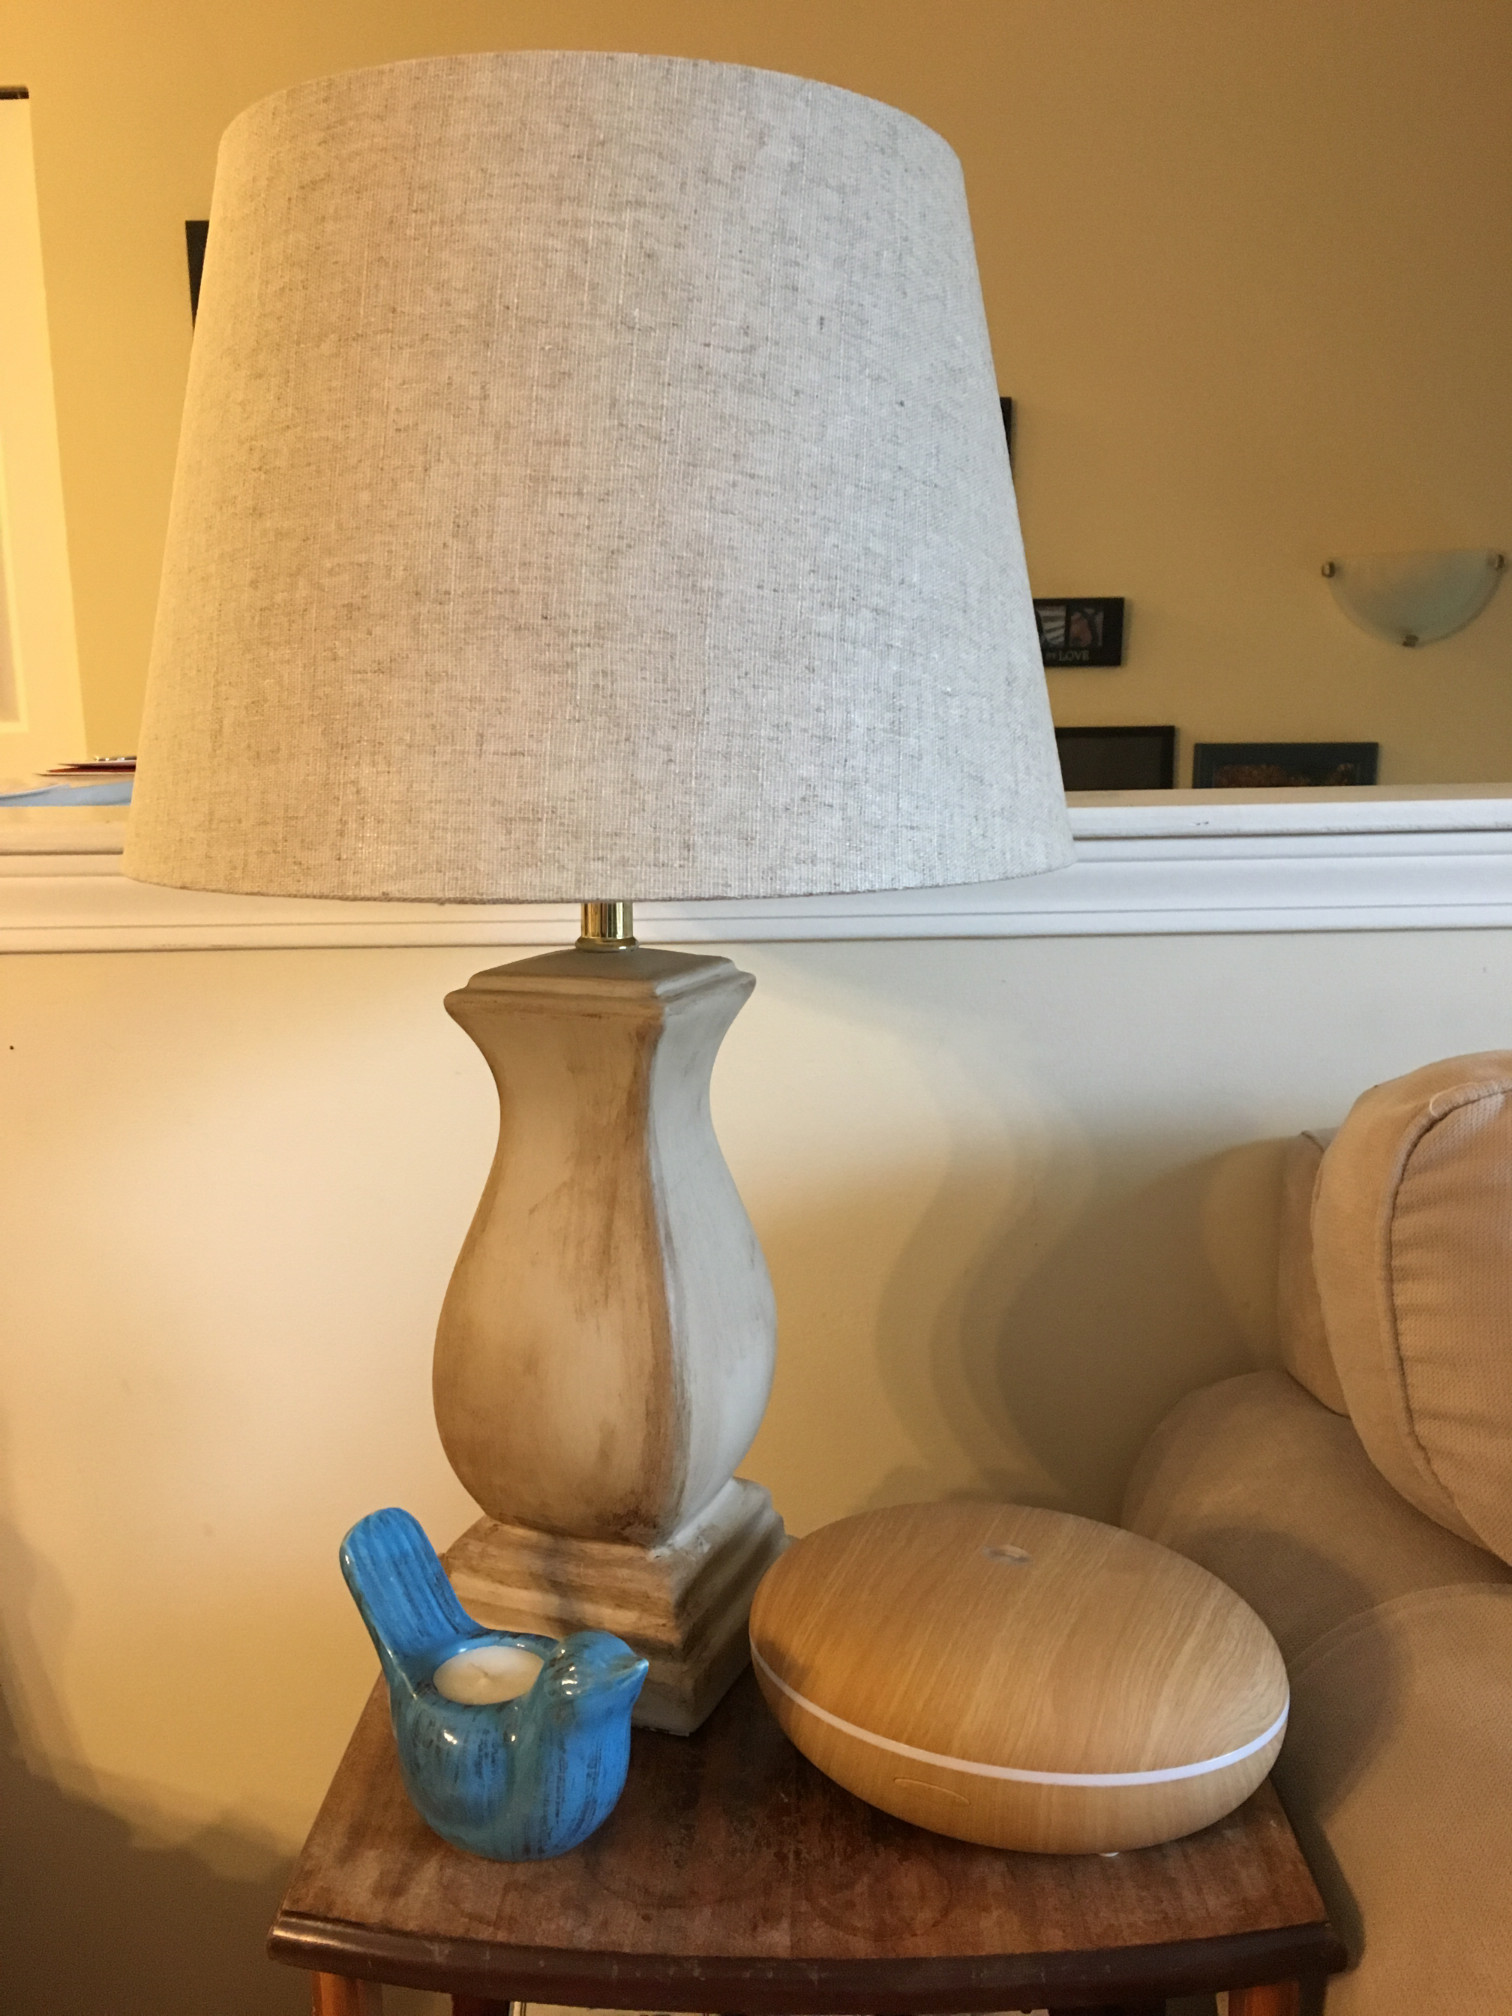
I then finally found a shade that I liked to finish off this little project and I am soooo thrilled with how it turned out! Best part was that the base was only $4 at the thrift store. That allowed me to spring for the $25 shade at Home Depot.