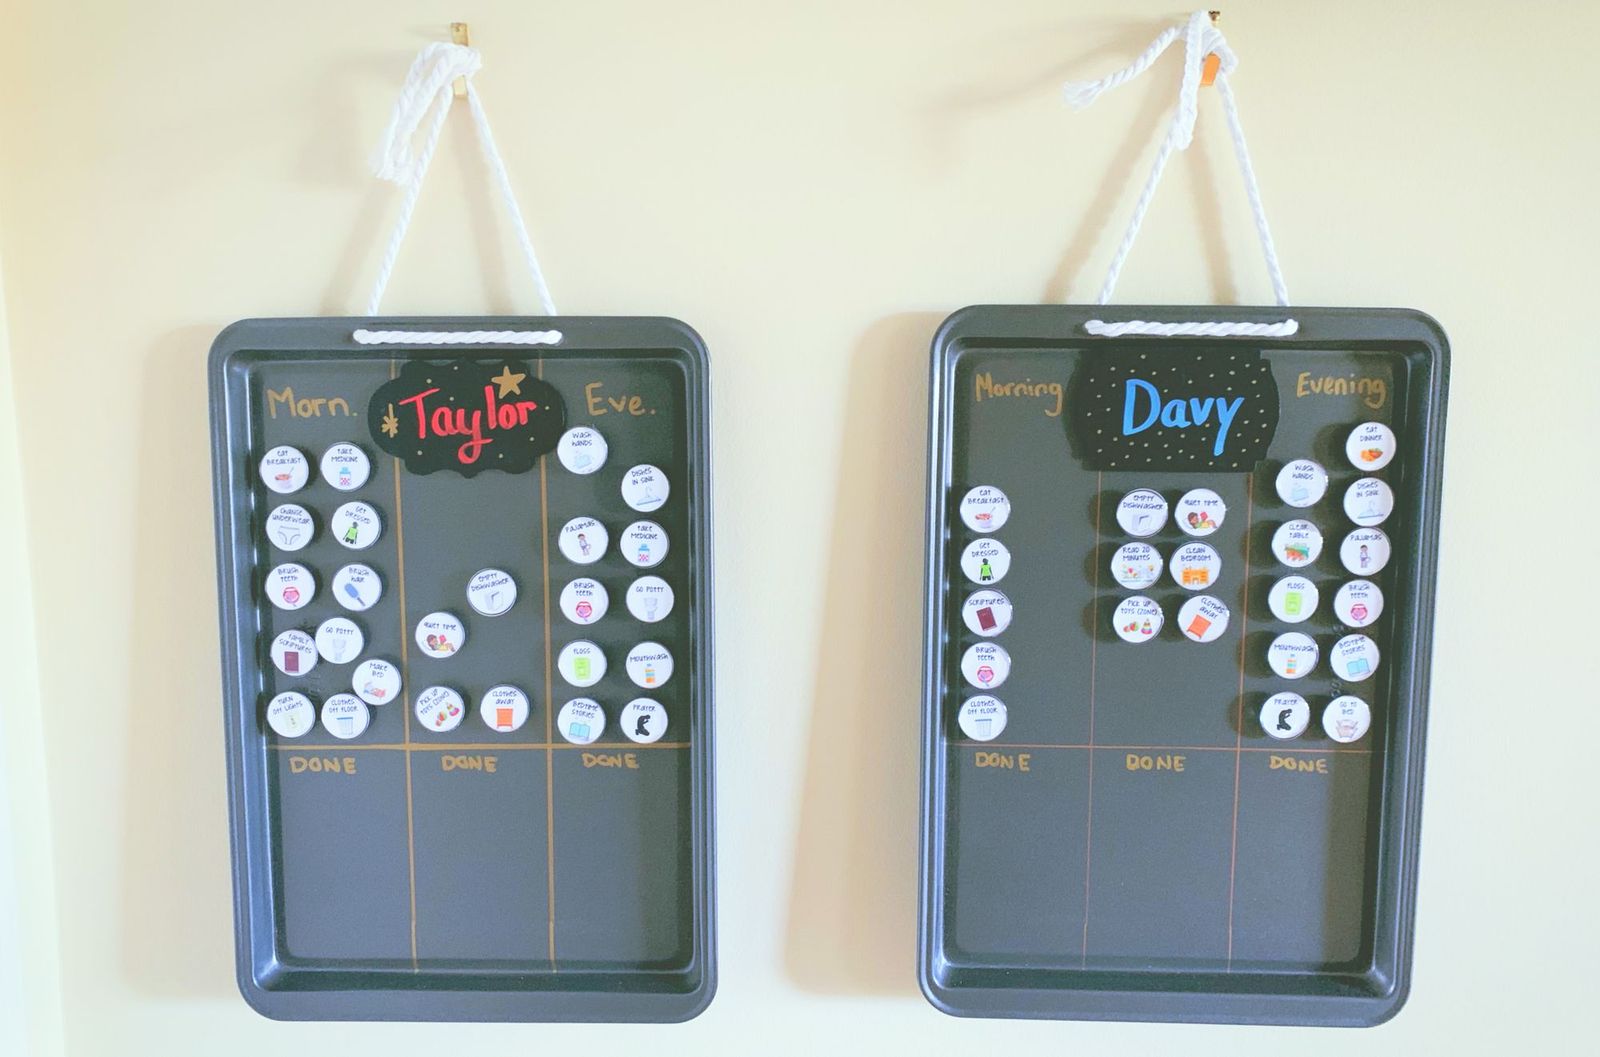
So my two kids are in very different stages of development. My son, is neurologically typical. My daughter is not. But the both of them need reminders when getting through their daily routines. And to save me from the constant reminding, and eventual frustration of repeating myself, I put together a chore chart for each of them. Why not just buy one of the many on the market? Well, the thing with most store bought charts is they are expensive, and have limited to do's that often don't comply with the needs of my daughter. So this allowed me to pick and choose. I have simple straight forward pictures for my daughter and the labels for my son as he is learning to read, etc. It has been an emotional superhero!! Instead of constant nagging in the mornings I can simply say-"Check your chart, what's next?" I chose to not give them a specific order in which to do things following eating breakfast and getting dressed, as it allows them to sort a routine they like, and make some of their own choices.
You'll Need:
- A small baking sheet from the Dollarstore
- Magnets
- Clear Epoxy Stickers
- Chore Symbols Package
- Metallic Sharpie
- 1 inch Circle Punch (you can cut out the chorse by hand...but it takes a long time!)
- Hot Glue Gun and Sticks
- Twine, Ribbon or Rope of your choosing
- Nail and Hammer
- Drill and Metal able drill-bit
Assembling the magnets:
(Sadly, my pictures for putting together the magnets were lost.... But I can easily tell you how they go together.)
Supplies Needed from List:
-Hot glue gun and refills
-Magnets
-Print outs of the chores on a hefty cardstock
-Epoxy Stickers
-Circle Punch
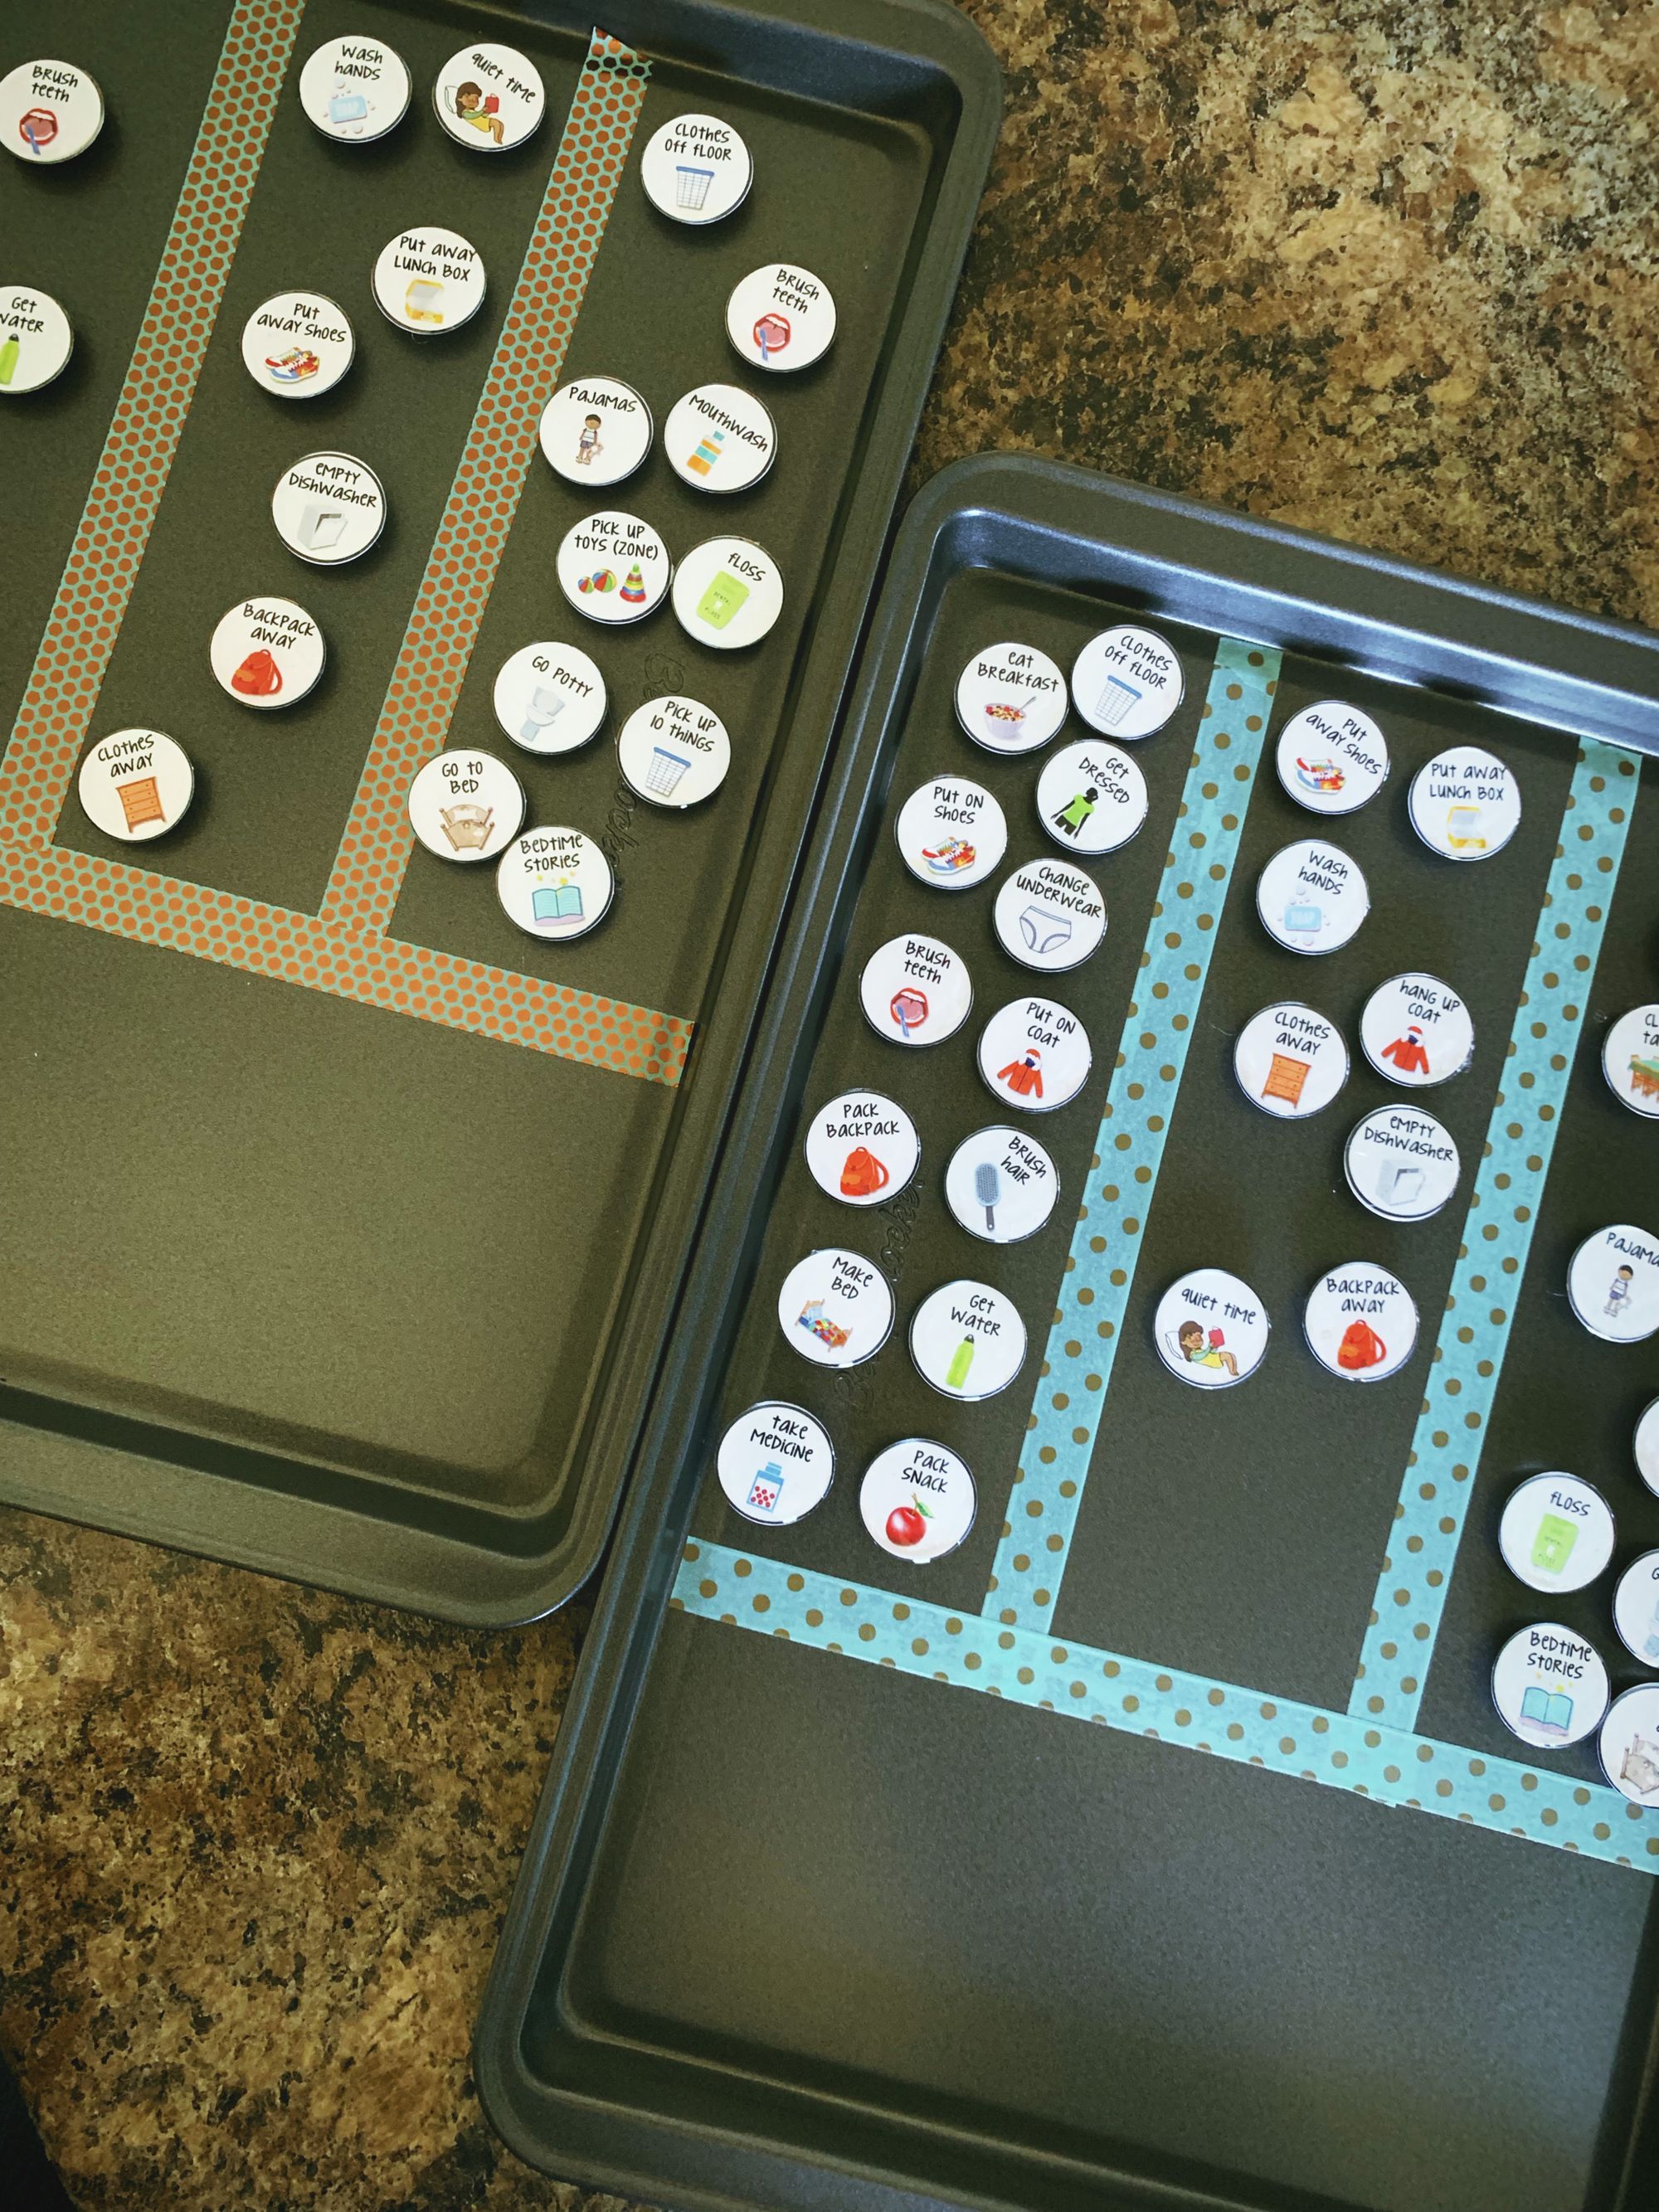
1.Punch out the chore circles
2.Place the epoxy stickers to the front of the chore circles
3.Hot glue the magnets to the back of the chore circle. Ta-da!
DONE!
Assembling the Board:
Supplies Needed for this Part:
-Baking sheet
-Nail and Hammer
-Drill and Metal-able drill bit
-Twine, Ribbon or Rope
-Metalic Sharpie
-Ruler
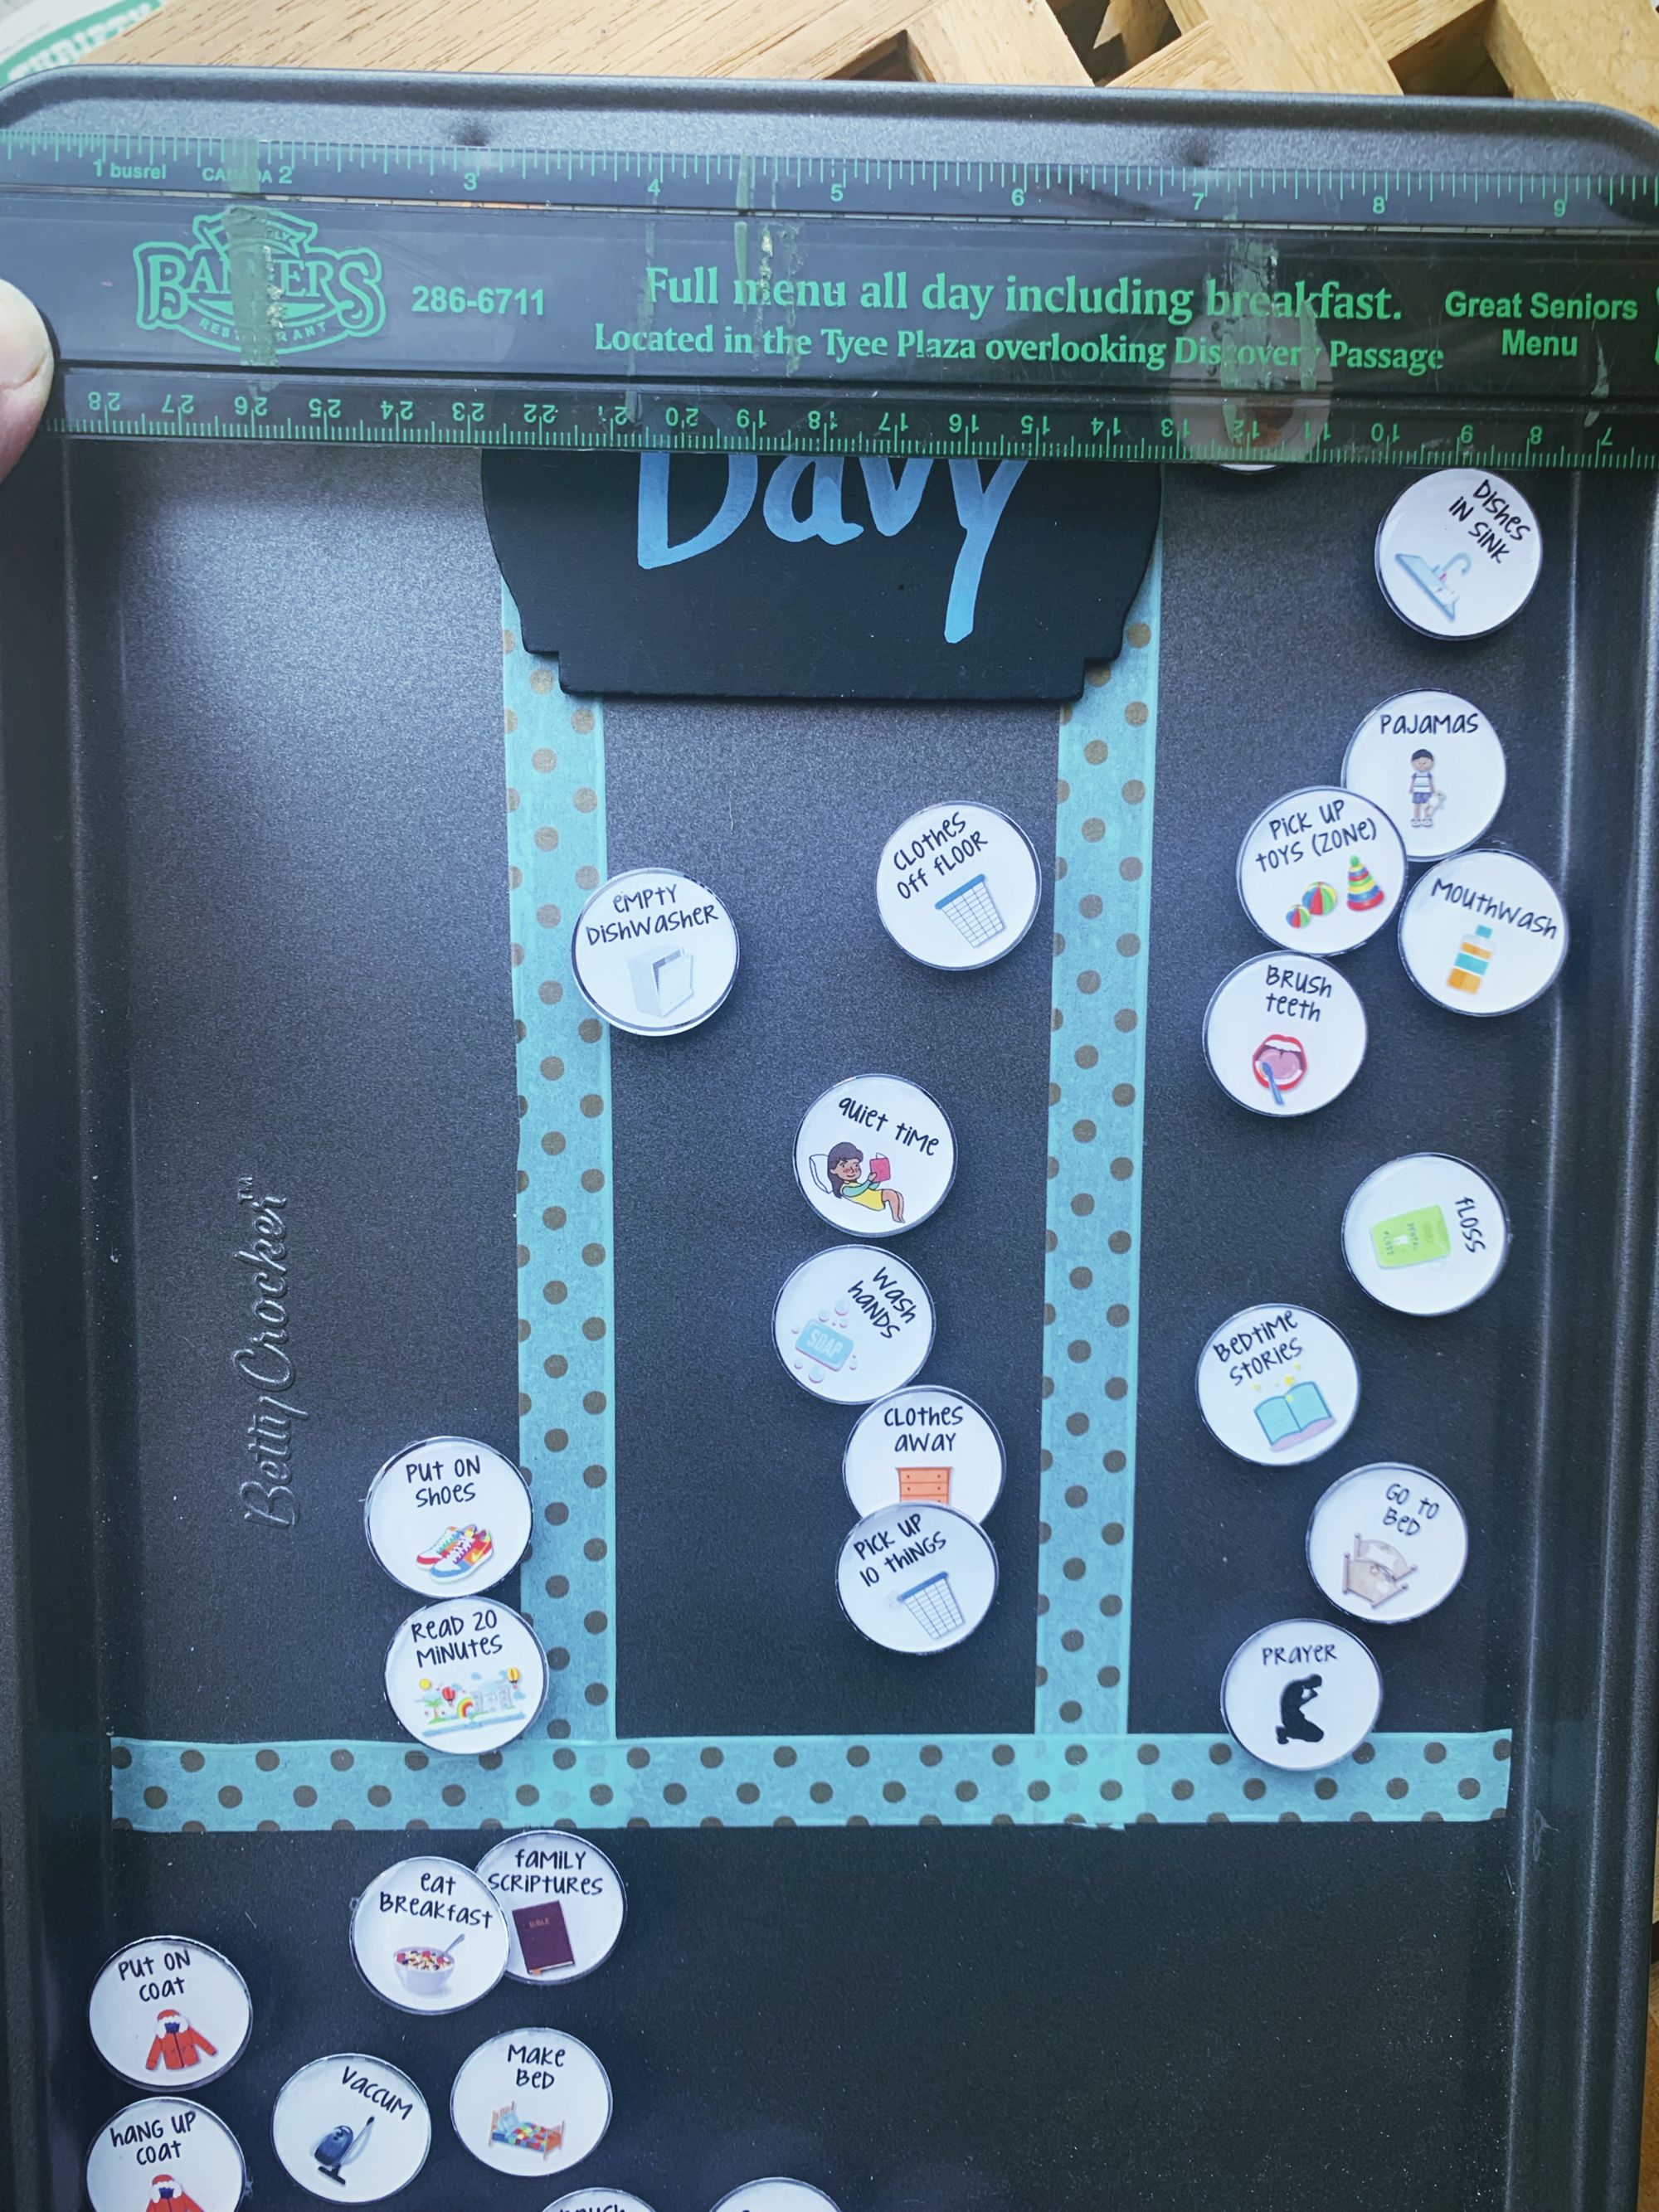
Step One:
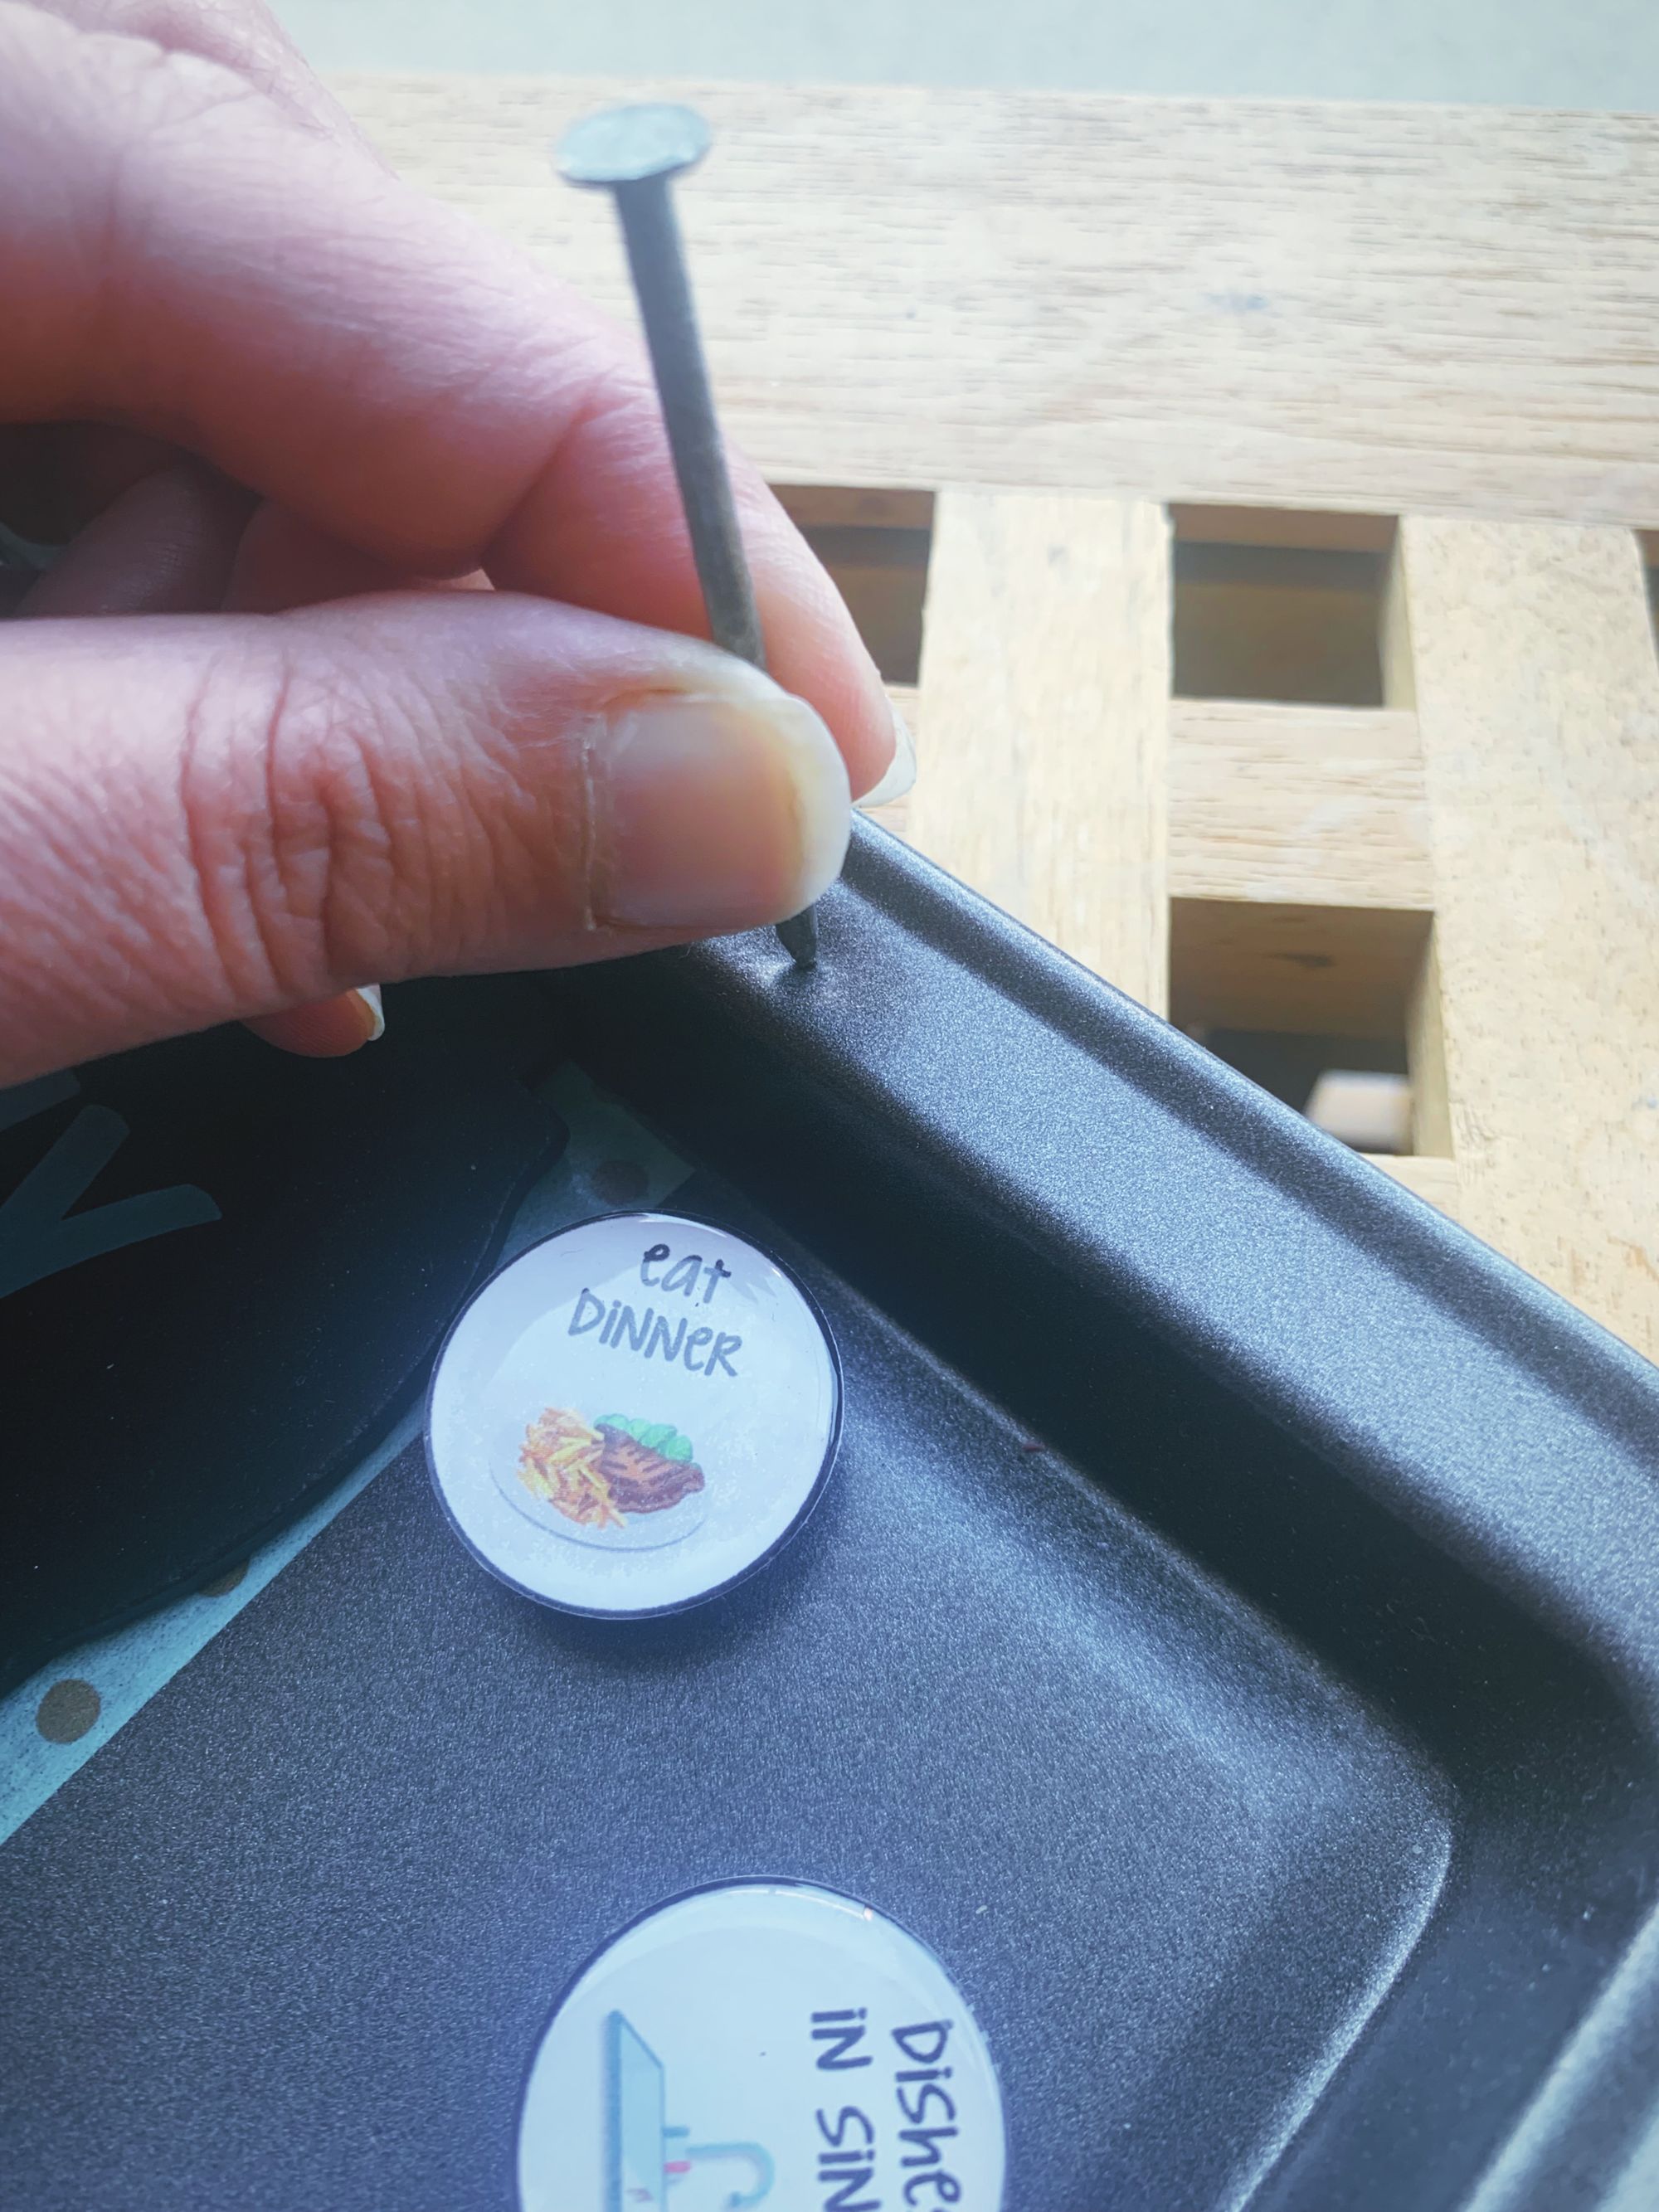
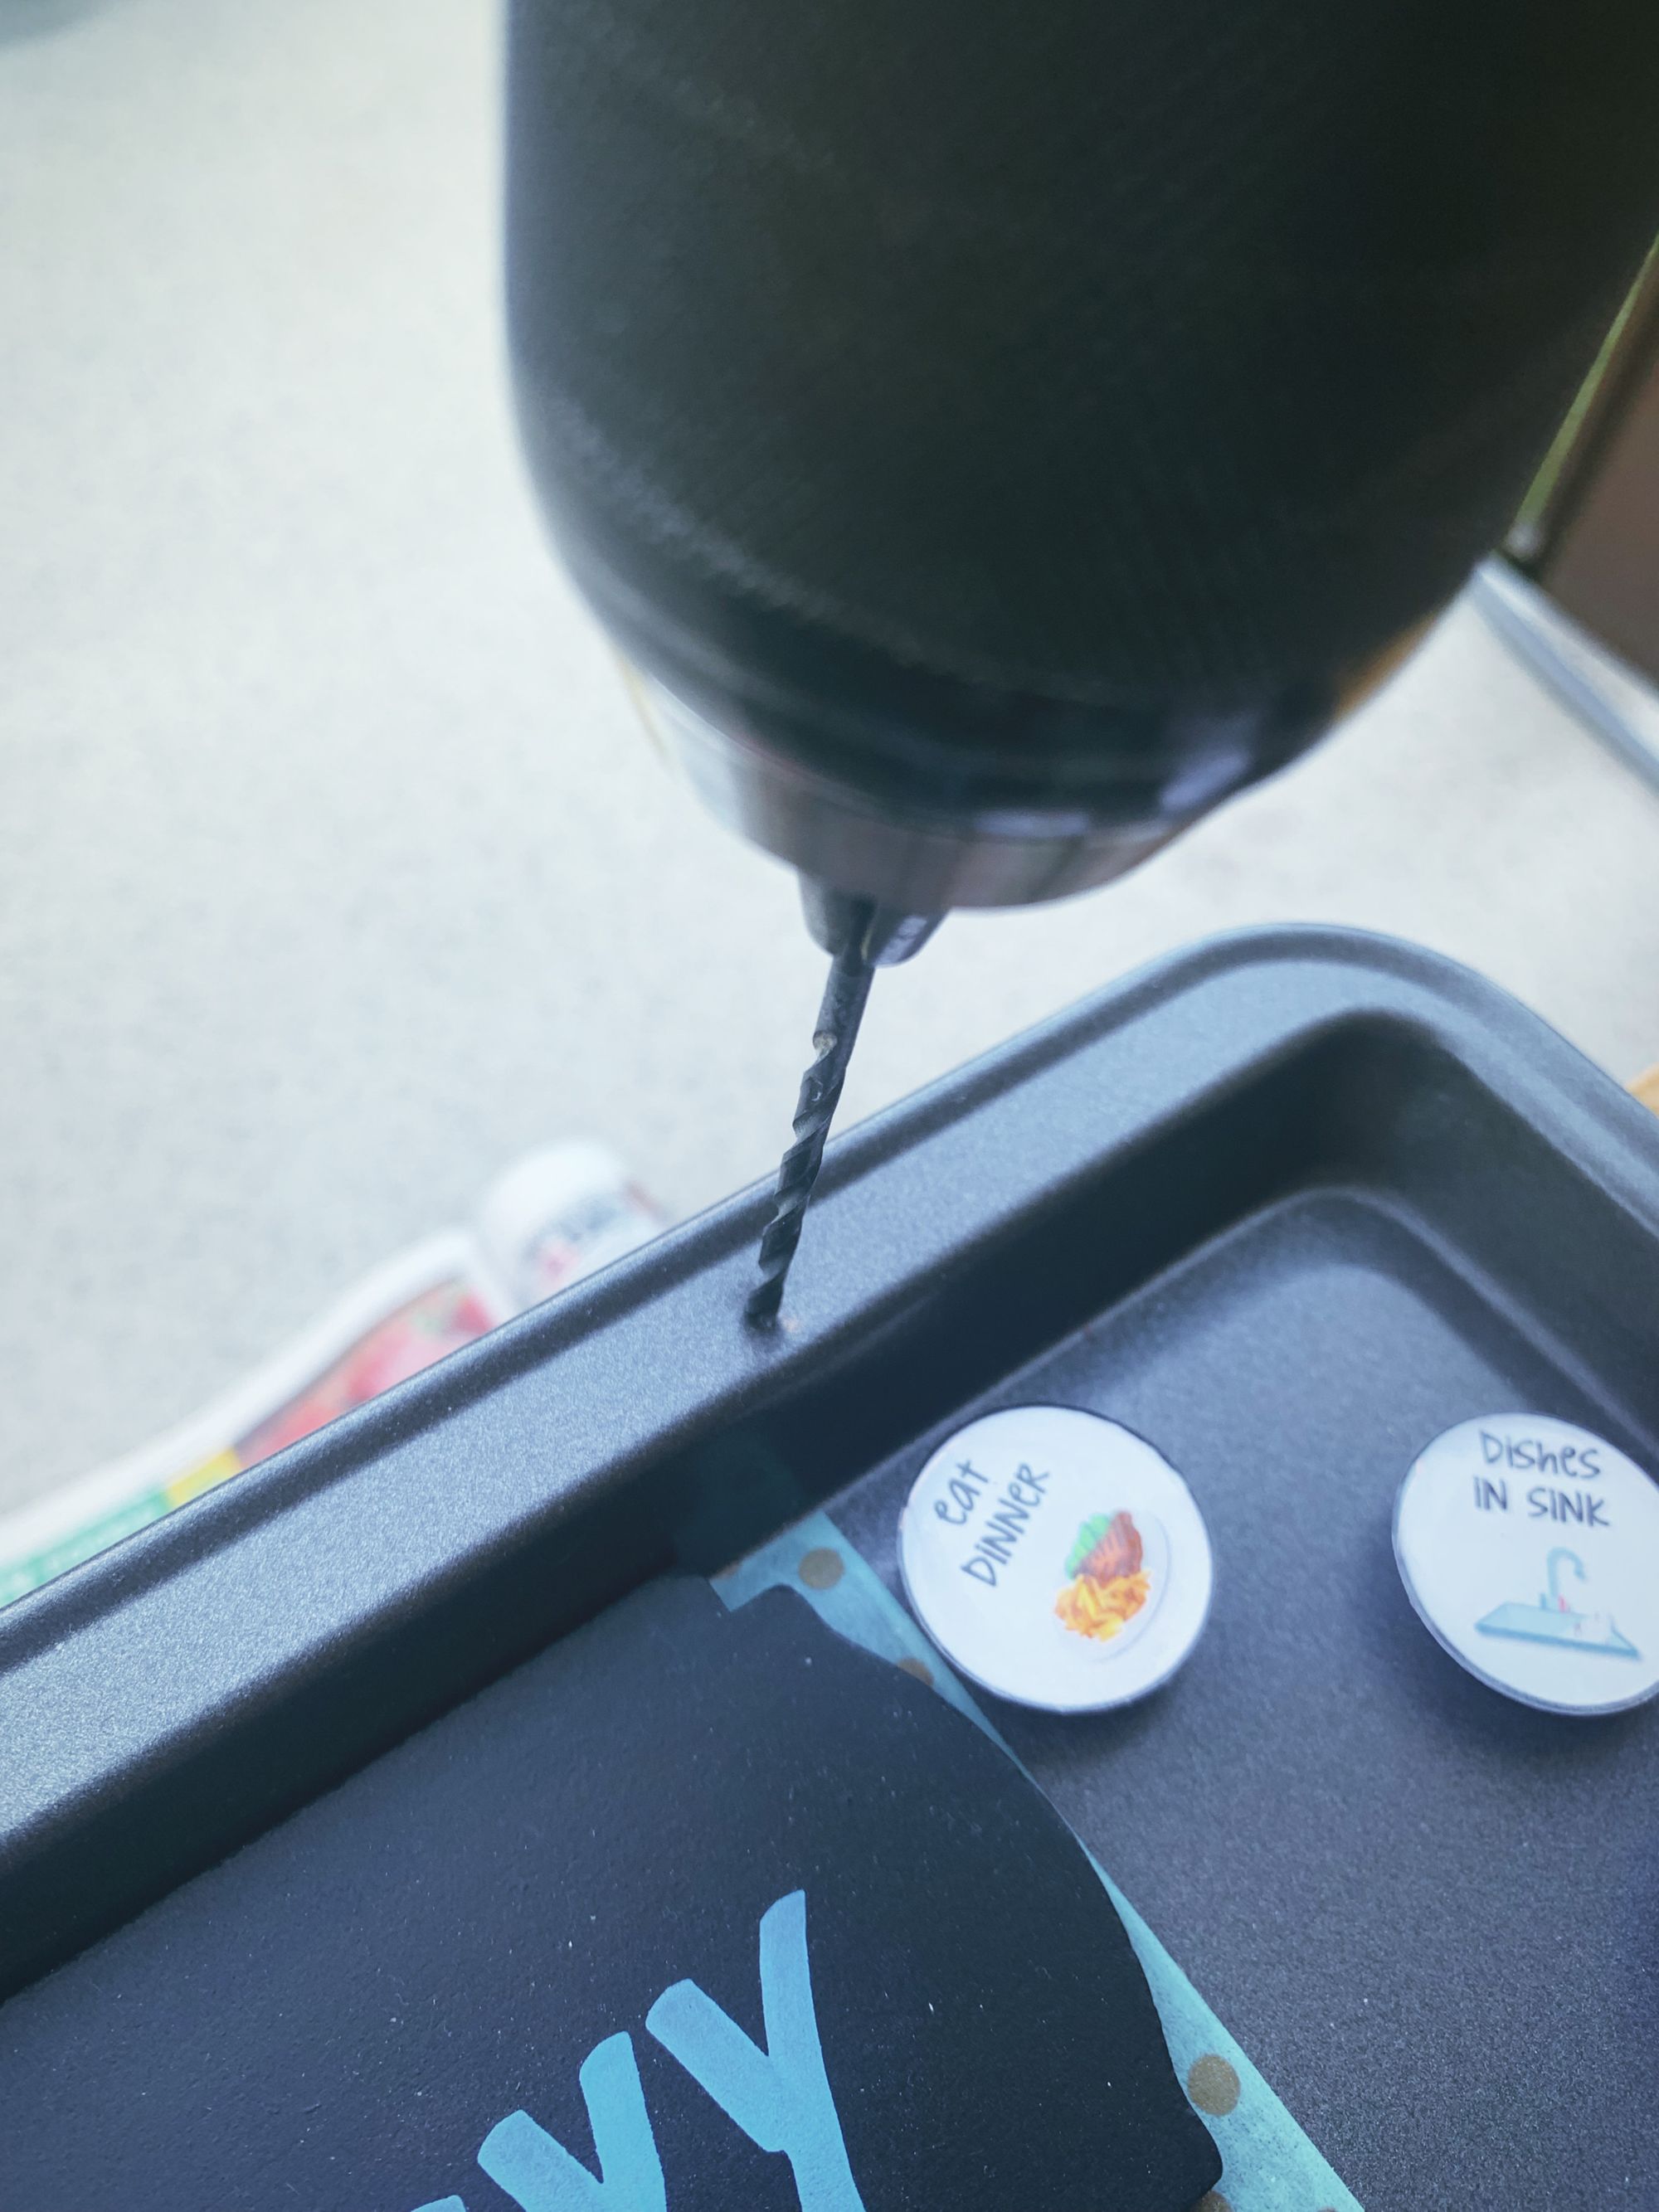
Mark your placement for your holes with a ruler and sharpie. I chose 4 inches apart for this 10 inch pan. Using the hammer and nail, create a dent in the pan at each point. This creates a place for the drill bit to sit in when drilling. Otherwise the drill will slip.
Step Two:
(Warning: Be sure to put down some newspaper or something you can toss as there will be many metal shavings...and don't have your magnets on the board as I did here... The shards stuck to all of them, and it was a long clean up...Learn from my mistakes lol!)
Drill your holes.
Step Three:
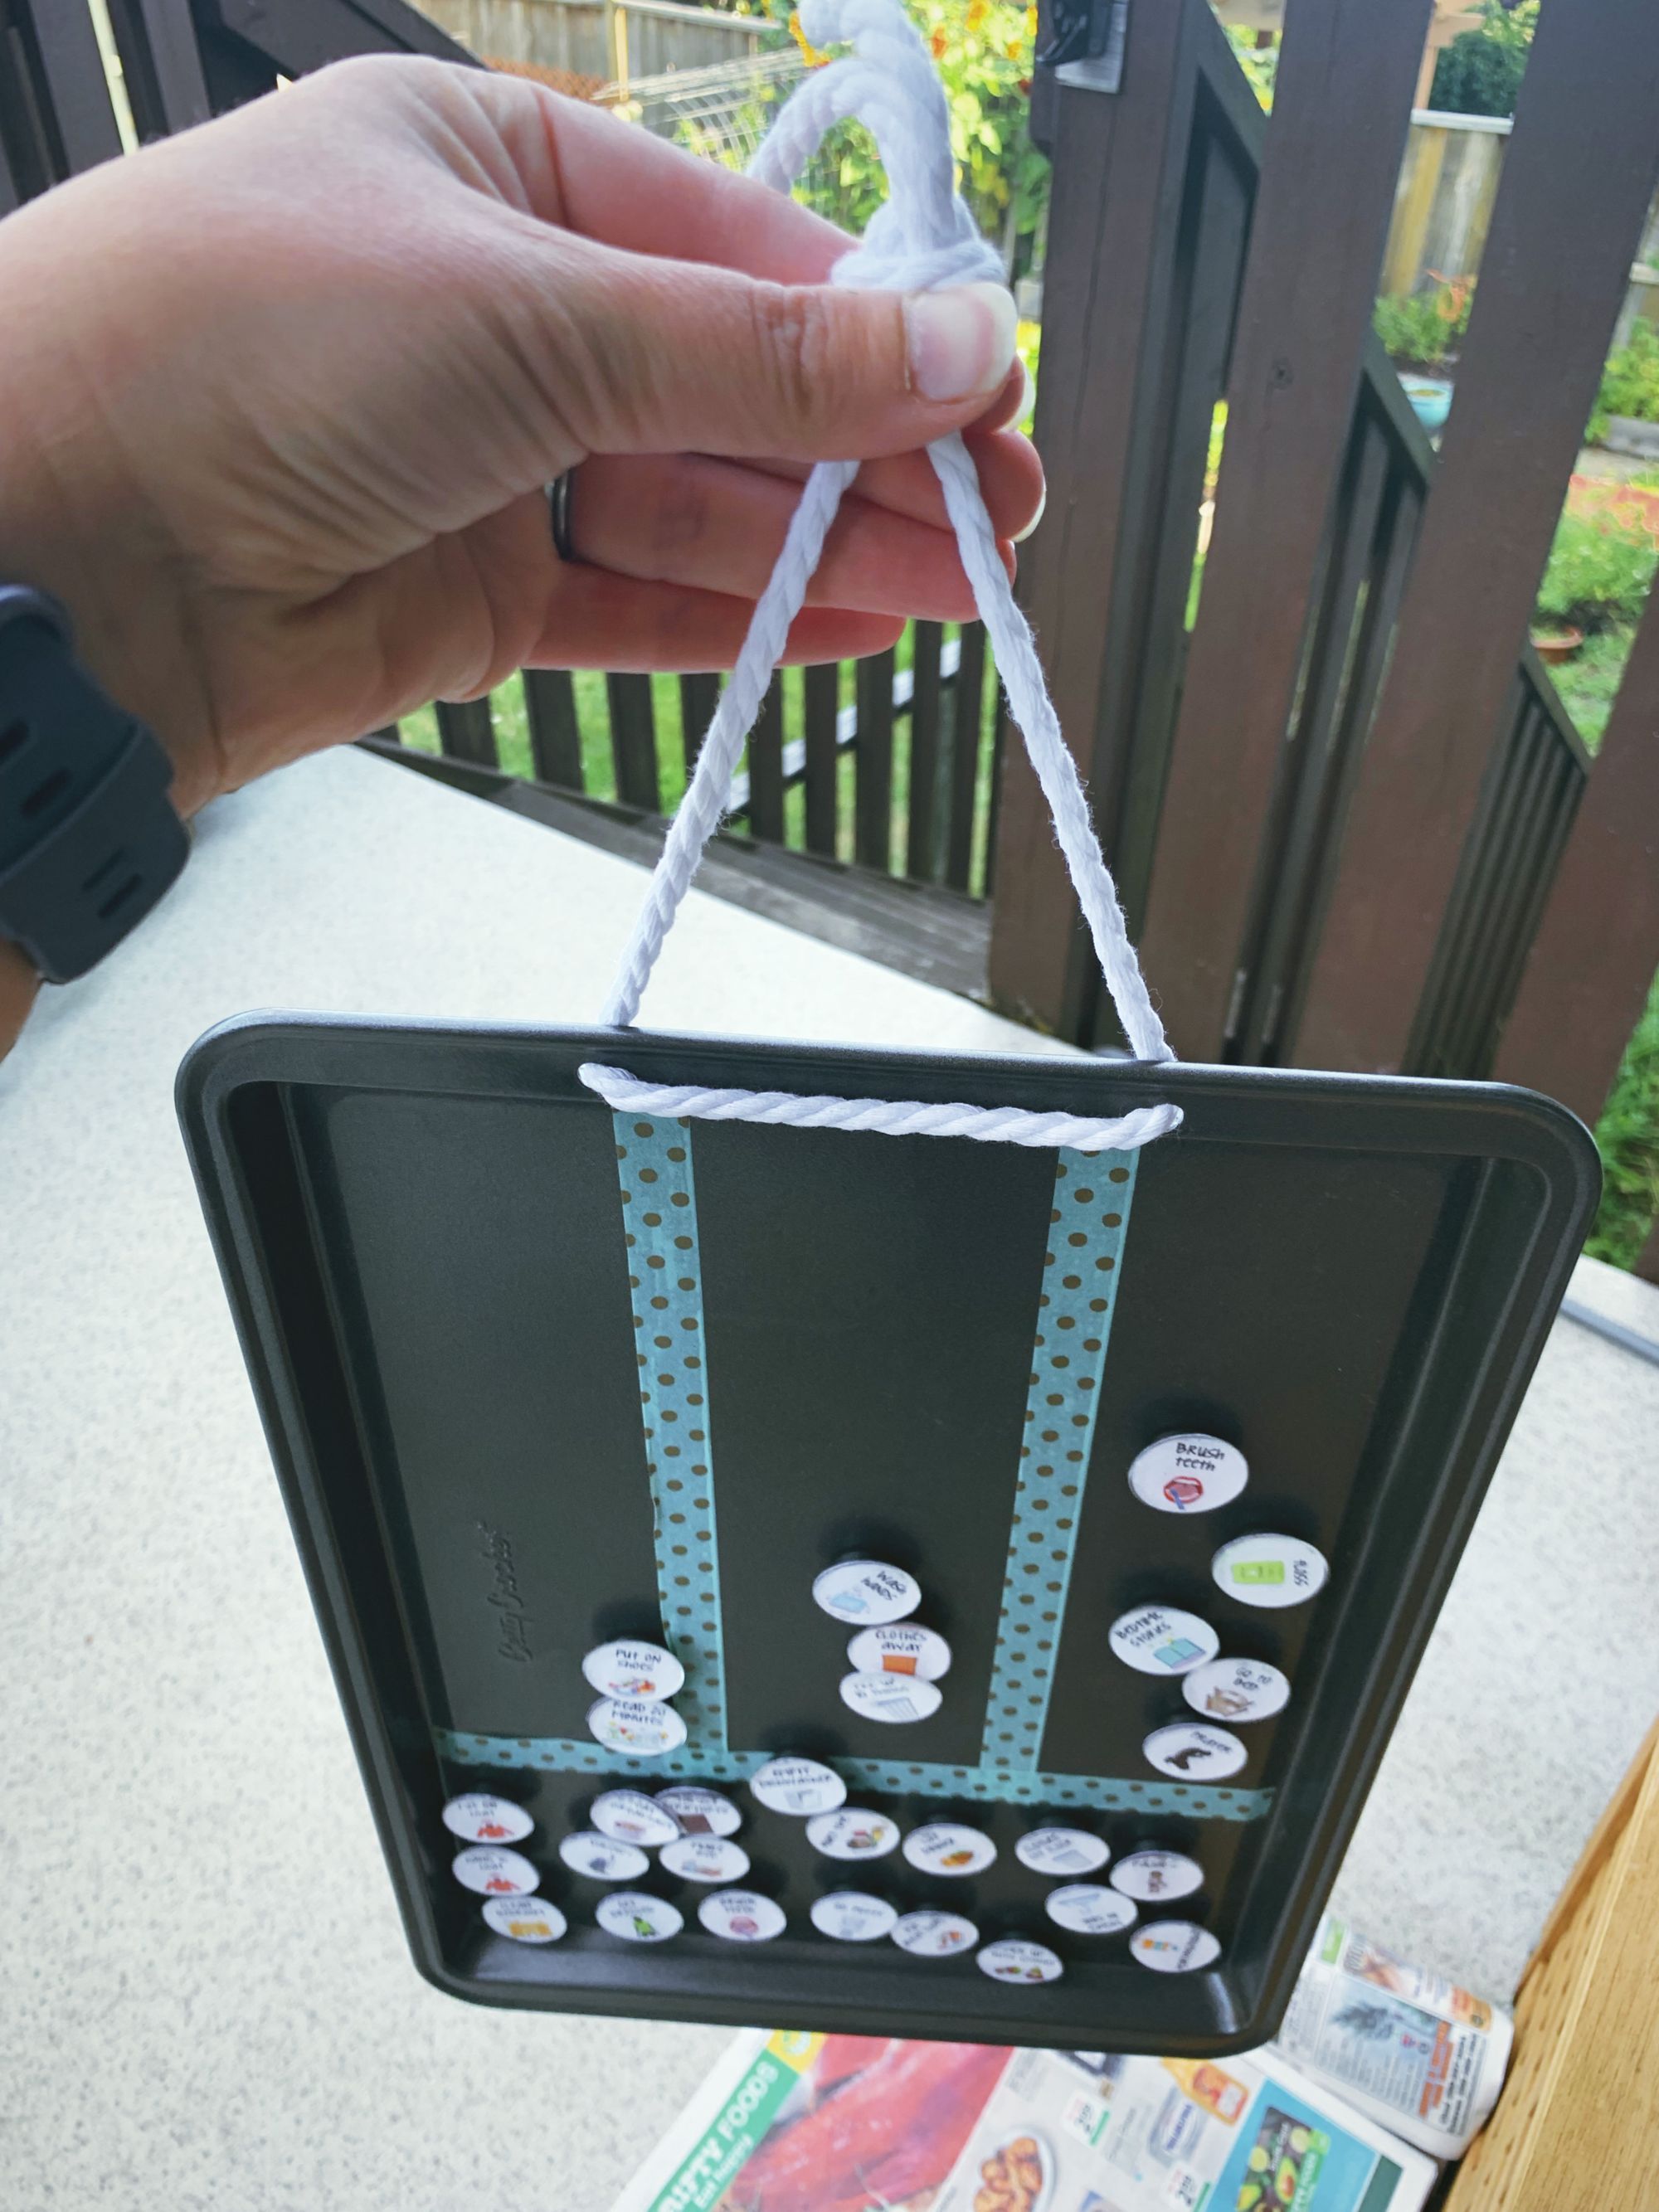
Thread your hanging material of choice. Ta-Da!
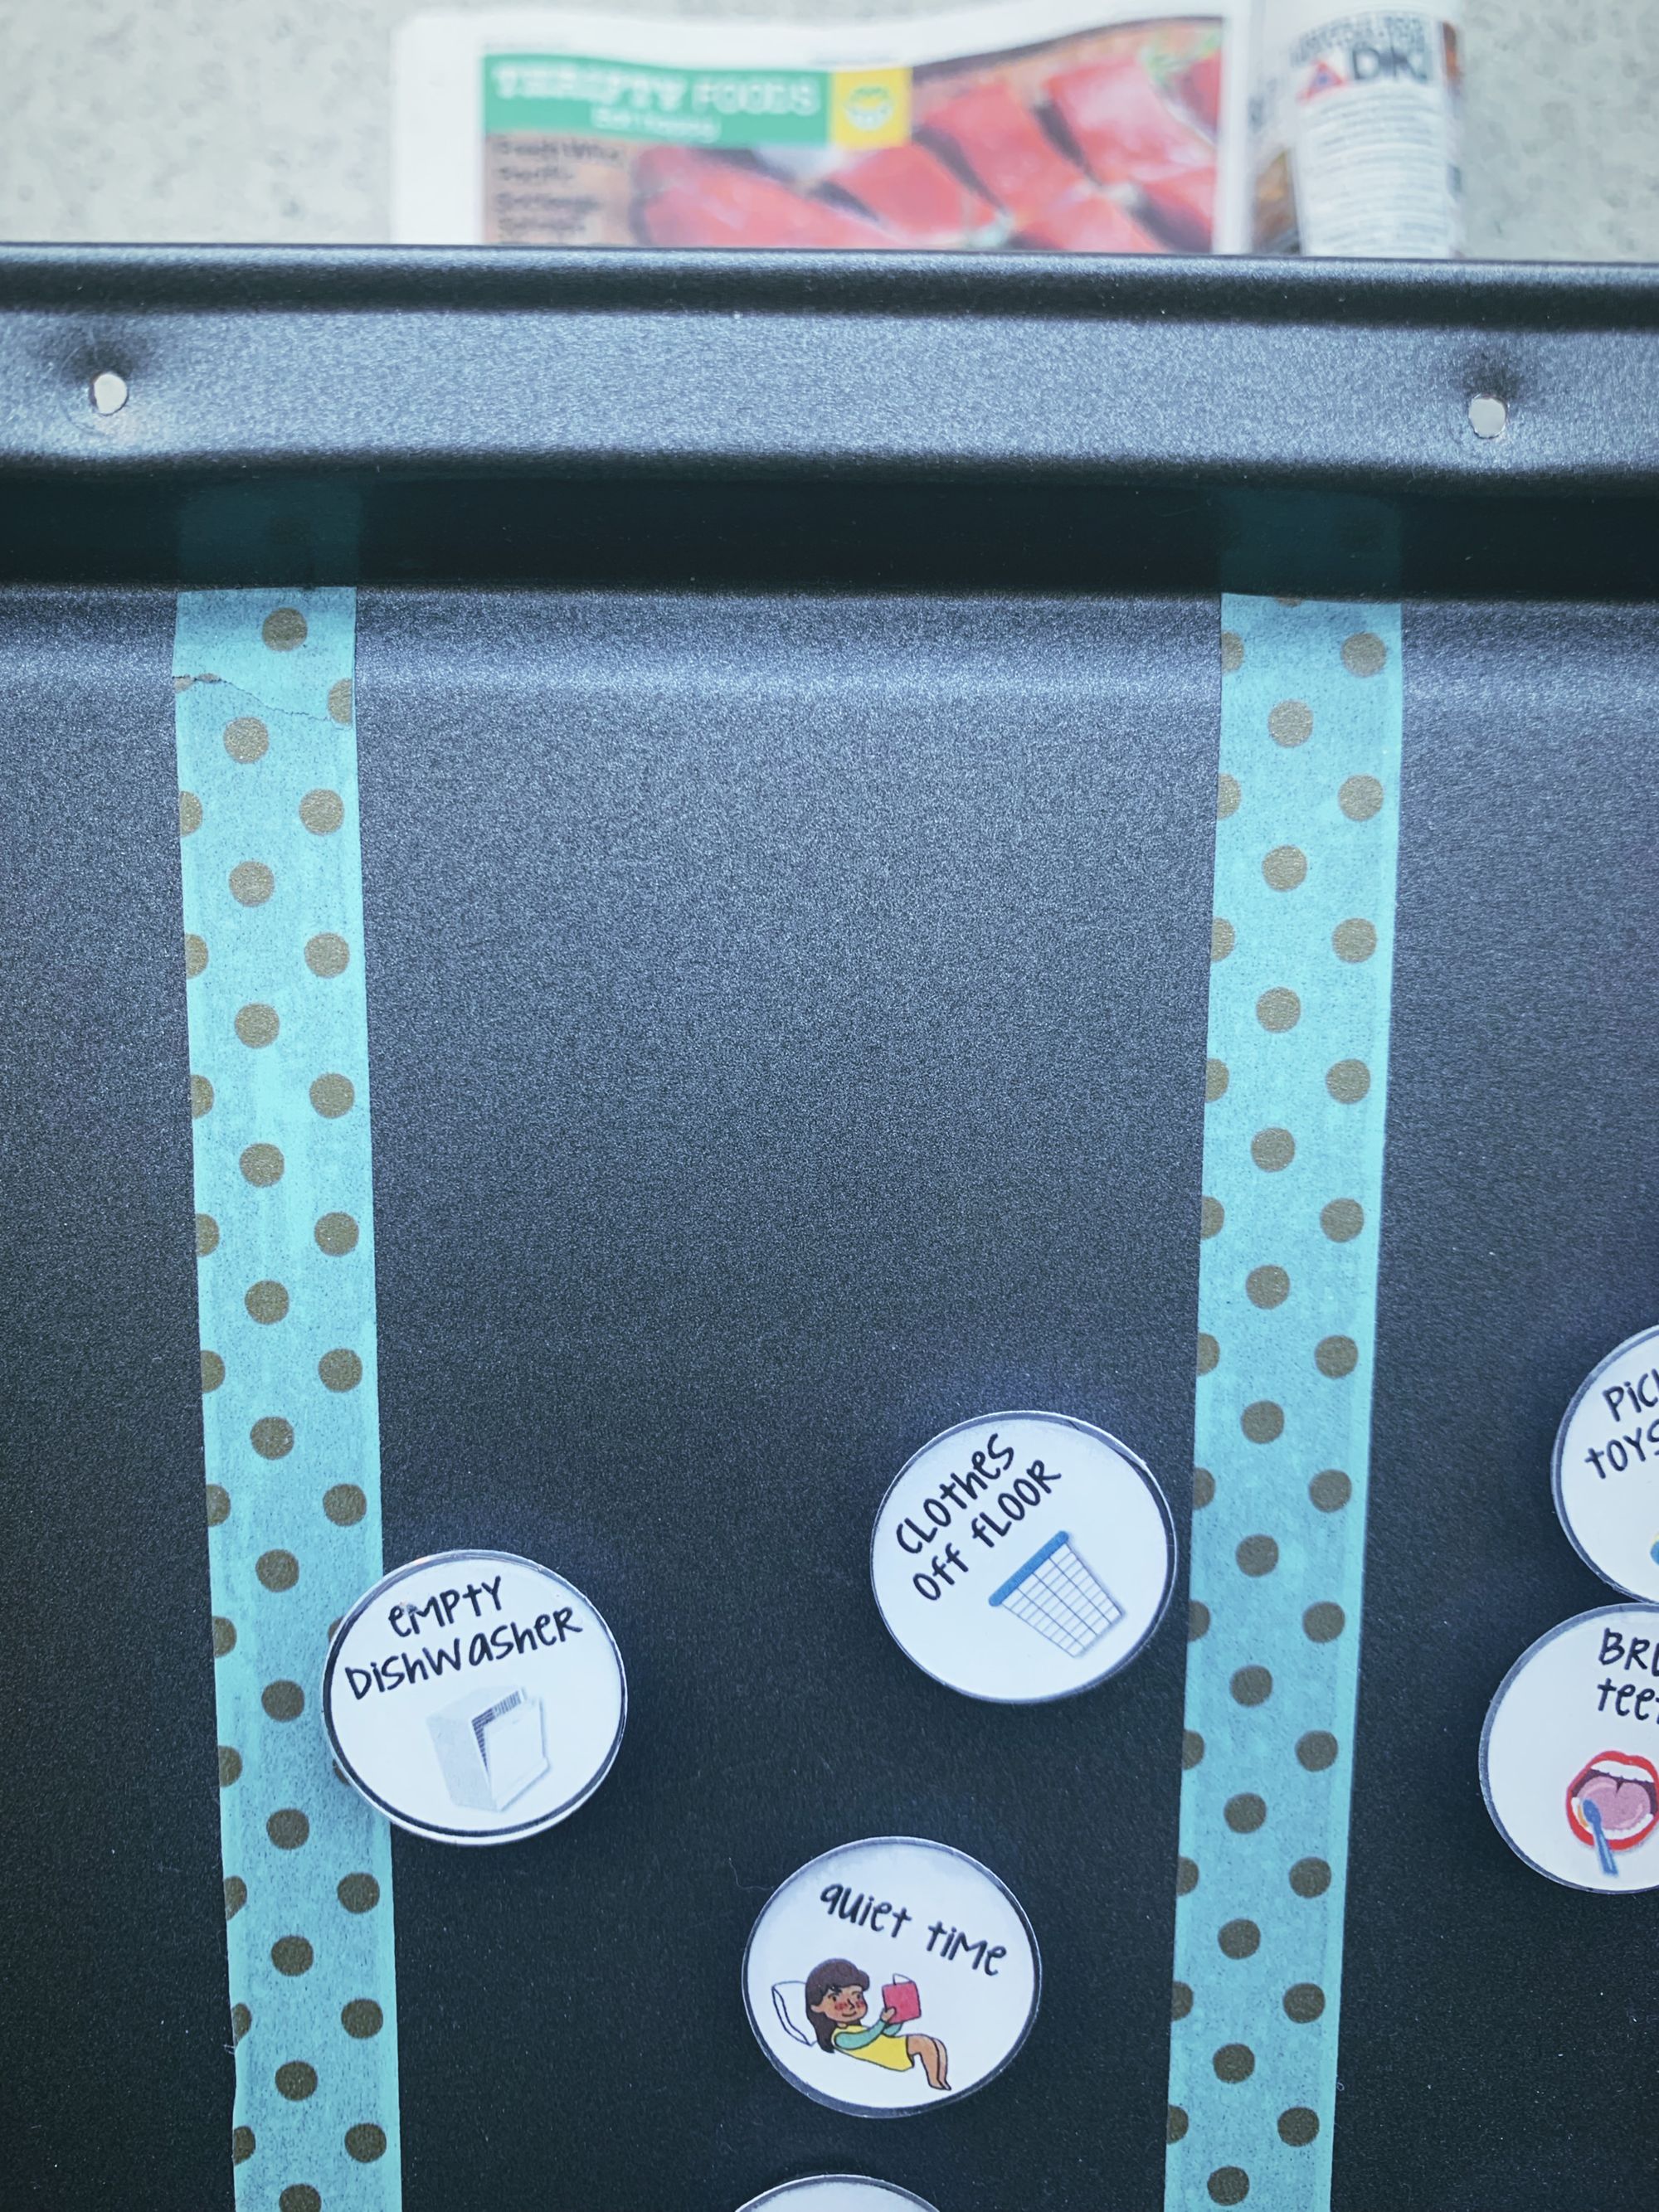
From here, decorate as you'd like. I added Magnetic chalkboard name tags to each child's board. I found them at the dollar store, but Im sure you could find them at any craft shop or even amazon.
Updated Final Step
As you can see I originally had washi tape on my boards to seperate the routine's spaces for times of day. I changed it due to the tape getting bumped by the magnets and peeling up. So I switched to the Metallic sharpie.
This has worked well, and although over time I'm noticing it scretching off, it's lasting much better. It will alos be easy to redo later.
